filmov
tv
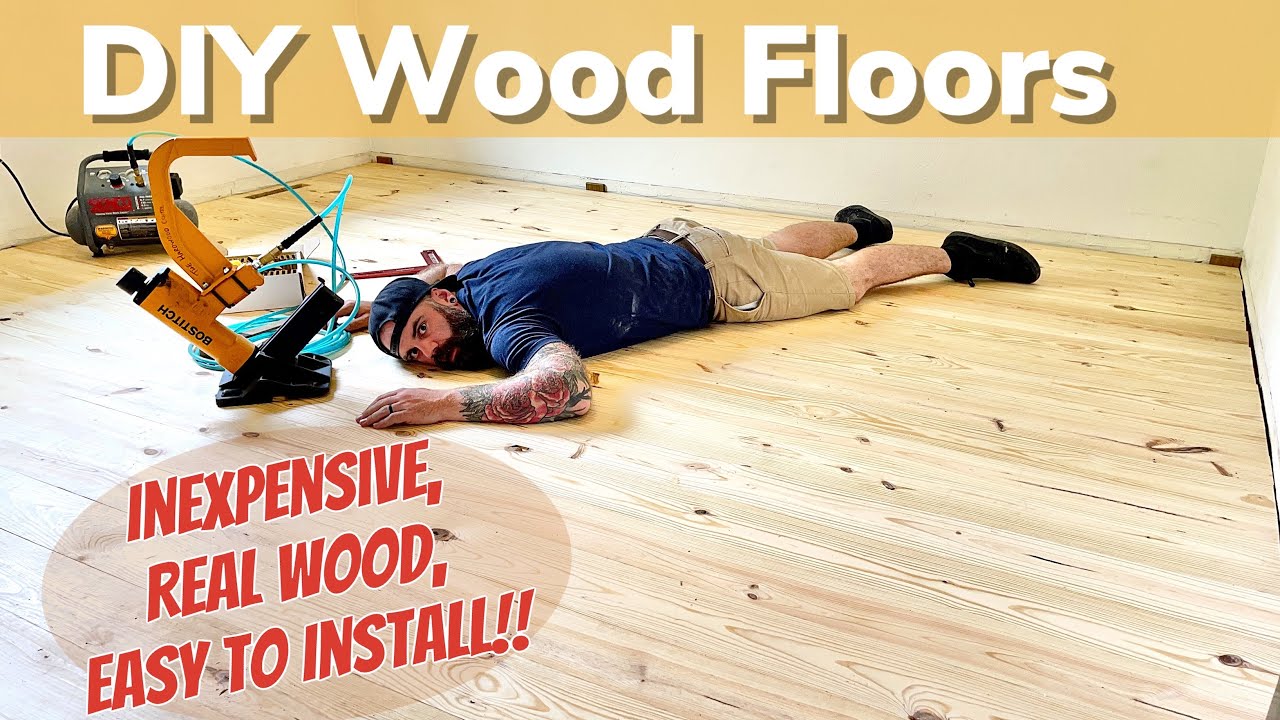
Lay Your Own Wood Floors || Installing Real Wood Floors
Показать описание
Links below to tools and supplies:
Bits & Bits Precision Cutting Tools (10% off code- BOURBONBITS)
RZ Mask (15% off code: BOURBONMOTH15)
Grizzly Tools:
 0:27:57
Lay Your Own Wood Floors || Installing Real Wood Floors
 0:18:16
Installing HARDWOOD FLOORING for the FIRST TIME 🛠 How To Install Wood Floors
 0:07:29
Learn How to Install Hardwood Floors | DIY Projects
 0:07:53
How To Install Hardwood Flooring (For Beginners!)
 0:23:36
Installing a Wood Floor (Oak) Ep.129
 0:21:11
How To Install Hardwood Floors (DIY Masterclass)
 0:09:37
Beginner Hardwood Flooring Installation, EASY Floating Floor Method | Builds by Maz
 0:13:33
How to Install Laminate Flooring for beginners
 0:00:49
How to Replace Your Floors with Ease 🤩
 0:09:44
Wickes How To Lay Laminate Flooring
 0:12:59
DIY PLYWOOD FLOORS | how to make and install geometric plywood floors
 0:09:50
Wickes How To Fit a Solid Wood Floor
 0:05:27
7 CATASTROPHIC hardwood flooring mistakes
 0:10:07
How To Install Tongue and Groove Flooring | Ask This Old House
 0:18:00
How to Lay Engineered Wood Flooring - Installation Guide (Step-by-Step)
 0:03:00
Engineered Hardwood Floor Installation: Part 1
 0:06:53
How to Install Hardwood Flooring | The Home Depot
 0:02:47
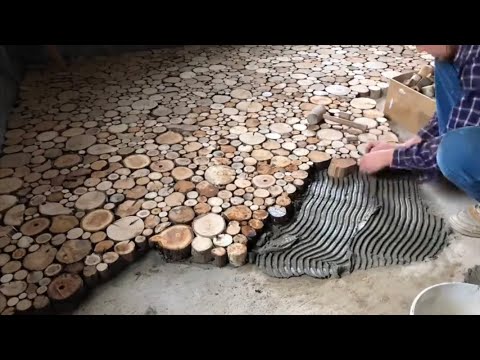
DIY floor, Log floor, Unique flooring, Wood flooring, Handmade floor, Rustic floor, Natural flooring
 0:09:35
How to lay flooring part 4: laying tongue & groove solid wood
 0:49:43
Hardwood Floor Installation For Beginners - Ultimate Step-By-Step Guide
 0:03:59
Determining the direction to lay/install Hardwood, Laminate, or Luxury Vinyl Plank flooring
 0:27:00
Making Tongue And Groove Flooring From A Fallen Tree.
 0:30:47
How I fit ENGINEERED OAK wood flooring
 0:14:25
How to Install Engineered Wood Flooring | Top Trade Tips
Комментарии