filmov
tv
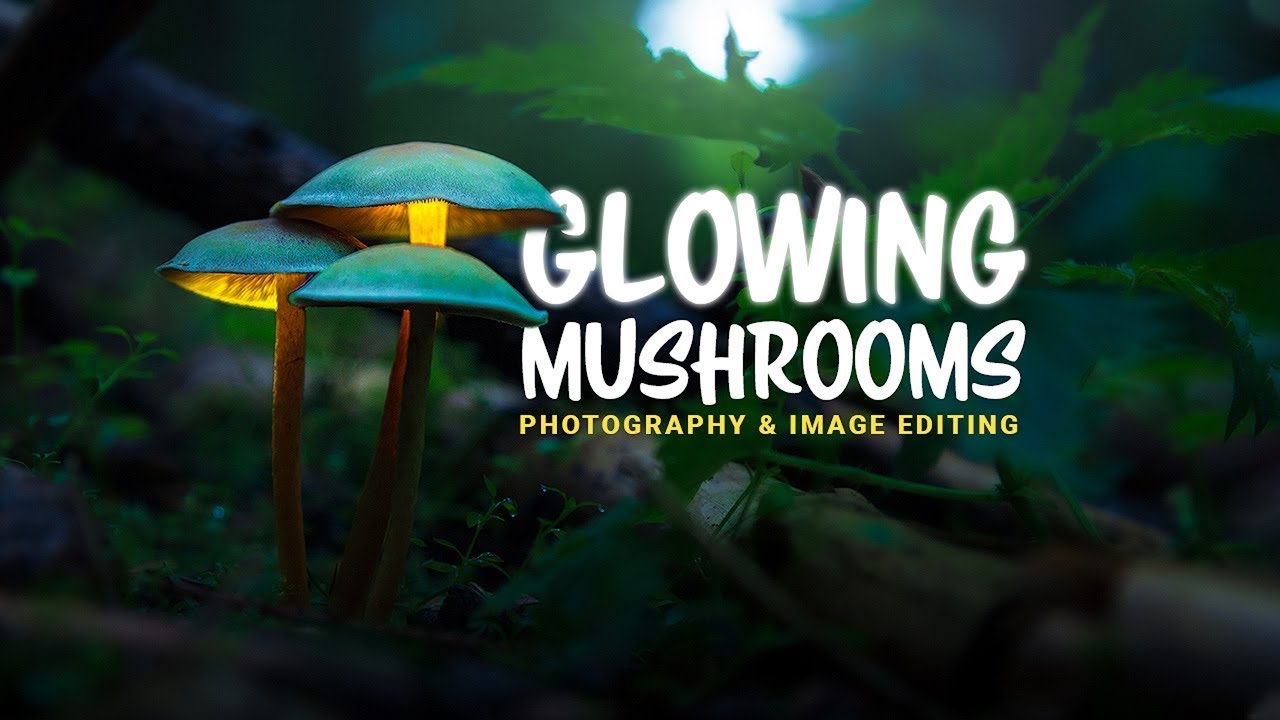
How to Photograph & Edit Glowing Mushrooms
Показать описание
In this video I'm guiding you through the process of capturing and editing glowing mushrooms to create wonderful macro landscape photography.
Part one - Taking the pictures:
I was looking for something cool to shoot on a rainy, overcast day and came across a guide on how to create glowing mushrooms on 500px. And since its currently autumn I decided to give this a try and headed to the next forest.
To make the search easier I was looking for a conifer forest since I know mushrooms love those kinds of trees. According to the guide I searched mushrooms which were on a higher ground so I’m able to take pictures from beneath them, but most of the times I ended up with my DSLR on the forest floor with the mushroom on the same level.
Once I found the right object to shoot, I chose a wide-open aperture, in this case F/4 since I was shooting with the canon 24-105 L lens and adjusted the shutter speed. Generally, I was aiming for a darker image to make the glow effect more visible. To make the object appear bigger I chose of focal length of 55 mm.
Now that the settings are fixed, I activated the intervalometer of my DSLR, so that it takes a picture every 7 seconds and used the flashlight of my smartphone to do some light painting on the mushrooms. For cool results get as close as possible to the top of the mushroom so the light shines through it. Don’t worry if your hand is visible on the picture, as we’re going to mask them out later in Photoshop!
Part two - Image Post Processing:
My goal was to create a magical miniature landscape with the glowing mushrooms as the main focus point. I wanted to have nice contrasting colours, so I wanted a warm glow for the mushrooms while the rest of the picture is covered in a cold blue / green tone to also emphasize the forest mood. The #PostProcessing for this shot was done in Adobe #Lightroom and #Photoshop
First, I did all the basic raw adjustments for the images (base image + the light pictures) in Lightroom. Working on the base image first, I activated the lens corrections and switched the colour profile to Adobe Landscape to give the photo some more saturation. Next, since I wanted a cold colour style, I dropped the temperature of the white balance quite a bit which will apply a blue colour tone. Then, to get some brightness I increased the highlights and the whites and to further increase the saturation I added some vibrance.
I also applied some local adjustments to separate the mushroom from the background some more. With a radial filter I made the bokeh softer around the main subject by reducing the texture and the clarity. Then I used a radial filter to add structure by increasing texture and clarity on the mushrooms. Also, I added a graduated filter on the very near foreground, just to make it a bit darker by dropping the exposure.
For the colour grading I further worked on the green / blue tones by increasing the green / yellow saturation and carefully reducing the blue saturation. Since I wanted the shadows to have a subtle blue colour tone, I used split toning to add this tone to the darker areas.
The last thing I did in Lightroom was to add some vignetting and then synchronise the Light-Pictures with the setting of the base image I just edited. Since the highlights were a bit overexposed due to the flashlight I used for the lights, I dropped the highlights on those images to fix that.
 0:00:44
black portrait photography ideas 🤯😍 || PicsArt photo editing tutorial #picsart #shorts
 0:01:23
Photo editing app | iPhone photo editing | iPhone photography tips | iPhone filters | dev
 0:01:24
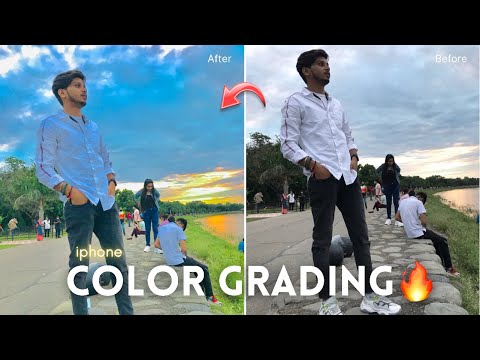
iPhone photography | photo editing app | color grading | dev
 0:19:41
You Shouldn't Edit Your Photography
 0:09:28
Lightroom Photo Editing Tips for Moody Street Photography
 0:00:50
Black background photography ideas 🤯😍 || PicsArt photo editing #photoediting #shorts
 0:01:05
Iphone Photo Editing || Photography Editing || Night Photo Editing🌈
 0:08:04
Where I NOW Outsource My Wedding Photography Editing
 0:02:14
Green + Dark Tone Lightroom Photo Editing 2025 | Lr Photo Editing | How To Edit Photos In Lightroom
 0:00:57
Enjoy photo editing 📸 || picsart photo editing #picsart #photography #shorts
 0:14:40
Car Photography: How To Edit Cars In Lightroom | Full Edit Breakdown
 0:00:39
The QUICKEST way to edit real estate photos📸🏡 #realestatephotography #photography #lightroom
 0:00:40
Beginner Photography Gear & Photo Editing Advice (POV Car Photography Ferrari SF90 + Sony a6400)
 0:08:21
Top 5 Best FREE PHOTO EDITING Software (2025)
 0:11:26
How To Shoot and Edit Professional Interior Photography
 0:00:57
Instagram profile picture editing tutorial || picsart photo editing tutorial#picsart #shorts #viral
 0:00:59
PHOTO EDITING MISTAKES 📷❌ #ytshorts #trending #photography
 0:05:11
Landscape Photography Editing TIPS
 0:00:54
Creative Black background photography 🤯🥵 || PicsArt photo editing #shorts #photoediting
 0:15:49
EDIT PHOTOS like a PRO // Car Photography Tutorial
 0:00:50
Why do Photographers Edit Their Photos? #Shorts #Photography
 0:20:38
How I Edit My Photos | My Complete Photography Workflow
 0:00:18
📱iPhone 13 pro max photo editing | iphone 13 pro max photography
 0:04:33
How to Photograph Comet Tsuchinshan-ATLAS | Capture Stunning Comet Photos and Edit in Photoshop
Комментарии