filmov
tv
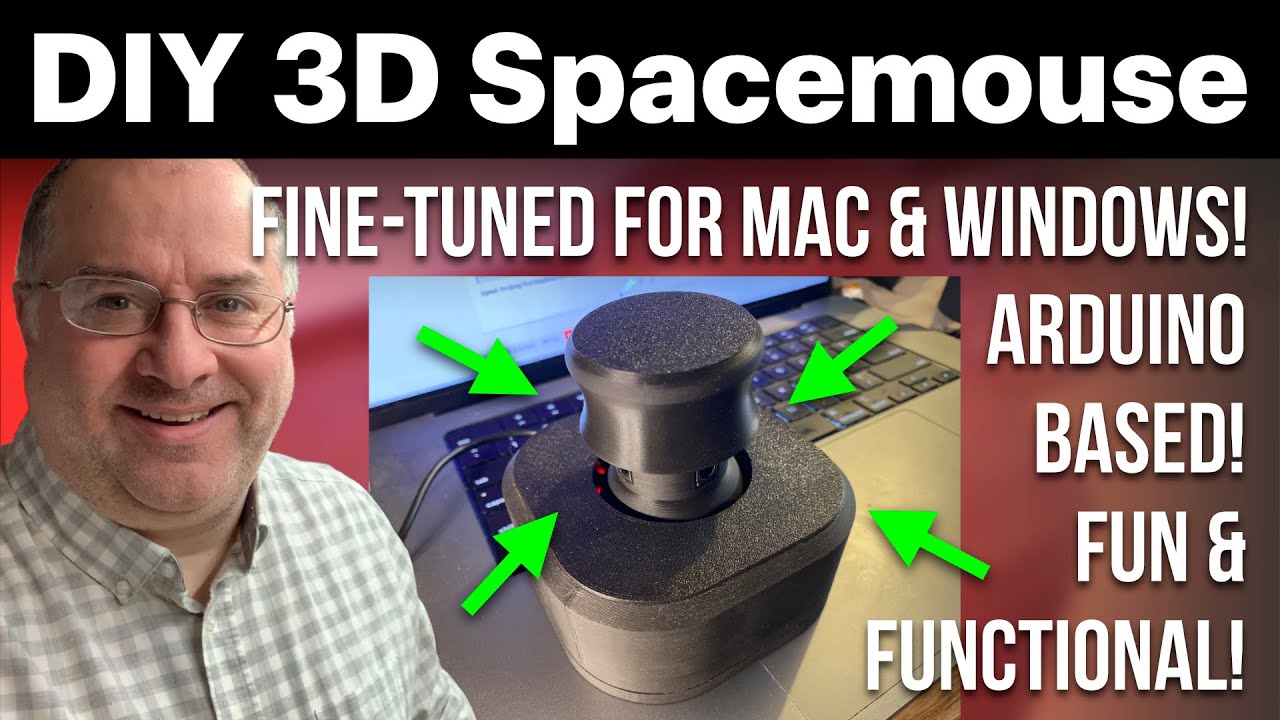
DIY 3D Spacemouse - for MacOS & Windows - affordable, usable Arduino project!
Показать описание
Download link for printable files and Arduino programming code for MacOS and Windows:
This Teaching Tech video explains about the wiring and Arduino programming etc:
Many thanks to all the maker's whose remixes I utilized, and also thanks to all the makers upstream from their work. Amazing community!
I'm including an OrcaSlicer file of the whole set, ready to slice, in case you want to use it: "v3-spacemouse-slim-remix by Design8Studio (OrcaSlicer).3mf"
Please let me know if you find any issues. Thanks!
** As of June 16, 2024, I have added new firmware sketches to my Printables listing (link above). See the pinned comment below for details, or read the same info in the Printables listing. **
My PayPal Tip Jar:
 0:17:18
Making a cheap, open source 3D space mouse with Arduino and 3D printing *V2 out*
 0:09:55
DIY Space Mouse - Do It Yourself or Buy One
 0:09:34
DIY 3D Spacemouse - for MacOS & Windows - affordable, usable Arduino project!
 0:21:47
DIY 3D CAD SpaceMouse for 20€ - 3Dconnexion alternative???
 0:00:26
#Orbion 3D printed space mouse
 0:25:24
Do You NEED a 3D Spacemouse for Shapr3D, Sketchup, Fusion 360 | Tech For Makers 3DConnexion
 0:03:29
3D space mouse: is it USEFUL? - Tech for architects & designers
 0:00:50
Who has a Space Mouse too? 😁 #lockcard
 0:12:13
I Made my own Space Mouse for Fusion 360 using Magnets (DIY)
 0:14:15
3D MAUS für CAD | Was kann eine 3Dconnexion SpaceMouse Wireless?
 0:01:37
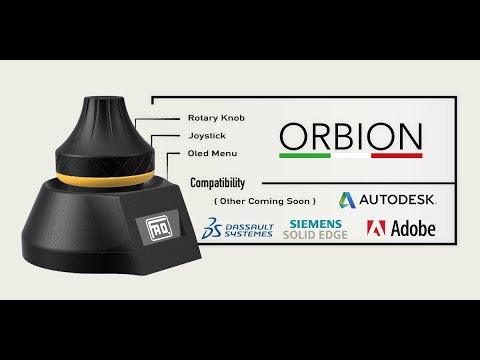
ORBION - Space Mouse Open Source - build it yourself
 0:00:51
3Dconnexion SpaceMouse upgrade
 0:08:02
What's Inside a Space Mouse?
 0:00:57
3D printed Creative Console with space mouse!
 0:03:06
3D Space Mouse: Overrated Accessory!
 0:12:13
How a 3D SpaceMouse Actually Works - Teardown
 0:06:49
Teardown disassemble of 3D Connexion Space Navigator 3D mouse
 0:10:57
I 3D Printed a Custom SpaceMouse for Fusion360 (and More)
 0:00:57
Orbion Space Mouse The OpenSource 3D #spacemouse #orbion #arduinoprojects
 0:02:28
I built the first true 6DOF DIY SpaceNavigator
 0:24:04
Hall Effect CAD Mouse / Spacemouse
 0:01:18
DIY Bluetooth 3D Mouse (M5StickC, ESP32)
 0:01:01
Spacemouse for 3D Modeling. #cad #spacemouse #3dmodeling #productdesign #3dprinting #3dconnexion
 0:00:34
3D Connexion Space Navigator
Комментарии