filmov
tv
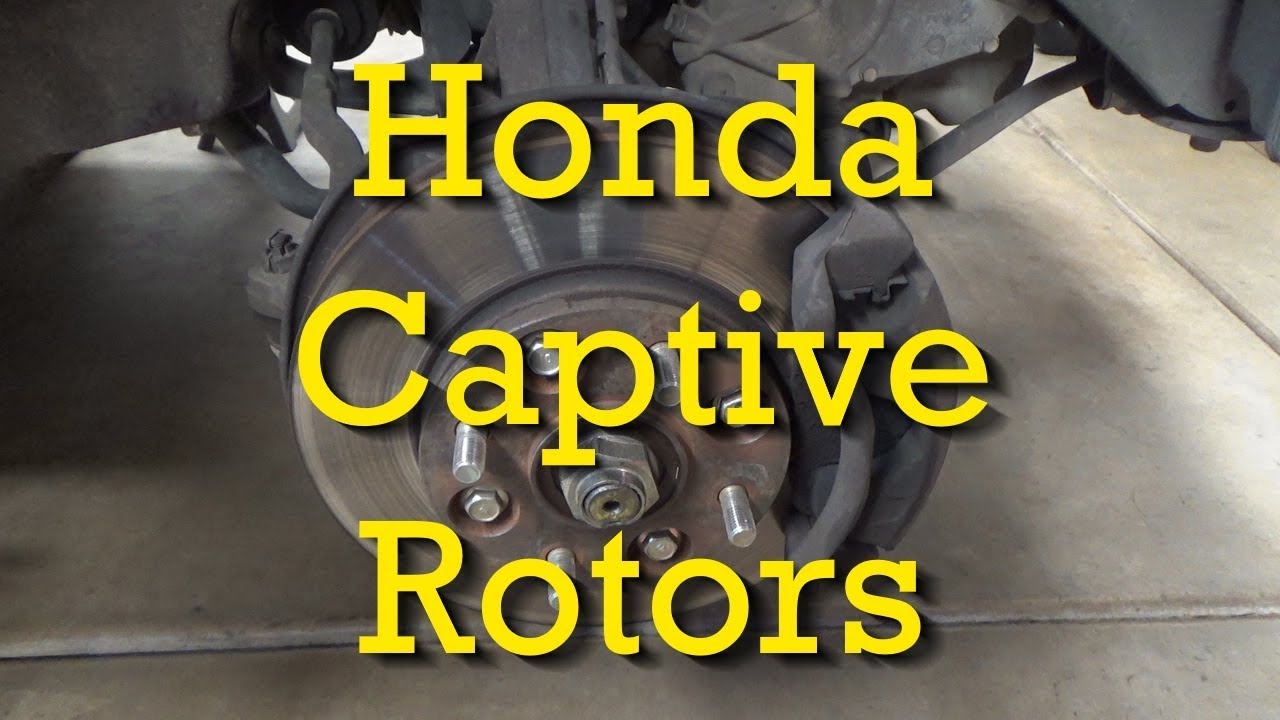
Honda Accord Captive Rotors/Wheel Bearing Hub Assembly - Removal and Installation
Показать описание
In this video I show how I remove and replace captive brake rotors on an older Honda. The wheel bearing hub assembly has to be removed in order to change the rotors on this design which makes it a bit more difficult than a standard brake rotor job. The exact vehicle in this video is a 1997 Honda Accord EX 2.2L four cylinder sedan with F22B1 engine. 1994-1997 Accords should be similar. Enjoy!
Be sure to subscribe for more tool and car repair videos!
Disclosure: This channel earns a small commission using some of these links - at no additional cost to you.
Tools and Parts:
4 Bolts Used: 10mm x 1.25mm x 100mm
Jack Stands - RECALLED from Harbor Freight - DO NOT USE
Have something you would like to send to Big Dog50001?
Send it here:
Big Dog50001 Automotive Channel
P.O. Box 726
Cortaro, AZ 85652
2019 Epidemic Entertainment. All rights reserved.
Disclaimer:
Due to factors beyond the control of the Big Dog50001 Automotive Channel, it cannot guarantee against unauthorized modifications of this information, or improper use of this information. The Big Dog50001 Automotive Channel assumes no liability for property damage or injury incurred as a result of any of the information contained in this video.
The Big Dog50001 Automotive Channel recommends safe practices when working with power tools, in on or around automobiles or other vehicles, automotive lifts, lifting tools, jack stands, electrical equipment, automotive modules and systems, blunt instruments, chemicals, lubricants, or any other tools or equipment seen or implied in this video. Due to factors beyond the control of the Big Dog50001 Automotive Channel, no information contained in this video shall create any express or implied warranty or guarantee of any particular result. Any injury, damage or loss that may result from improper use of these tools, equipment, or the information contained in this video is the sole responsibility of the user and not the Big Dog50001 Automotive Channel.
 0:36:27
Honda Accord Captive Rotors/Wheel Bearing Hub Assembly - Removal and Installation
 0:28:11
1990-1997 Accord Brake Job (Captive Rotor Replacement) Hub Over Rotor Part 1
 0:28:12
Honda Accord Captive Rotor Delete
 0:43:16
1990-1997 Honda Accord Captive Rotor
 0:12:29
1997 Honda Accord Captive rotors and pads (the side that gave me a hard time)
 0:15:38
96 Honda Accord 2.2 rotor and wheel bearing removal
 0:00:48
Captive rotors
 0:34:49
1990-1997 Accord Brake Job (Captive Rotor Replacement) Hub Over Rotor Part 2
 0:05:42
HOW TO REPLACE HONDA CAPTIVE ROTORS WITHOUT KNUCKLE REMOVAL
 0:15:47
Take apart a 1997 Honda Accord Front Disc Brakes and Wheel Bearings
 0:13:01
1994-1997 Honda Accord HUB BEARING ROTOR CALIPER Replacement
 0:20:22
90-93 Honda Accord Front Brakes Replacement
 0:14:50
1997 HONDA ACCORD CAPTIVE ROTORS AND PADS REPLACEMENT/ Передние диски и колодки
 0:11:09
How to replace brake rotor on 1994-1997 honda accord
 0:11:51
DIY - Replacing Captive Rotors, Brake Pads and Lower Ball Joint on a 1992 Honda Accord (90-93 CB7)
 0:00:16
Honda Accord front wheel bearing replacement
 0:22:50
hub rotor and ball joint replacement 90 through 93 honda Accord
 0:09:53
How To Replace A Honda Accord Wheel Hub And Bearing At Home
 0:14:07
STOPPING POWER! ROTOR OVER HUB CONVERSION CB7 ACCORD
 0:02:54
Honda Accord front brake rotor removal 1/3
 0:20:00
1997 Honda Accord Wheel Bearing Assembly - And Why You SHOULDN'T Buy a Wheel Bearing Race Tool
 0:13:59
1995 Honda Accord Rotor over Hub Suspension Haul!
 0:00:18
Ghetto way to remove rotors 90/97 accord
 0:30:17
Honda Accord front wheel bearing DIY replacement press in at home hand tools. GEN 8
Комментарии