filmov
tv
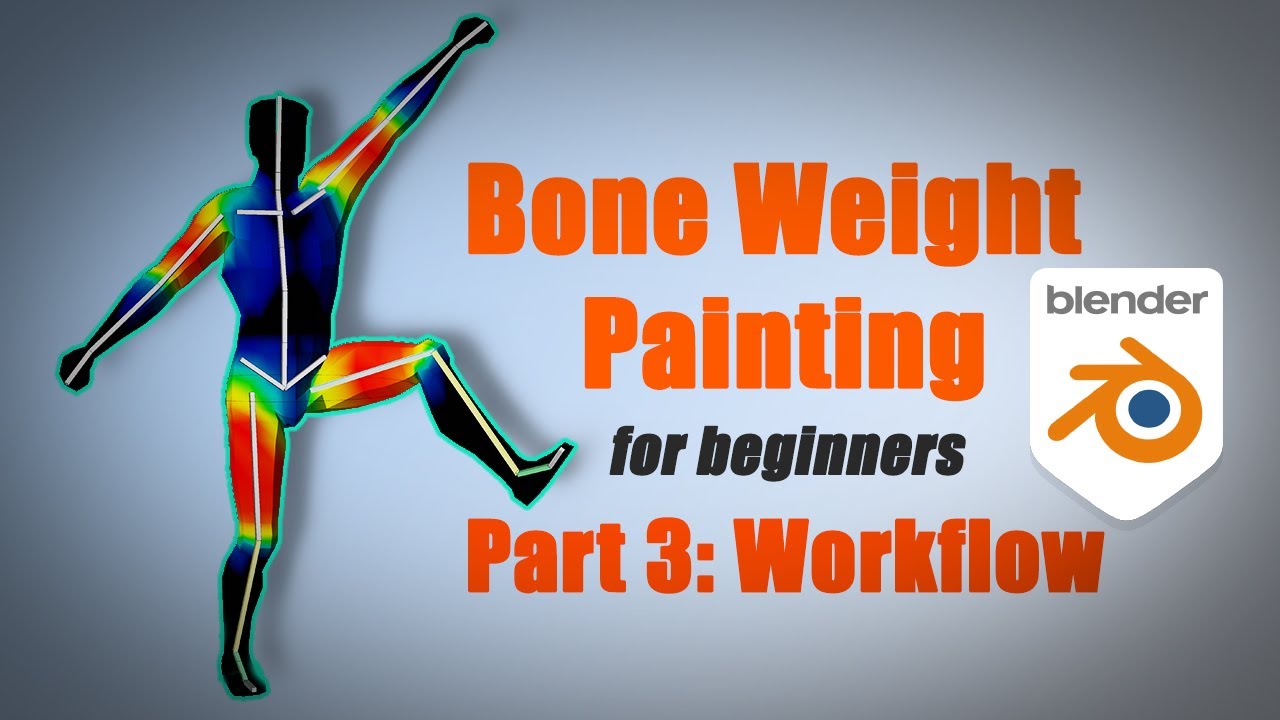
[Blender] Character Weight Paint: #3 Weight Paint Workflow (beginner tutorial)

Показать описание
-------------------------------------------------------------------------------------
❖Get all CGDive courses for just $5.99 per month!❖
Note: This is like Patreon but much better :)
-------------------------------------------------------------------------------------
⚠️Important updates in Weight Paint in Blender 2.91 and 2.92. I made a new video about that:
The changes in Weight Paint mode in 2.91 were a bit of a mess, so I recommend avoiding it. In 2.92 things were improved significantly.
I also did a video about "weight painting through the mesh" which many people (including myself) were confused about.
RECOMMENDED PRODUCTS
❖Rig Anything With Rigify (coupon code "cgdive" = 20% off)
Alive! Animation course in Blender
❖The art of effective rigging in Blender (coupon code "cgdive" = 10% off))
❖Hard Surface Rigging In Blender
❖RBF Drivers
❖Bonera
This is part 3 in the basic weight painting series.
If you haven't seen the previous part, check them out:
In the video, I mention "Intro to blender armatures", one of my previous videos. Here it is:
Here I show my basic workflow for painting weights. With this, you should be able to weight paint most characters.
0:00 Part 3 Intro
0:17 Scene download
0:23 Scene Setup
0:30 Blender Armatures - Deforming bones VS Widgets
3:14 Create Vertex Groups (Empty Groups vs Envelope Weights vs Automatic Weights)
5:14 Weight Paint Mode (simple approach)
6:00 Weight Paint Mode (advanced approach, RECOMMENDED)
6:55 Additional Options
7:16 Auto Normalize (IMPORTANT!)
9:04 X Mirror
10:06 X Mirror VS Symmetry (IMPORTANT!)
11:17 Other settings
11:29 Beware this Undo problem :(
13:00 Weight Painting demonstration
18:43 Restrict Option
19:46 Unparent an Armature
20:55 Weight Paint for Rigify characters
her32756743edjhfkjhdfslkj
Комментарии
![[Blender] Character Weight](https://i.ytimg.com/vi/5SLlp3AwShM/hqdefault.jpg) 0:22:35
0:22:35
 0:05:29
 0:02:18
 0:09:02
 0:03:00
![[Blender] Character Weight](https://i.ytimg.com/vi/za7BDv0-QsQ/hqdefault.jpg) 0:13:23
0:13:23
 0:00:39
 0:10:02
 0:02:13
 0:26:37
![[Blender] Character Weight](https://i.ytimg.com/vi/LPYs3pZEzPY/hqdefault.jpg) 0:17:30
0:17:30
 0:01:00
 0:03:50
 0:01:22
 1:00:23
 0:04:14
 0:09:13
 0:09:19
![[Blender] Character Weight](https://i.ytimg.com/vi/pNdo2n3ssZk/hqdefault.jpg) 0:06:16
0:06:16
 0:10:49
 0:02:55
 0:23:57
 0:14:06
 0:09:08