filmov
tv
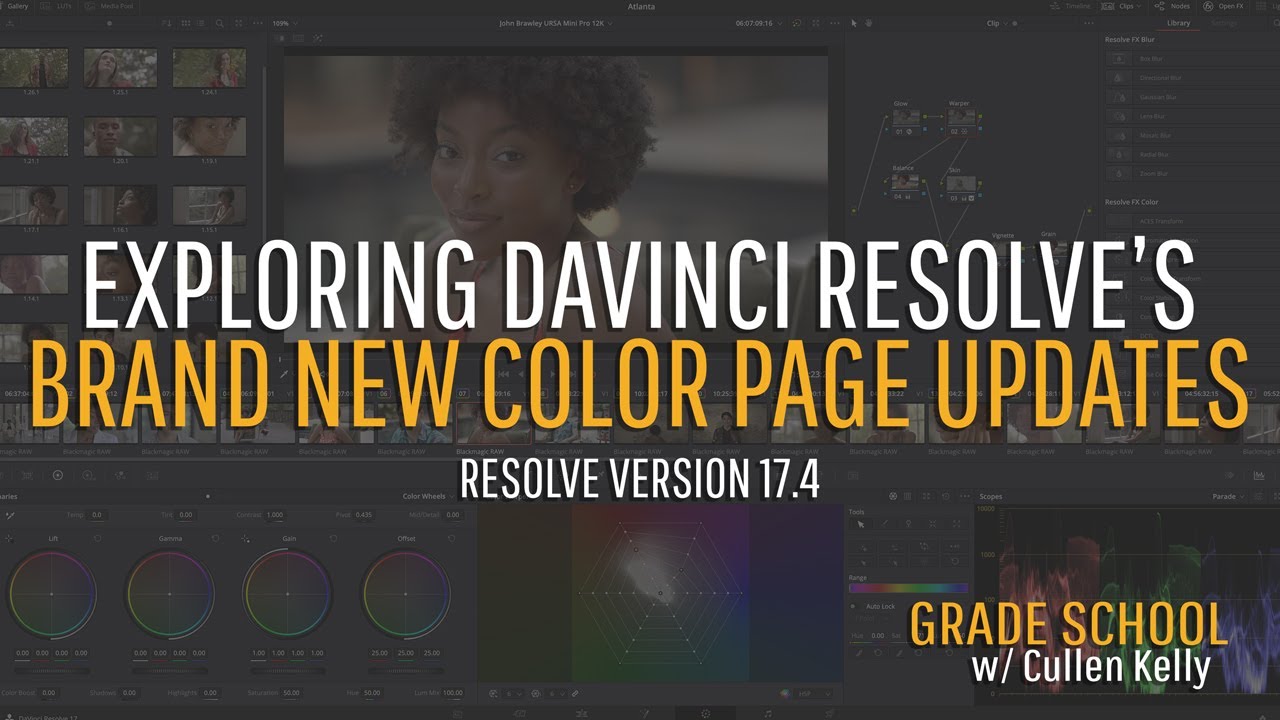
Grade School: Understanding Resolve 17.4's Newest Color Features
Показать описание
Join Cullen as we dive into the exciting new updates to DaVinci Resolve's Color page in version 17.4!
5:26 ACES 1.3
9:55 ACES 1.3 Gamut Compression
14:05 Updated color management system
19:35 Custom mixer
28:00 Q: Why is the trace on the color mixer different from the vectorscope?
32:32 Q: Where in my node tree do I place halation?
42:00 Q: How do you set yourself up for speed on large projects (800 shots)?
51:40 Q: Do you take your powergrades, etc. with you when you rent out a facility to work in?
54:22 Q: Where and when do you use curves in a linear space?
1:00:13 Q: How do you feel the new halation FX compares to how you build it yourself?
--------
Get my free Kodak 2383 film print LUT for DWG and ACES here:
Get all of my freebies with my free Color Grading & Look Design Kit!
Want professionally designed, studio-quality LUTs for your LUT folder? Check out my Voyager LUT pack:
Check out my ebook, The Colorist's 10 Commandments:
 1:06:16
Grade School: Color Management 101
 1:09:22
Grade School Episode 4
 1:00:11
Grade School: All About Curves
 0:09:13
4 Parenting Mistakes That Will Ruin a Teenager
 0:02:27
Grade 2 Math: Subtraction Rocks with Base Ten Blocks
 1:05:56
Grade School: Make the Most of Your Looks
 0:00:45
Try these 3 simple exercises to improve speech in kids with speech challenges
 0:06:17
Long Division. DMSB. Grade 4
 0:13:46
How to Motivate a Lazy Teenager (6 Proven Tips You Can Apply Today)
 0:03:27
Child Psychology : How to Discipline a Child That Does Not Listen
 0:00:17
Division Tips and Tricks | Easy Division Tricks for Large and Small Numbers 😎
 0:02:42
How to Stop Bullying! Examples & and Best Solutions (For Students)
 0:00:20
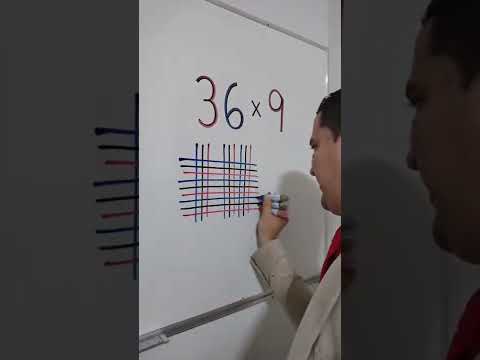
Japanese Method #shorts #fyp
 0:00:23
What is Mild Autism and How to Support an Autistic Child
 0:05:20
Solve by completing the square | Step by Step Technique
 0:00:19
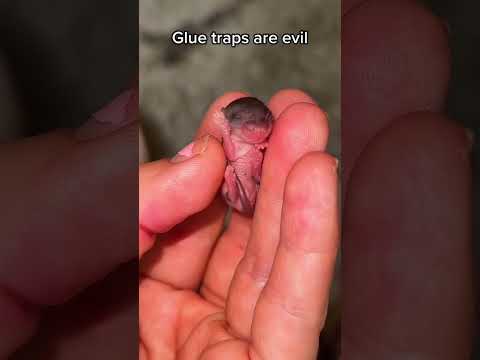
Mother and baby left to starve to death on a glue trap, while the homeowners went on vacation…
 0:04:35
When your child isn't studying enough | Parenting - 101
 0:06:54
How to Solve One-Step Equations | One-Step Equation Steps | Math with Mr. J
 0:00:44
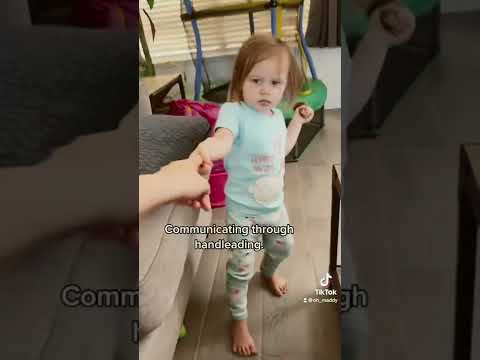
More early signs of autism. #autism
 1:15:16
Grade School: Watch a Senior Colorist Color Grade in Real Time
 0:00:16
Area and perimeter of square | Ayushi teacher | Area and perimeter #maths #area #perimeter
 0:08:33
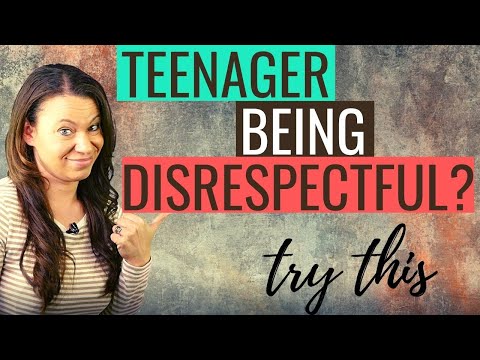
Parenting Teens- 3 Keys for Dealing with Your Teenager’s Disrespectful Behavior
 0:00:41
Motion Stablizing in Davinci resolve ( Fusion ) / Matchframe Editing School
 0:00:34
Human Calculator Solves World’s Longest Math Problem #shorts
Комментарии