filmov
tv
Building a 3D set from a photo in Blender

Показать описание
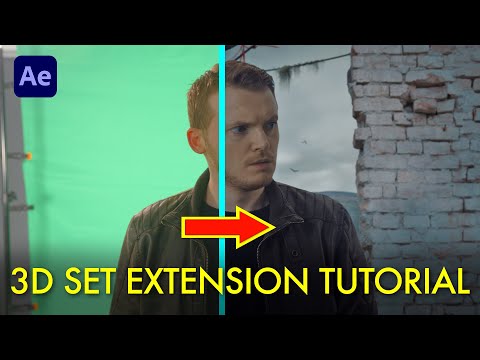
You can composite a convincing greenscreen shot by making a 3D model of an image texture as your background in Blender. Using FSpy, Blender, and After Effects, you can get a photorealistic greenscreen shot for your film.
Say hello!
— CONTENTS OF VIDEO —
00:00 - FSpy
01:01 - Modeling in Blender
02:00 - Materials
04:12 - Lighting
05:49 - New camera + keyed footage
07:05 - Modeling details
09:45 - After Effects compositing
10:35 - Final shot
Say hello!
— CONTENTS OF VIDEO —
00:00 - FSpy
01:01 - Modeling in Blender
02:00 - Materials
04:12 - Lighting
05:49 - New camera + keyed footage
07:05 - Modeling details
09:45 - After Effects compositing
10:35 - Final shot
 0:01:24
Turn 2D images into Animated 3D Models - Cheat at Blender Tutorial
 0:18:45
Turn a 2D image to 3D using Blender - Tutorial 2022
 0:05:17
Turn 2D Images into 3D models in Blender using Perspective Plotter Addon
 0:01:09
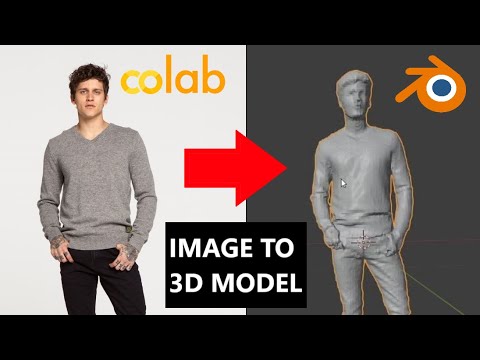
AI Generates 3D Model From Single Photo (Google Colab)
 0:22:30
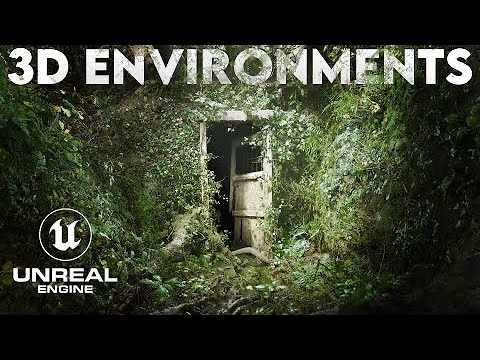
How I Quickly Create 3D Environments in Unreal Engine 5 | FULL WORKFLOW
 0:09:09
Easy Camera Projection in Blender 3d: Full VFX Tutorial
 0:18:28
Designing Your First Functional 3D Printed Parts | Basic Fusion 360 3D Printing
 0:14:45
How I put 2D Animated Characters on 3D Sets with BLENDER
 0:29:12
How to create Isometric 3D Design in Blender | Blender Tutorial
 0:01:16
Photo to 3d Model (Quick Tutorial)
 0:09:33
3D set extension / VIRTUAL ENVIRONMENT tutorial (After Effects)
 0:38:45
Code-It-Yourself! 3D Graphics Engine Part #1 - Triangles & Projection
 0:02:45
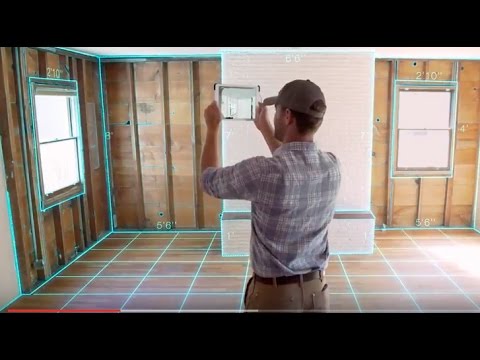
Canvas: Create A 3D Model Of Your Home In Minutes
 0:04:10
How to place yourself in a 3d environment - VFX BREAKDOWN
 0:10:29
3D Modeling & Design – Do you REALLY need a Xeon and Quadro??
 0:01:59
Blender Model to 3D Print - Quick Guide
 0:08:08
Turn 2D Images into 3D Objects with Monster Mash! (Free Web Tool)
 2:20:52
How to Build a 3D Printer (The Ultimate Guide)
 0:21:45
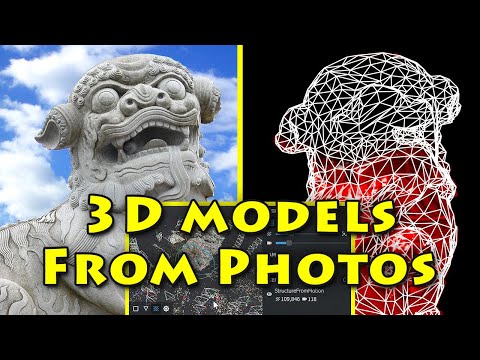
Meshroom: 3D models from photos using free photogrammetry software
 0:15:32
3D Modeling Workflow for Games - Explained
 0:03:43
How I model 3d buildings in Blender - 3 Minute Tutorials
 0:07:43
The Ultimate Beginner's Guide to 3D Environment Art
 0:09:18
Use PIFuHD to Create a 3D Model of Anyone from a Single Photo
 0:08:07
2D TO 3D FACE-BUILDER IN BLENDER!
Комментарии