filmov
tv
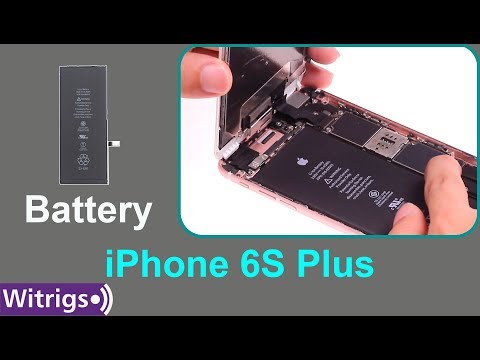
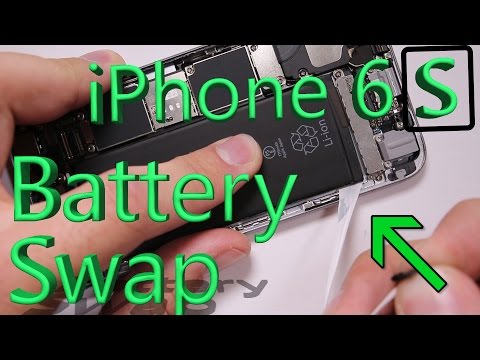
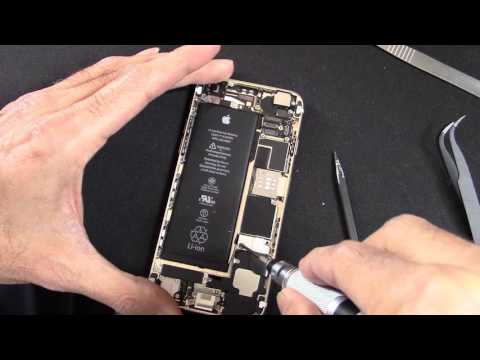
iPhone 6s Plus Battery Replacement-How To

Показать описание
iPhone 6s Plus batteries are old now, and with this video you will be able to replace it! Grab a battery fix kit from iFixit!
Follow the step by step guide!
Need a Pro Tech Toolkit? Get yours today!
Stay organized with a FixMat!
Subscribe to our channel for all our latest teardown and repair videos!
Follow the step by step guide!
Need a Pro Tech Toolkit? Get yours today!
Stay organized with a FixMat!
Subscribe to our channel for all our latest teardown and repair videos!
 0:05:33
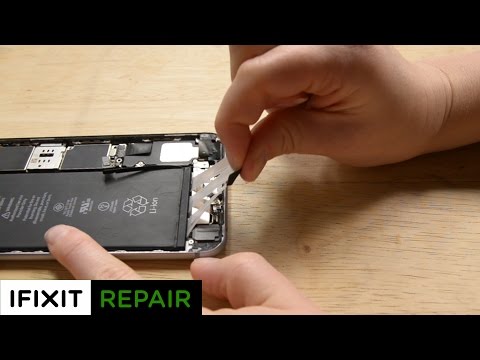
iPhone 6s Plus Battery Replacement - Repair Guide
 0:04:59
iPhone 6s Plus Battery Replacement-How To
 0:05:06
iPhone 6s Plus Battery Replacement in 5 Minutes
 0:03:05
iPhone 6s Plus battery replacement in 3 minutes
 0:11:37
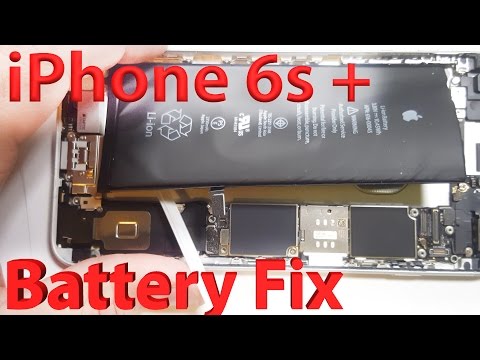
iPhone 6s Plus Battery Replacement
 0:11:34
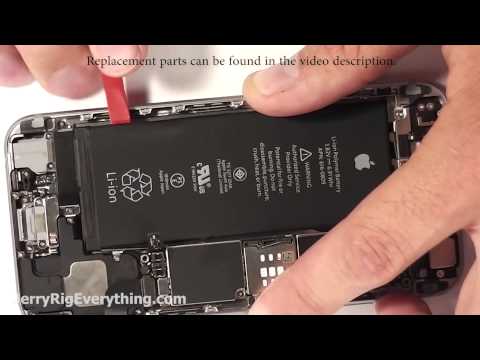
Start to Finish iPhone 6s Plus Battery Replacement
 0:04:09
iPhone 6 Plus Battery Replacement in 4 Minutes
 0:10:59
iPhone 6S Plus Battery Replacement Guide - How to replace iPhone 6S Plus battery - YONTEX
 0:00:55
Battery replacement iphone 6s plus
 0:08:50
iPhone 6S Plus Battery Replacement
 0:23:02
iPhone 6s Plus battery replacement
 0:03:20
iPhone 6S Battery Replacement in 3 minutes (Easy Method)
 0:12:36
iPhone 6 6s 6s Plus Battery Replacement Quickest Method
 0:42:49
iPhone 6/6 Plus battery replacement [The right way!]
 0:07:12
iPhone 6s Plus Battery Repair and Replacement - RepairsUniverse
 0:13:20
Replacing the Battery in an iPhone 6s
 0:06:45
iPhone 6, 6S, 6Plus and 7, 7Plus Battery Replacement and Upgrade THE RIGHT WAY
 0:22:15
Tutorial: Detailed step by step Battery Replacement Guide for iPhone 6S (Plus)
 0:08:27
Pisen Tutorial Video for iPhone 6s Plus Battery Replacement
 0:12:42
How to Replace Your iPhone 6s Plus A1690 Battery
 0:10:09
Apple iPhone 6s Plus iFixit Battery replacement and review
 0:05:59
How to Replace the iPhone 6S Plus Screen As Easily As Possible
 0:00:18
Comparison iPhone 6 Plus vs 6S Plus
 0:15:51
IPHONE 6S PLUS BATTERY REPLACEMENT 2020 MALAYSIA
Комментарии