filmov
tv
I REPLACED DESICCANT in my AMS for the LAST TIME!

Показать описание
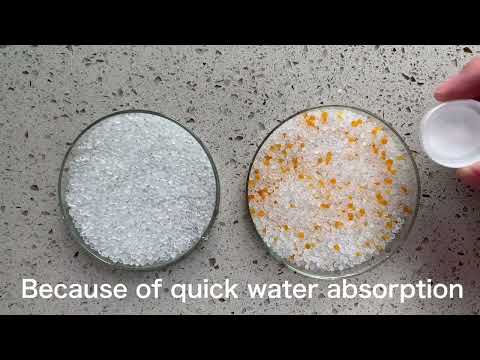
Hello, 3D Printing friends! Today we're going to check out a set of printable desiccant boxes for the Bambu Lab AMS, to hold reusable desiccant instead of single-use, disposable desiccant.
MODEL LINKS:
Need to buy stuff? 🇺🇲US [affiliate links]
1 Pound Orange Indicating Silica Gel
Did this video help you out, save you a bunch of time, or help you learn something new?
If so, please consider becoming a channel member, or buying me a coffee, or leaving a tip! Your support really helps, and is VERY MUCH APPRECIATED!
*️⃣ The BV3D Channel Storefront on Amazon:
*️⃣ Popular 3D Printer & Laser affiliate links:
(Save $200 with coupon code BV3D200 at checkout)
*️⃣ Shop for just about anything:
As an Amazon Associate I earn from qualifying purchases.
SOCIAL MEDIA
Disclosure:
I sometimes receive compensation such as discounted or free products, and when applicable, this is disclosed in videos and their descriptions. Whether free, discounted, or paid full price, any reviewed product is tested to the best of my ability, and I give my honest impression. All opinions expressed are my own.
#BV3D
#BambuLab
#AMS
CHAPTERS
00:00 Introduction
00:43 About the AMS
01:41 The Problem
03:11 The Solution
05:24 A Clever Slicer Trick
06:54 Wrapping Up
 0:08:03
I REPLACED DESICCANT in my AMS for the LAST TIME!
 0:11:03
I Replaced The Desiccant in my AMS With This Game Changer!
 0:00:32
Swapping desiccant
 0:00:58
Replacing desiccant on the Bambu AMS
 0:25:25
Don’t use desiccant bags unless you do this!
 0:00:58
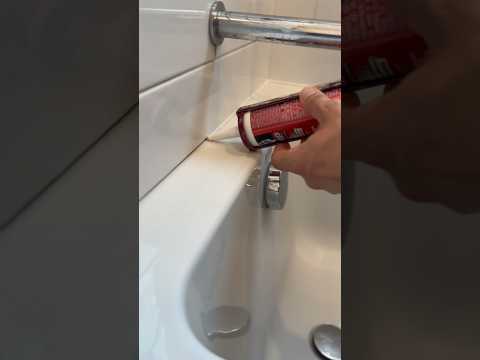
How to silicon your bathroom 🛁🎉 #bathroomdesign #bathroomupgrade #bathroomdiy #diy
 0:00:15
Drying silica beads
 0:13:57
UPGRADE Bambu Lab 'AMS' into a Dry Box with Desiccant & Hygrometer to protect your P1P...
 0:00:32
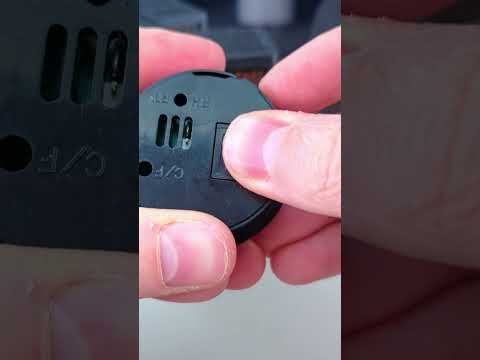
How to tell if silica gel desiccant is working?
 0:00:49
Rechargeable desiccant in Bambu Labs AMS #3dprinting
 0:00:24
black base oil bleaching by the silica gel bleaching sand
 0:01:00
Keeping it dry. Silica containers for my filament dry box (with ASMR)
 0:00:20
We can teach you to remove and replace the nasty silicone in your bathroom.
 0:00:12
Tesla Model 3 Air Conditioning HVAC Service. Replace Desiccant Bag Every 3-4 Years.
 0:00:49
DIY How To Replace Missing Tooth in Less Than 5 Minutes?
 0:00:46
More filament drying for the AMS unit using rechargeable silica and 3D printed containers
 0:00:59
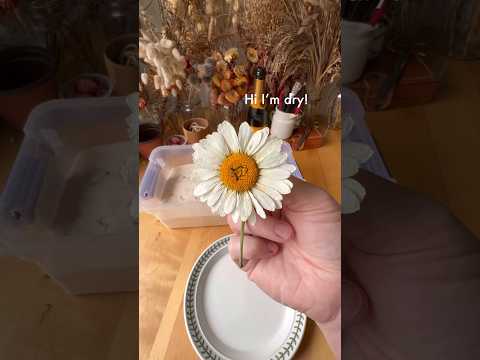
Silica gel is a great way to dry flowers while maintaining their color and shape #flowers #diycrafts
 0:00:12
silica gel for flower drying
 0:00:20
headlight restoration : no need to pay 💰 new one 🧨🤝 #carcare #auto #car #cardetailing #headlight...
 0:01:39
Dehumidifier DIY and Destory CaCl2
 0:05:10
Easy Desiccant Recharging with PolyDryer
 0:00:16
Trick For getting a Stuck Oil Filter Off
 0:00:38
changing desiccant at my natural gas well.
 0:00:49
DIY Desiccant Water Catch Can Air Dryer #plasma #compressor #shop #fabrication #DIY
Комментарии