filmov
tv
The Secret To Perfect Moulding Returns(Wish I Knew This When I Started)

Показать описание
If you try out this technique it will immediately become your go to method!
-------------------------------------------------------------------------------------------------------------------
The Links above are affiliate, if you purchase something I will earn a small commission- a great way to support the channel!
Thanks for watching!
-------------------------------------------------------------------------------------------------------------------
The Links above are affiliate, if you purchase something I will earn a small commission- a great way to support the channel!
Thanks for watching!
 0:08:05
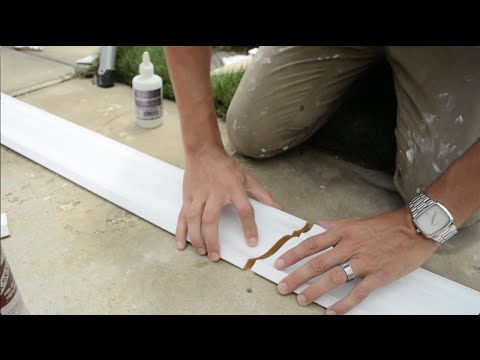
The Secret To Perfect Moulding Returns(Wish I Knew This When I Started)
 0:03:21
The #1 Beginner Trim Mistake & How to Avoid It / How to Measure & Cut Mitered Corners
 0:08:12
How To Get Perfect Invisible Seams Joining Baseboard Trim And Moulding Like A Pro! | Scarf Joint
 0:04:06
How To Make Perfect Corners on Your Trim
 0:00:09
Presenting Secret Measurements for Perfect Moulding! #home #explorepage #homeinteriordesigners
 0:21:34
Get Perfect Seams Joining Trim and Mouldings
 0:04:10
3 Ways to End Baseboard Trim - Returns
 0:01:01
Cool Trick for perfect corners when cutting wood trim.
 0:06:57
Caulk Like a Pro/How to Get Perfect Paint Lines on Trim
 0:03:56
Best Door Trim Installation | WHY IS EVERYONE USING THIS?
 0:02:13
Accurately Cut Mitered Trim Without Using Measuring Tools
 0:11:40
Amazing Tool Hack for Trim Moulding
 0:09:14
Handyman Secrets - How To Do Coping So Your Trim Looks Clean & Awesome
 0:01:09
How to cut 90 degree cove moulding
 0:21:15
How to make your trim and crown moulding standout
 0:01:17
How DIY To Cut Trim At Any Degree Angle Tips And Tricks
 0:01:01
💪🏼 Beginner Friendly DIY Wall Trim | Picture Frame Molding Tutorial #diyprojects #entryway #diy...
 0:13:49
How to measure and cut angles for baseboard, crown moulding, etc
 0:10:06
Customer furious with me - Failed Trim Install
 0:05:23
Diving Tips & Tricks: Perfecting your Trim
 0:01:00
3 ways to cut crown moulding
 0:03:27
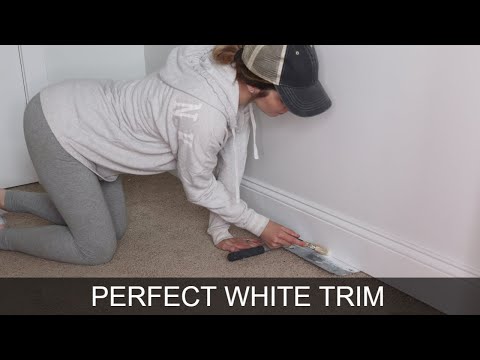
Secret To Perfect Painted White Trim | Baseboard and Window Molding Tips
 0:03:39
The Right Way to Cut Crown Moulding - Explained by a Professional
 0:00:24
Ideal Length To Trim Your Body Hair!
Комментарии