filmov
tv
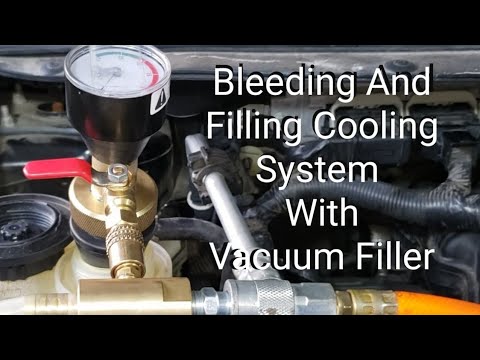
Bleeding And Filling Cooling System With Vacuum Filler (The Best Method in My Opinion!)

Показать описание
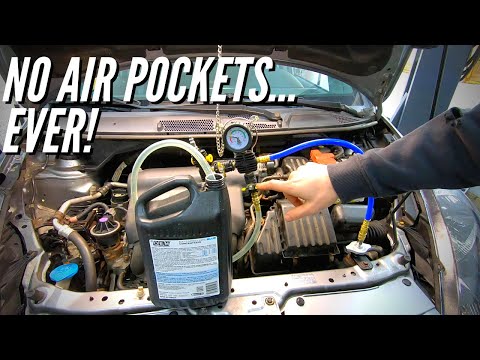
In this video I show how to bleed and fill a cooling system using a cooling system vacuum filler. The particular vacuum filler I am using in the video is a UView Airlift Cooling System Leak Checker and Airlock Purge Tool Kit. The process is similar among many different brands of cooling system vacuum fillers. In my opinion, using a vacuum filler is the best and easiest way to bleed and fill a cooling system. It removes 100%ish of the air from the system.
Note: This demonstration is applicable to vehicles that have had the cooling system drained and that need to be refilled.
Warning! Special care should be taken when working on a hot cooling system. This video does not go over this as the vehicle is totally cool. Use our owners and repair manual for specific information regarding the dangers of working on a hot cooling system.
Step 1: Place the head of the tool as shown in the video into the coolant degas bottle, aka reservoir, or place the had of the tool directly into the radiator where the radiator cap fits.
Note: placing the head of the tool in an over flow bottle will not work. While the overflow bottle is a part of the cooling system it does not handle pressurized coolant and cannot support a vacuum.
Step 2: Attach the venturi tube, the hose that has the T in it, to the head of the tool. Then attach the air hose from your air compressor to the venturi tube.
Step 3: Open the valve on the head of the tool allow a vacuum to build. Allow the vacuum to reach approximately 25hg. Then shut the valve off.
Step 4: Disconnect the venturi tube from the head of the tool. Watch the vacuum gauge on the head of the tool. There should be no drop in vacuum. If there is then inspect for leaks. If no leaks can be found then it would be recommended to fill the system with water instead of coolant during the next steps. It would then be recommended to pressurize the cooling system to identify where the leak is at. (I'll have a link to a video showing how to perform a pressure test below.) If the gauge holds proceed to next step.
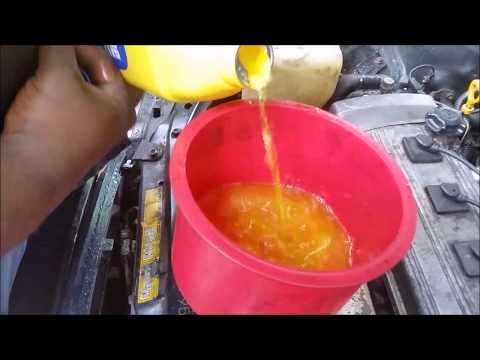
Step 5: Attach fill tube to tool head. Place the screened end into coolant container until the screen reaches the bottom of the coolant container. Open the valve on the head of the tool to allow coolant to be sucked into the cooling system. Keep an eye on the coolant level in the coolant container. Do not let the coolant level fall below the screened end of the fill tube. Once level approaches the screened portion of the fill tube shut the valve off on the tool head stopping the flow of coolant.
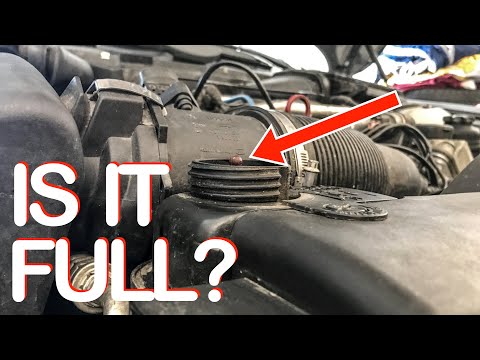
Step 6: Take fill hose out of coolant container keeping the screened portion of the hose pointed up and above the level of the tool head as to not allow air to enter the fill hose. Fill coolant container with either coolant or water in order to obtain a 50/50 mixture of coolant. Insert fill hose into container and open the valve on the tool head to allow coolant or water to flow into system. Allow vacuum to dissipate. If vacuum is still present and the coolant container is close to empty then repeat above instructions to add more coolant or water. (Do not allow air to enter the system.) Once vacuum is gone then the system is filled. Replace the radiator cap or reservoir cap.
Note: While it is a good indication that the system is tight if the vacuum does not drop in step 4 I would still suggest performing a cooling system pressure test to insure no leaks are present. Sometimes a cooling system may not leak under a vacuum but will leak under pressure. Here is a link to a video showing how to perform a cooling system pressure test.
Discloser: As an Amazon affiliate I earn commission from qualifying sales.
DISCLAIMER
Barbour's Auto Help is not responsible for any damage or personal injury incurred in the process of performing any auto repairs done by you the viewer. Automotive repair is extremely dangerous. Repair your vehicle at your own risk. It is the viewers responsibility to verify all information and procedures as outlined in YOUR REPAIR MANUAL AND OWNERS MANUAL FOR YOUR VEHICLE. Owning and using a repair manual suited for your vehicle is essential for correctly and safely performing ANY repair to your vehicle. Always wear safety glasses and heed all instructions for use applicable to any piece of equipment you may use. Due to circumstances out of the control of Barbours Auto Help, Barbours Auto Help makes no guarantee that by the use of the information given in this video a quality repair will be made. Also, Barbour'sAutoHelp makes no guarantee that the information provided is totally complete, syncronized and accurate.
Note: This demonstration is applicable to vehicles that have had the cooling system drained and that need to be refilled.
Warning! Special care should be taken when working on a hot cooling system. This video does not go over this as the vehicle is totally cool. Use our owners and repair manual for specific information regarding the dangers of working on a hot cooling system.
Step 1: Place the head of the tool as shown in the video into the coolant degas bottle, aka reservoir, or place the had of the tool directly into the radiator where the radiator cap fits.
Note: placing the head of the tool in an over flow bottle will not work. While the overflow bottle is a part of the cooling system it does not handle pressurized coolant and cannot support a vacuum.
Step 2: Attach the venturi tube, the hose that has the T in it, to the head of the tool. Then attach the air hose from your air compressor to the venturi tube.
Step 3: Open the valve on the head of the tool allow a vacuum to build. Allow the vacuum to reach approximately 25hg. Then shut the valve off.
Step 4: Disconnect the venturi tube from the head of the tool. Watch the vacuum gauge on the head of the tool. There should be no drop in vacuum. If there is then inspect for leaks. If no leaks can be found then it would be recommended to fill the system with water instead of coolant during the next steps. It would then be recommended to pressurize the cooling system to identify where the leak is at. (I'll have a link to a video showing how to perform a pressure test below.) If the gauge holds proceed to next step.
Step 5: Attach fill tube to tool head. Place the screened end into coolant container until the screen reaches the bottom of the coolant container. Open the valve on the head of the tool to allow coolant to be sucked into the cooling system. Keep an eye on the coolant level in the coolant container. Do not let the coolant level fall below the screened end of the fill tube. Once level approaches the screened portion of the fill tube shut the valve off on the tool head stopping the flow of coolant.
Step 6: Take fill hose out of coolant container keeping the screened portion of the hose pointed up and above the level of the tool head as to not allow air to enter the fill hose. Fill coolant container with either coolant or water in order to obtain a 50/50 mixture of coolant. Insert fill hose into container and open the valve on the tool head to allow coolant or water to flow into system. Allow vacuum to dissipate. If vacuum is still present and the coolant container is close to empty then repeat above instructions to add more coolant or water. (Do not allow air to enter the system.) Once vacuum is gone then the system is filled. Replace the radiator cap or reservoir cap.
Note: While it is a good indication that the system is tight if the vacuum does not drop in step 4 I would still suggest performing a cooling system pressure test to insure no leaks are present. Sometimes a cooling system may not leak under a vacuum but will leak under pressure. Here is a link to a video showing how to perform a cooling system pressure test.
Discloser: As an Amazon affiliate I earn commission from qualifying sales.
DISCLAIMER
Barbour's Auto Help is not responsible for any damage or personal injury incurred in the process of performing any auto repairs done by you the viewer. Automotive repair is extremely dangerous. Repair your vehicle at your own risk. It is the viewers responsibility to verify all information and procedures as outlined in YOUR REPAIR MANUAL AND OWNERS MANUAL FOR YOUR VEHICLE. Owning and using a repair manual suited for your vehicle is essential for correctly and safely performing ANY repair to your vehicle. Always wear safety glasses and heed all instructions for use applicable to any piece of equipment you may use. Due to circumstances out of the control of Barbours Auto Help, Barbours Auto Help makes no guarantee that by the use of the information given in this video a quality repair will be made. Also, Barbour'sAutoHelp makes no guarantee that the information provided is totally complete, syncronized and accurate.
 0:07:29
Bleeding And Filling Cooling System With Vacuum Filler (The Best Method in My Opinion!)
 0:12:51
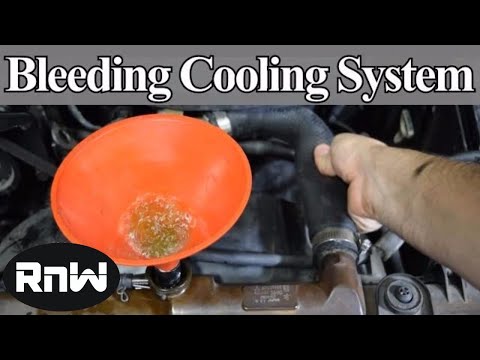
Best 3 Ways to Bleed Air Out of Your Car's Cooling System
 0:09:14
How to “BURP” Bleed Air Out of a Cars Cooling System - Easy DIY process for ALL makes
 0:02:32
How to Properly Bleed Engine Cooling System by yourself
 0:06:31
Learn How To Bleed Air Out Of Your Car's Cooling System With This Quick And Easy Diy Method.
 0:09:54
How to Bleed or 'BURP' Air Out Of Your Engine Cooling System (2 WAYS) #coolingsystem #over...
 0:05:05
BLEEDING AIR from the cooling system with the “spill free funnel” radiator
 0:05:18
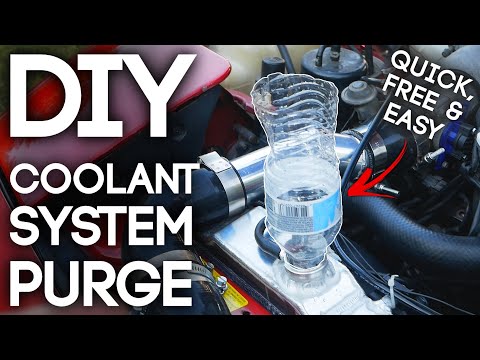
How To Purge Air Out of a Cooling System! [FREE and DIY Method]
 16:24:57
Reincarnation As A Weak Demon With The Sss Demonic Evolved System - Manhwa Recap
 0:06:48
AutoZone How-To: Flushing and Filling Your Cooling System
 0:04:50
How To Easily Remove Trapped Air From A Car's Cooling System
 0:06:53
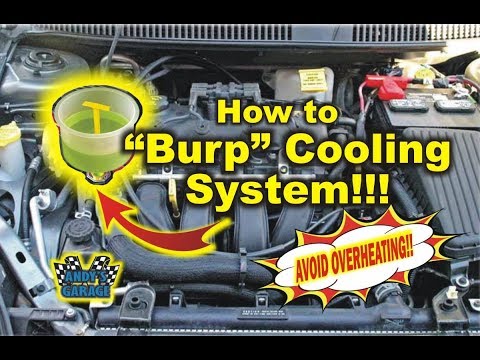
How To 'Burp' Cooling System (Andy’s Garage: Episode - 17)
 0:13:07
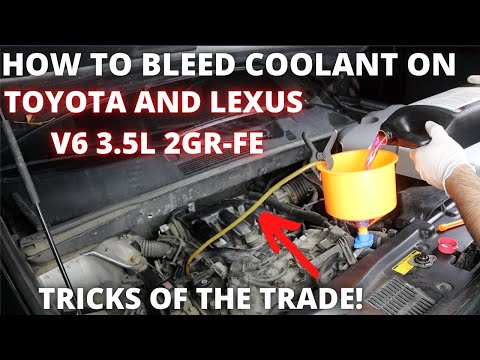
Toyota Cooling System Bleeding for V6 2GR-FE 3.5L THE RIGHT WAY!
 0:11:06
How to Vacuum Fill Your Cooling System (Astro 78585 Review and Instructions)
 0:15:15
Refill Coolant Systems the EZ Way! OEMTools 24444 Airvac and Refill Kit
 0:04:32
Efficient Method to Fill Coolant and Bleed Air in Mercedes-Benz Cooling System
 0:03:51
BEST INVENTION EVER FOR BLEEDING COOLANT SYSTEMS
 0:02:17
How to Bleed and Fill Engine Cooling System | BMW E39 540i
 0:06:50
How to Quick Flush Your Cars Cooling System
 0:09:28
How To Fill Up Radiator Coolant And Bleed Air Out The Cooling System
 0:05:31
Filling and Bleeding the Cooling System on a GM 3.8L
 0:08:50
How to Properly Bleed a Subaru Cooling System!!
 0:22:07
How to SUPER FLUSH your Cars Cooling System
 0:00:58
The *EASIEST* way to bleed your coolant 🥶🥶🥶
Комментарии