filmov
tv
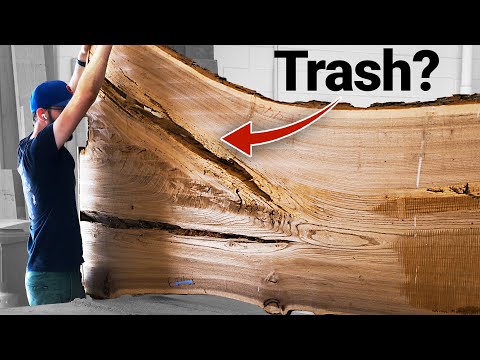
This solves every crappy table saw fence!

Показать описание
Elevate your woodworking game with Shopfix as we guide you through the process of building a custom auxiliary table saw fence for your table saw! 🛠️ In this detailed tutorial, we'll show you step-by-step how to enhance the precision and functionality of your table saw with this DIY project.
#woodworking #diy #tablesaw
🌟 Why an Auxiliary Fence?
Discover the advantages of adding an auxiliary fence to your table saw. From increased accuracy to expanded capabilities, this DIY upgrade will take your woodworking projects to new heights.
🔧 Materials and Tools Showcase:
We begin by showcasing the materials and tools you'll need for this project. Follow along as we guide you through the selection of quality materials and essential tools to ensure a successful build.
⚙️ Building with Precision:
Watch as we delve into the construction process with precision and clarity. We'll provide detailed instructions on measuring, cutting, and assembling your auxiliary fence, ensuring a snug and accurate fit for your table saw.
🪚 Enhance Your Woodworking Skills:
This tutorial isn't just about building a fence; it's an opportunity to enhance your woodworking skills. Learn valuable tips and tricks along the way that you can apply to future projects.
🎓 Adjustability and Customization:
Explore the versatility of your new auxiliary fence by understanding how to adjust and customize it to suit different woodworking tasks. From bevel cuts to dadoes, we've got you covered.
👍 Like, Subscribe, and Share the Woodworking Wisdom:
If you're ready to take your table saw to the next level with a custom auxiliary fence, show your support by giving this video a thumbs up, subscribing for more woodworking insights, and sharing the woodworking wisdom with your fellow craftsmen.
I have more woodworking and DIY videos on my channel so don't forget to swing over to the Shopfix Youtube channel page to check out more videos! If you enjoyed this DIY/ woodworking video don't forget to smash that like button! If you want more woodworking videos and more DIY home improvement videos feel free to subscribe to the Shopfix channel, Thanks so much!
Shopfix, for the love of woodworking and everything DIY!
 0:04:41
This solves every crappy table saw fence!
 0:00:34
Human Calculator Solves World’s Longest Math Problem #shorts
 0:00:35
I Solved the World’s Smallest Rubiks Cube
 0:24:32
How We Solved the Worst Minigame in Zelda's History
 0:26:44
They Said This Wood Was Unusable
 0:30:38
Solving Wordle using information theory
 0:21:03
I Solved All of Minecraft’s Problems
 0:20:56
I Solved More of Minecraft's Problems
 0:44:28
THROTTLING OF STEAM, SOLVE ANY Qs | DRYNESS FRACTION Separating Calorimeters in Steam Thermodynamics
 0:15:11
I FINALLY Solved Baldi's Impossible Question... (and it was so simple...)
 0:20:19
20 Ways to Solve a Rubik's Cube
 0:01:00
Newcomer wants to be president to solve Earth’s problems,but gets laughed at #movie #shorts #cartoon...
 0:17:43
Solving the IMPOSSIBLE LOTUS Puzzle!! LEVEL 10!
 0:20:17
I Solved Your Worst Minecraft Problems
 0:11:46
I Solved The World's Longest Math Problem!
 0:07:37
'Expert In Wobbly Tables' Solves The Problem Of Wobbly Tables | Dragons' Den
 0:11:07
I tried solving EVERY event with ONE HAND
 0:12:33
How Bad Is The Wind Turbine Trash Problem? And Can We Solve It? | World Wide Waste
 0:09:07
LAST MINUTE FIXES FOR ANY OCCASION || Easy Fashion Hacks And Tips by 123 GO!
 0:10:20
Quick And Easy Fixes For Busy Girls || DIY Last Minute Life Hacks For Smart Girls
 0:14:43
How to Solve Every Square-1 EP Intuitively!
 0:01:54
If you are genius solve this | Cool Maths Game
 0:33:29
How to Solve a Rubik's Cube in 8 Steps | The Math of Games and Puzzles
 0:01:16
How to solve limited connection problem on TCL LCD
Комментарии