filmov
tv
Easy DIY Compost Bins | 3 Bin Compost Plans

Показать описание
Things I Used in This Project:
Want to support me? Support the companies that support me:
Welcome to the official April Wilkerson YouTube channel. I’m April and I’m the creator of Wilker Do’s. I'm not professional or have any training, so I just pick the project I want to tackle and figure it out step by step. On this channel you will find a variety of content like DIY home improvement, How-To’s, construction and more.
 0:11:27
Easy DIY Compost Bins | 3 Bin Compost Plans
 0:03:04
5 Minute Compost Bin - Composting for Beginners
 0:06:43
How to Build an Easy DIY Compost Bin
 0:02:48
DIY Compost bin- fast, easy and cheap!
 0:16:53
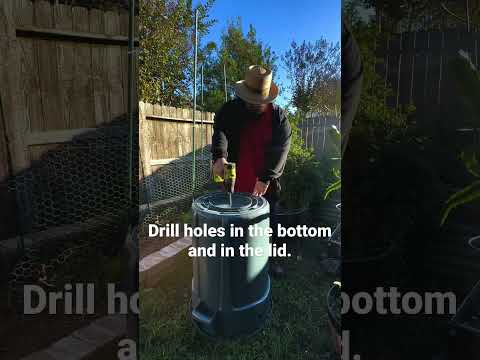
How To Make Unlimited Compost FAST In A $20 Trash Can: EASY DIY Guide
 0:00:32
DIY Indoor Compost #shorts
 0:00:51
How to build a compost bin
 0:00:36
How’s it looking now? DIY Compost Bin (Part 2) #sustainability #diy #compost #ecofriendly
 0:00:37
Composting for Beginners (Easy Compost Bin) #compost #composting #gardening
 0:08:14
Worlds Easiest Compost Method - How To Compost Literally Anything - Ideal For Beginners
 0:04:34
How to Make a Compost Bin from Pallets
 0:12:14
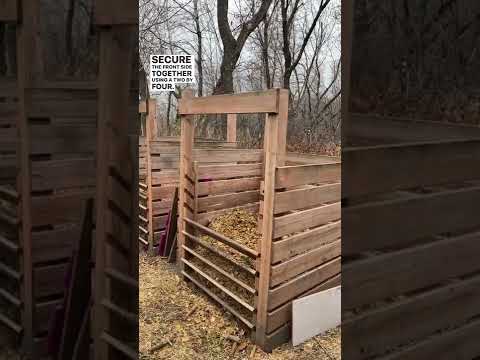
DIY Compost Bin With Removable Front | Step By Step With Cost | SO EASY
 0:12:21
How to Make Hot Compost (Start to Finish)
 0:04:23
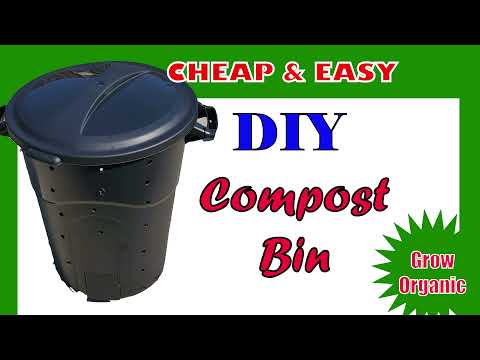
CHEAP and EASY Composting Method.. 32 Gallon Trash Bin
 0:05:15
New Cheap and Easy DIY Compost Bin
 0:00:57
Indoor Worm Composting Bin Explained 🪱
 0:00:57
Here are 5 ways you can make compost at home and reduce landfill. #EarthDay #YouTubePartner
 0:07:24
DIY Compost Bin for $13! Easy & Affordable - Gardening Tips
 0:01:00
Easy DIY Stackable Worm Compost Bin 🪱#vermicompost
 0:01:01
Build garden compost bins for FREE…so easy! #DIY #gardening #composting
 0:06:01
How to start composting for beginners: Easiest method I’ve used that works! 
 0:05:48
5 Composting Myths You Should Stop Believing Right Now
 0:00:30
DIY Compost Bin!
 0:00:57
Cheap And Easy DIY Worm Composting Bin! #Shorts
Комментарии