filmov
tv
Vcarve inlay numbers

Показать описание
In this video I describe what the numbers mean in vcarve inlays. I used Vectric Aspire software to create the vcarve inlays used as examples in this video.
 0:06:30
Vcarve inlay numbers
 0:45:22
Inlay Story Board that explains the start depth numbers for my Onefinity Journeyman and a 15° bit
 0:14:49
How to use the VCarve inlay toolpath in Vectric software | 2.5D Toolpaths | V12 Tutorials
 0:19:09
A Redneck's Guide to Vcarve Inlays.
 0:14:05
Vcarve Inlay on an End Grain Cutting Board
 0:10:40
How to make perfect inlays: Part 2 - Woodworking skills with CNC
 0:03:56
VCarve Inlay process - End Grain Cutting Board using Onefinity CNC
 0:07:44
Vcarve Inlays on the CNC Router
 0:23:02
Perfect Vcarve Inlays REVISED
 0:00:18
Vcarve Inlay | Oziel Rossow
 0:03:10
TUTORIAL | How to use a Tapered Ballnose Bit as a V-Bit or Engraving Bit
 0:00:17
VCarve Inlay
 0:00:32
Shopsabre Vcarve inlay practice
 0:00:30
making a vcarve inlay
 0:00:58
CNC VCarve Mistake #cncowners #vcarve #cnctutorial #inlay #mistake #woodworking
 0:20:30
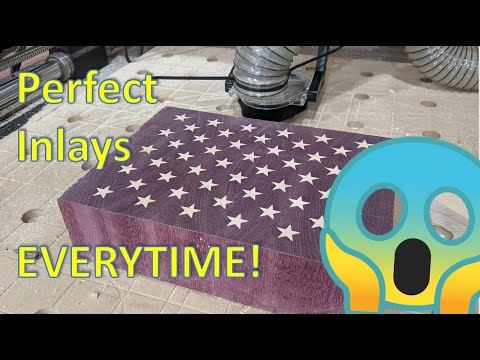
How to create perfect inlays with a CNC every time // Woodworking // Tutorial //
 0:11:06
Advanced V Carve Inlay Tutorial
 0:03:48
Easiest way to paint V Carved wood signs
 0:42:08
Deep inlays VCarving detailed tutorial with Vectric VCarve
 0:14:25
Inlay Tutorial - How I do end grain inlays in Vectric VCarve Desktop. 4K
 0:00:25
Vcarve Inlay Tutorial Coming Soon! #shorts #diy #vcarve #inlay
 0:11:50
Beginners step by step CNC first inlay toolpath using VCarve
 0:50:05
VCarve Inlays with Todd | Vectric Worldwide UGM 2023
 0:20:21
Perfect Deep Wood Inlay - How to get perfect inlays with a CNC machine using straight bits (no gaps)
Комментарии