filmov
tv
Advanced V Carve Inlay Tutorial

Показать описание
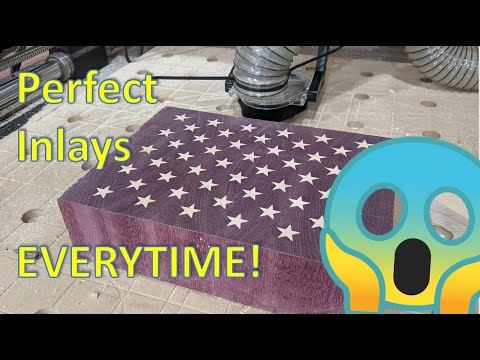
Making awesome v carve inlays is easier than you think once you understand how they work! Follow along as I show you the steps required to create these with Carbide Create.
Don’t forget to flip your image horizontally for the inlay if it isn’t symmetrical like these stars!
Did you make one of these after watching this tutorial? If so, I'd love to see it! Please tag me on Instagram @full_steam_designs and Facebook @Full Steam Designs
If you enjoy my content and would like to show your support on a more personal level, please consider checking me out on Patreon. Thank you!
 0:11:06
Advanced V Carve Inlay Tutorial
 0:18:01
How to Create Perfect V-Carve Inlays on your CNC
 0:11:12
V Carve Inlays Carveco Shapeoko style
 0:23:02
Perfect Vcarve Inlays REVISED
 0:03:29
Carbide Create Gets a New Toolpath: 'Advanced Vcarve'
 0:42:08
Deep inlays VCarving detailed tutorial with Vectric VCarve
 0:06:30
Vcarve inlay numbers
 0:35:17
Carveco V-Carve inlay tutorial
 0:20:30
How to create perfect inlays with a CNC every time // Woodworking // Tutorial //
 0:10:40
How to make perfect inlays: Part 2 - Woodworking skills with CNC
 0:13:37
How to Use the Vcarve and Advanced Vcarve Toolpaths | Carbide Create Tutorial
 0:03:56
VCarve Inlay process - End Grain Cutting Board using Onefinity CNC
 0:14:05
Vcarve Inlay on an End Grain Cutting Board
 0:19:09
A Redneck's Guide to Vcarve Inlays.
 0:08:46
Carveco V Carve inlay
 0:10:03
How to Make an Inlay Cutting Board with CNC|How to Make a Cutting Board
 0:19:41
V-Carve Inlay - My First CNC Project
 0:05:10
How to V-Carve in Carbide Create | Beginner CNC Tool Paths | Carbide Create V-Carve | CNC Basics
 0:00:30
Making a V-Carve Inlay
 0:33:09
Perfect Vcarve Inlays Everytime
 0:04:37
Punisher V-carve inlay Test - Full
 0:27:39
CNC Tips: How To Make A VCarve Inlay
 0:03:10
TUTORIAL | How to use a Tapered Ballnose Bit as a V-Bit or Engraving Bit
 0:00:17
VCarve Inlay
Комментарии