filmov
tv
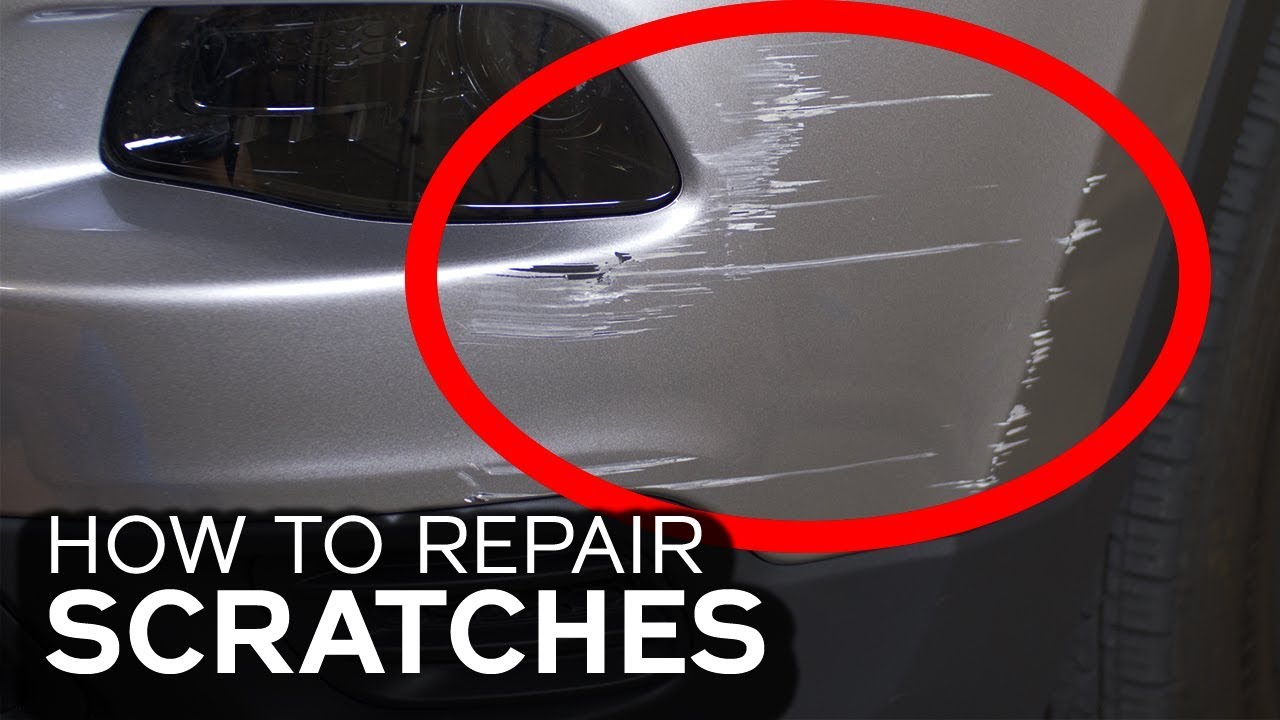
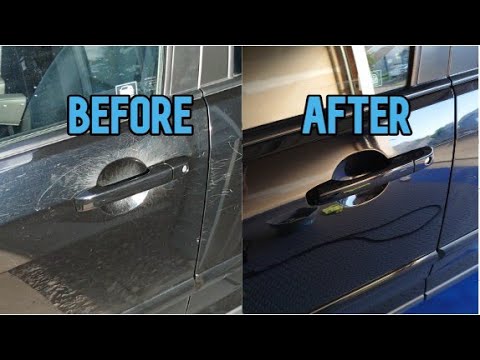
How to Repair Scratches on your Car | Save Hundreds of Dollars
Показать описание
How to repair scratches on your car and Save Hundreds of Dollars
I repaired the scratches on my 2017 Jeep Cherokee for cheap.
**Note**
Some of the comments suggested to use 2500 or higher grit sand paper after the paint is dry right before buffing to make it shinier and smoother and also to use *wax after buffing with compound and polish. Thanks again for watching! Good luck on your projects!
YOU CAN GET THE MATERIALS HERE:
CAMERA EQUIPMENT:
Please Like, Comment and Share this video.
Please SUBSCRIBE to my channel!
*Wax was not used in the video but some comments suggested to use wax after using the compound and polish.
*Amazon and Automotivetouchup links are affiliate links.
 0:11:58
How to Remove Scratches from Car PERMANENTLY (EASY)
 0:06:22
How to Repair Scratches on your Car | Save Hundreds of Dollars
 0:05:08
How to repair scratches on your Car. Ultimate Hack
 0:06:28
Car Paintwork Scratches Try this method to save you money!!
 0:05:29
Easy Way to remove scratches from Car in 3 minutes. That You Won't Believe !
 0:14:34
EASIEST way to repair car scratches at home! inc. Metallics! Using a cordless drill! Save Money!
 0:05:48
How to Fix Scratches on Your Car
 0:11:58
How To Repair Deep Scratches And Preserve The Clear Coat In The Process!!
 0:03:41
ٰImported Toyota Fortuner Legender , Bonnet and Fender Deep Scratch Removing
 0:08:57
How to Fix Scratches on Your Car in 5 Minutes! DIY Car Scratch Repair
 0:01:03
removing “small scratches” from your car with TOOTHPASTE
 0:02:35
DIY: How to repair deep scratches on a car bumper?
 0:00:59
FIXING SCRATCHES ON THE CAR PAINT WITH NAIL POLISH
 0:08:06
QUICKEST way to repair car scratches at home! Save Money! Cordless drill!
 0:00:20
How to fix scratches on car for less than $18!
 0:09:36
Permanently Fix Deep Scratches and Road Rash yourself. No RESPRAY!
 0:04:17
How to remove Clearcoat Scratches EASY!
 0:11:45
Scuffs or Scratches on Your Car or Truck? How to Repair Light Scratches in Your Car's Paint
 0:38:56
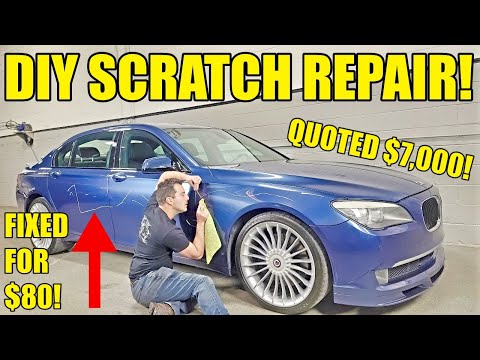
I Was Quoted $7K To Fix Deep Key Scratches So I Fixed It Myself For $80! DIY Paint Scratch Fix!
 0:04:37
Removing Scratches From Your Car Using WD-40 Hack - Final Judgement
 0:06:02
How to Remove Car Scratches with Autoglym Scratch Remover
 0:12:57
How to Remove Scratches From a Car Without a Polisher - In Less Than 5 Minutes
 0:16:03
BIG Chip Repair using the Squeegee method! Fix your own car SCRATCHES and CHIPS! Save Money!
 0:03:06
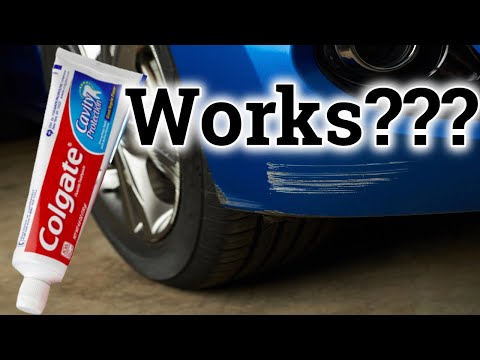
COLGATE - DOES IT REALLY WORK FOR CAR SCRATCHES? | #ColgateForCarScratches #CarScratches
Комментарии