filmov
tv
Troubleshooting: Testing power to a sprinkler valve.

Показать описание
In this video a sprinkler system has a station that is not watering. The first troubleshooting step is to isolate where the problem is. This video shows how to test the power to the valve and determine if the valve is faulty or if the problem is something else.
 0:02:02
Troubleshooting: Testing power to a sprinkler valve.
 0:04:02
How to use Multimeter testing TV power board
 0:08:37
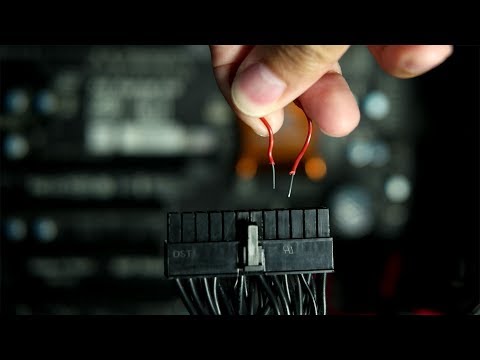
How to Test a PC Power Supply | Jumper Wire, PSU Tester, and Multimeter
 0:02:55
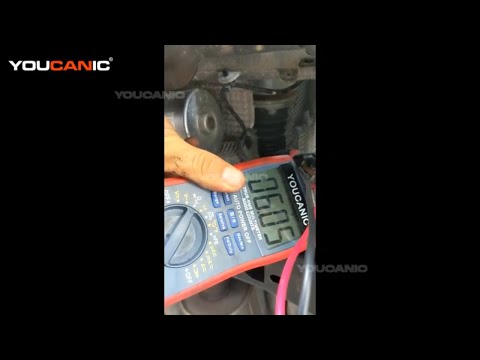
How to Test an Electric Power Steering using a Multimeter
 0:02:50
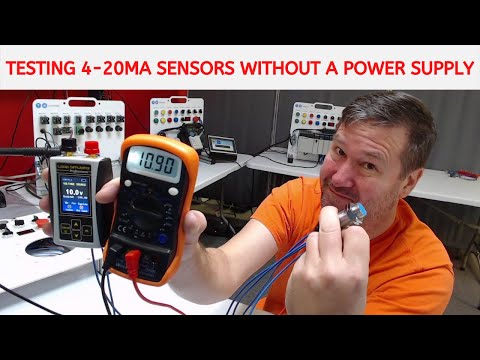
Bench Testing a 4-20ma sensors with a Multimeter and No Power
 0:04:17
Basic PC Troubleshooting: Test A Power Supply with a Paperclip
 0:07:05
how to test a power adapter with digital multimeter
 0:13:06
{522} How to Test SMPS IC Switching/ SMPS Switch Mode Power Supply IC Switching Test with Multimeter
 0:02:02
How to Test Your Power Converter
 0:15:57
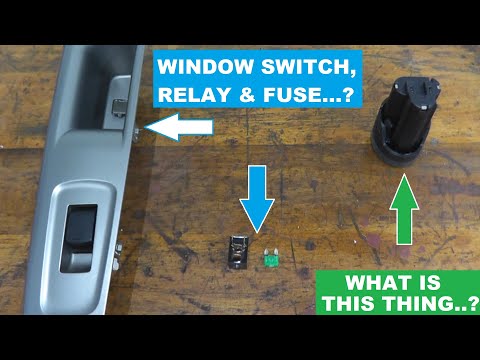
How To Test A Power Window Relay, Switch and Fuse
 0:04:05
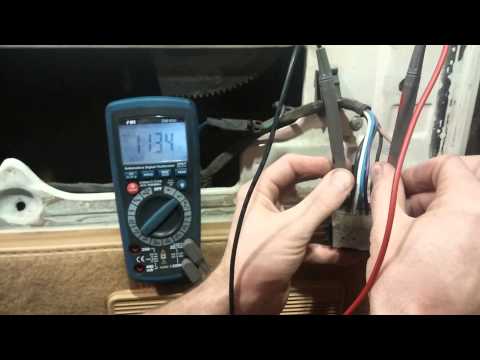
Testing a power window circuit
 0:11:27
How to Test and Troubleshoot a Power Steering Pump
 0:01:31
Power Supply Paperclip Test in 1 Minute! (Tutorial - How to determine if your PSU is DOA)
 0:46:36
Generator Not Making Power - Testing and Repair
 0:04:50
⚡️How To Test Fix Power Windows Bad Motor or Switch?
 0:00:49
Ryder Toys Thermal Fuse Test For Electric Ride On Kid Car Power Wheels Toys Battery Powered 24v 12v
 0:07:00
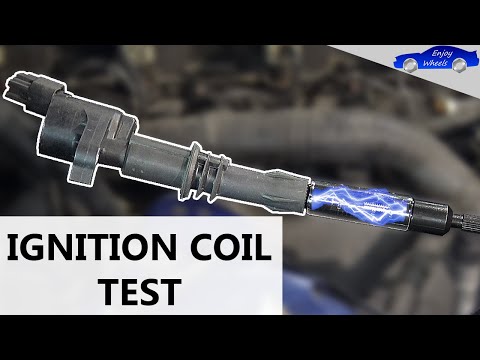
Engine misfiring : How to TEST an IGNITION COIL easily ? (Lack of power, excessive fuel consumption)
 0:03:10
How To Test your Laptop Computer Charger Power Cord Adapter Cable
 0:00:26
Dell Power Supply Build-in Self Test (BIST)
 0:05:32
Inside the 21st Century Power Test Lab
 0:04:02
How To Test Your Power Supply With A Paperclip
 0:09:55
How to test Vizio P652UI-B2 power supply board DPS-388AP / 056.04391.0031 / 2950336304
 0:01:00
How to Test the Pressure Switch on a Power Gear Motorized Hydraulic Leveling System V1
 0:02:30
Corsair Video FAQ: How to test a Corsair power supply
Комментарии