filmov
tv
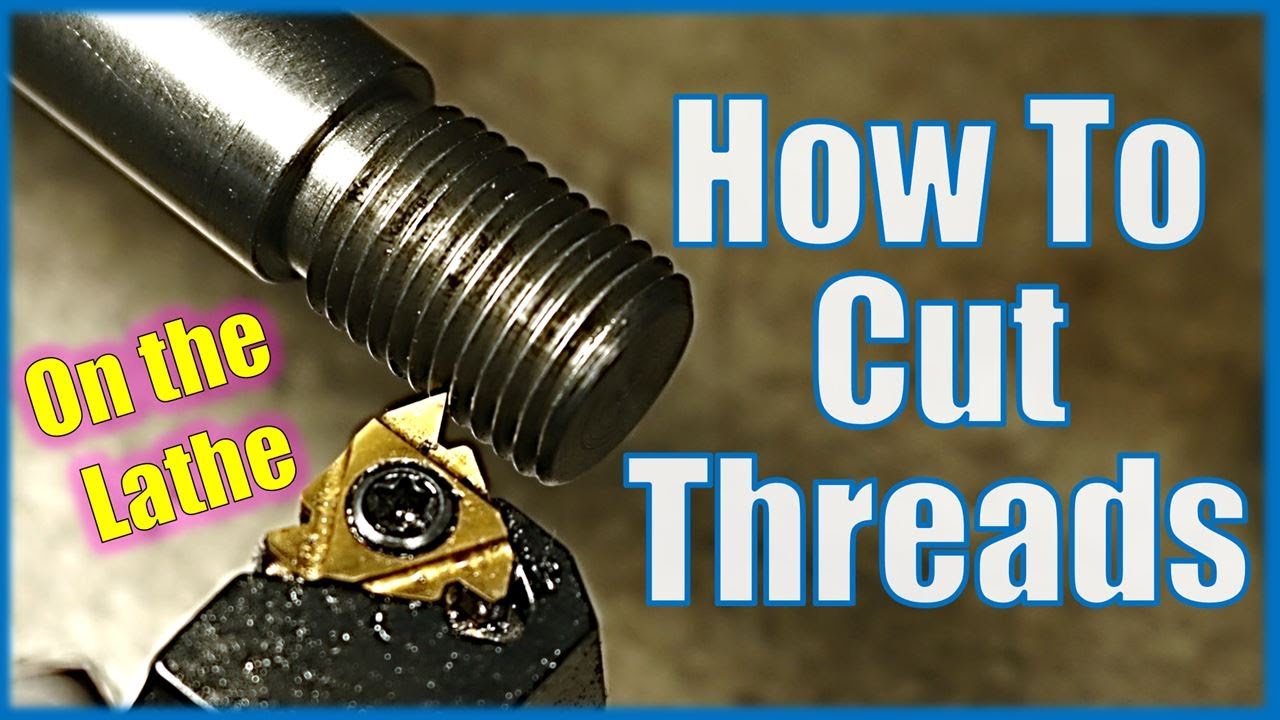
How to cut a thread on a manual lathe (Intermediate method ideal for home workshop & hobby engineer)
Показать описание
How to cut threads on a lathe is a fundamental skill of any machine operator. This is an intermediate method that is ideal for most applications and lends itself perfectly to the home workshop and hobby engineer. Cutting threads on the lathe this way is both fast and low risk. The basic way to cut threads on a lathe is very slow. The more advanced way to cut threads on the lathe is a little more risky and you are more likely to make a mistake. It's not hard and i'm sure you are more than capable, there is just more to do and therefore more opportunities to make a mistake. I think this method of cutting threads on the lathe is a good compromise between the two. The beauty of cutting threads on a lathe using this method is it is very versatile. If you need to stop thread cutting and do another operation you can just come back to it and the tool with pick up where you left off. You can't to this with the basic method...
I was asked to make a new motorbike axle for a friends flat track motorbike. The axle is turned from S275 which is a steel with a yield strength of 275 MPa. It machines nicely and has good shock loading properties making it ideal for this application. The Axle consists of three diameters with an M14x1.5 thread on one end for a nut.
Here is a recap of the order of operations for cutting a thread on the lathe using this method.
First set up your part, tool, speeds and feeds.
Colour in the area you want to thread and do a scratch pass.
Check the scratch pass with a thread gauge.
Cut your threads.
Clean up with a file, emery paper, and scotchbrite.
For the actual thread cutting:
1) Wait for your number on the thread dial indicator
2) Then your number lines up, engage the half nuts.
3) The thread is cutting.
4) At the end of the thread, dis-engage the half nuts.
5) Withdraw the tool in the -X Direction. (+X if threading internally)
6) Move back in Z direction to your start point.
7) Put on your next cut and repeat until down to size.
If you like the videos I make then please consider sharing them with your friends. There is a share button just below the video viewer. It's got loads of options for easy ways to share a link. This REALLY helps the channel to grow and enables me to bring you more videos.
For more information and behind the scenes content be sure to check out my socials
If you would like to make a contribution to the channel then I also have a Patreon page.
Cheers,
Rob
- Handmade Extreme -
Disclaimer: This video is meant for educational and entertainment purposes only. It is in no way meant to be a set of instructions and therefore no attempt should be made by any party to recreate what has been seen in this video. Any attempt to do so is done completely at your own risk.
 0:03:39
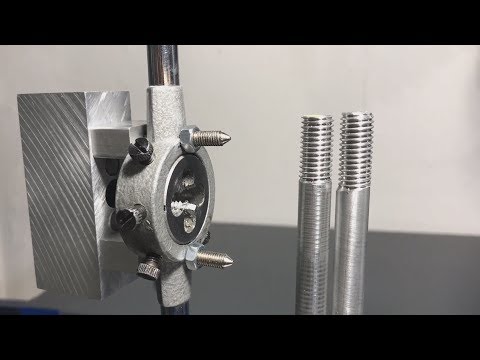
How to cut an internal thread in 3 steps by hand
 0:12:07
How to cut a thread on a manual lathe (Intermediate method ideal for home workshop & hobby engin...
 0:09:33
Hand threading with a die
 0:20:37
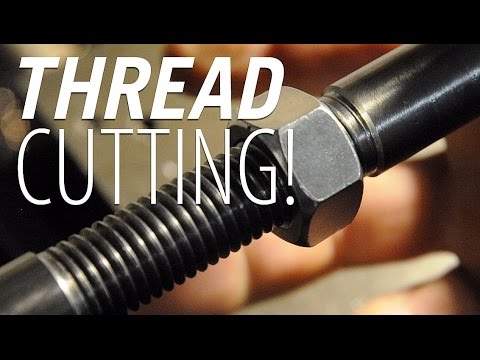
How To Cut Threads On A Lathe
 0:04:57
HOW TO CUT STRAIGHT AN EXTERNAL THREAD!!
 0:27:45
Another Thread Cutting Video?!
 0:02:43
How to cut an external thread in 2 steps
 0:13:33
Threading on a manual lathe BEST TECHNIQUE EVER !!!!
 0:02:17
The Kite and the Thread: A Lesson in Support . .
 0:03:03
How to Cut a bolt without damaging the threads
 0:32:25
Four methods for cutting internal, external, left handed and right handed threads on the lathe
 0:10:03
Using a TAP as Thread Boring Tool
 0:03:47
Single Point Threading on the Lathe I
 0:27:17
Lathe Thread Cutting
 0:05:27
Learn to use a Tap & Die to Cut Threads
 0:24:13
Single Point Thread Chasing on a Manual Lathe
 0:10:42
Threading With the Compound vs. Crossfeed
 0:11:37
How to cut an external thread using a die #1942
 0:08:17
How to Cut Thread at Manual Lathe \ watch this Video and Learn the Process
 0:24:45
Acme Thread Cutting! Making a Float-Lock Vise, Part 1
 0:06:15
Tech Basics - How to thread a rod
 0:23:58
A Thread Cutting Video!
 0:05:19
One Way To Simple Success With A Thread Die - Mechanical Elements
 0:00:15
How To Cut Thread on a Brother Sewing Machine
Комментарии