filmov
tv
Unbricking x96 S905x Android TV Box - Nand Chip Short Method

Показать описание
Re-uploaded
 0:06:34
Unbricking x96 S905x Android TV Box - Nand Chip Short Method
 0:22:09
Fix Your Amlogic Android Box by Flashing a Stock Firmware (Tested on X96 Air and MXQ Pro 4K)
 0:03:28
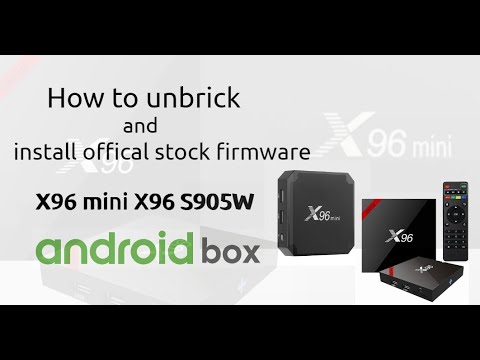
unbrick & install stock rom on x96mini x96 S905W android box
 0:07:43
TV BOX NO DA IMÁGEN, SE QUEDA EN LED ROJO, SOLUCIÓN UNBRICK CON SD 2020 EN AMLOGIC
 0:05:36
install atvxperience android9 on x96 x96mini tx3mini mxq pro S905W
 0:01:39
TWRP Recovery on Amlogic S905x S912 Android TV Box
 0:01:19
How to restore syetem on X96 TV Box
 0:01:13
Booting TWRP Recovery on Amlogic S905w Android TV Box
 0:11:59
X96-TV- Box- Firmware-Update-Android 11.
 0:06:04
2024 HOW TO FLASH FIRMWARE FOR A CHEAP CHINESE ANDROID TV BOX
 0:17:09
X96 Amlogic S905X Quad Core Android 6.0
 0:02:14
How to use MASK ROM Mode & Recover a Dead & Bricked TV Box
 0:13:37
Burn Card Maker: Recover Totally DEAD Amlogic Android TV Boxes - Short Pin Method
 0:02:58
Unbrick and install Stock Rom on H96 Mini V8 H96Mini H8 H96Max+ and Others Rock-chip Android TV Box
 0:00:33
X96 2GB 16GB Amlogic S905X
 0:06:05
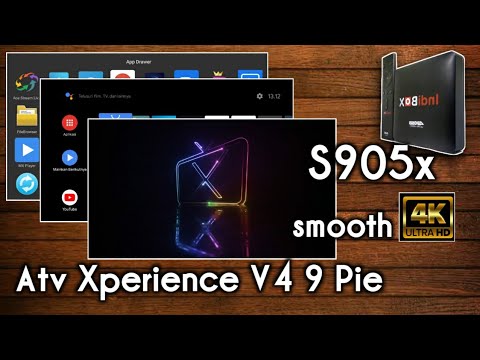
ATVXperience v4 S905x 9 Pie (root) Firmware
 0:00:16
Como fazer unbrick na MoscaBranca? (s905X) #shorts
 0:04:24
Unbrick Android Box Vasteyu V9 4K
 0:04:17
install Nexus android TV Rom For M8S ProW X96 X96mini and S905W android TV Box
 0:09:18
Android TV Box - MINI M8S II Amlogic S905X ATV 9 Aidan's custom rom
 0:16:15
Tanix TX3 Mini Custom ROM | How To Install Aidan ROM Android TV 9 on Amlogic S905W Devices
 0:04:10
Unbrick Akari ax117 | Amlogic S905x
 0:08:37
X96 Android Tv Box UNLOCK
 0:02:29
Install OpenWRT on Amlogic Android TV Box S912 S922 S905w S905x S905x2 S905x3
Комментарии