filmov
tv
Tutorial: How to Carve a Linocut

Показать описание
today i'd like to share with you how to carve a linocut, from tools to safety. i hope you find it helpful and if you have any questions, please leave them below and i'll do my best to answer
this tutorial is part of a series, which i share with my patrons. if you'd like to
support me on patreon and get access to exclusive vlogs, tutorials, early access to new print releases, live streams and more, follow this link to learn more:
PATREON:
online shop where you can find all my linocut prints for sale:
follow me on social media,
instagram:
facebook:
tools and materials i use:
pfeil carving tools
large V shape B15/6
small V shape L11/3
medium U shape L12/1
large U shape L8/7
i print all my prints with cranfield safewash relief inks on japanese kozo paper.
 0:07:16
Whittling Tips - The 8 Basic Cuts to Master
 0:13:54
Wood Carving Eyes For Beginners-A Guide to Whittling Eyes--Knife Only
 0:14:55
How to Carve on Skis | 5 Tips & Drills for Beginners / Intermediates
 0:18:37
COMPLETE Step By Step Guide To Carving A Face || Facial Features 101 (4K UHD)
 0:33:48
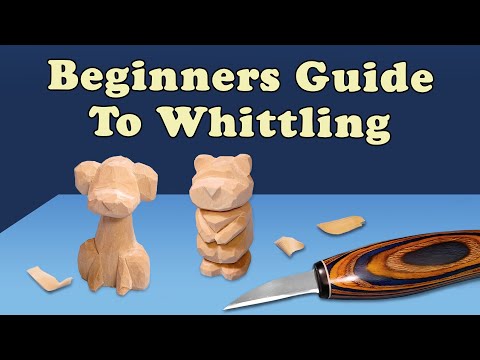
Start Whittling TODAY - Complete Beginners Guide to Whittling
 0:00:15
Beginners tutorial on how to carve a gnome with a dremel #gnomecarving #beginnercarving #dremel
 0:01:00
Carve a Scoop Out of Wood #woodcarving #diy #woodart #woodcarvingtutorial
 0:00:17
Carving a Greenman in Cottonwood Bark #aleclacasse #woodworking #wood #woodcarving #carving #art
 0:00:49
'How to Carve a Watermelon | Artistic Fruit Cutting Tutorial 🍉✍️' #shorts #carving #waterm...
 0:22:40
Carving A Stupidly Easy Whittle- 5 Minute Wizard
 0:00:55
New to wood carving? Start simple ✨ 🌿 #WoodCarving #BeginnerTips
 0:08:06
How to easy and simple wood Carved for beginners // Tutorial carving
 0:00:44
Carve out some time to learn how to carve a spoon 🥄 #WoodCarving #WoodenSpoon #DIYCrafts
 0:00:58
Female wood spirit carving in cottonwood bark. #woodcarving #sculpture #njart #carvingart
 0:00:52
How I make a bowl
 0:10:09
Beginner Woodcarving || What You Need & Need To Know || (4k UHD)
 0:00:49
Carving a Fox Pendant out of Wood | a Whittling Wood Project
 0:06:36
How To Carve a Wood Spirit
 0:00:36
How to Carve a Turkey
 0:09:34
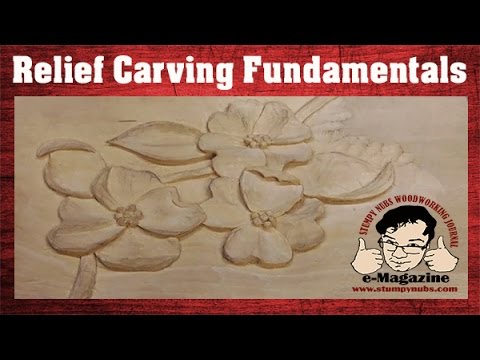
6 Fundamental Rules Every Beginning Wood Carver Should Know (Relief Carving Tutorial)
 0:42:02
Carve a Hairy Hippie -Full Knife Only Tutorial (1x1 series)
 0:00:45
Can you really carve a wizard with this DIY03 kit? Let’s take a peek🪄#DIY #WoodCarvingKit #Hobby...
 0:24:00
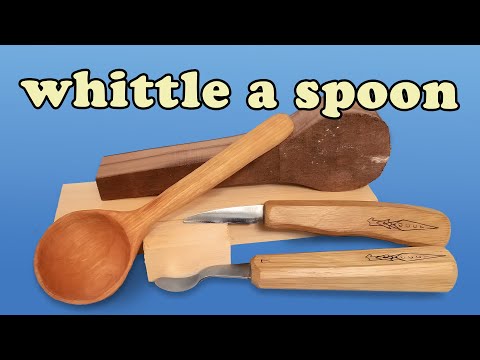
How to Carve a Spoon - Step By Step Beginner Wood Carving Guide
 1:00:23
How to Carve a Bear -Full Woodcarving Tutorial
Комментарии