filmov
tv
You can build this micro long range quadcopter | QAV-S Mini full build tutorial

Показать описание
---
The QAV-S Mini is a ready-to-build kit for a 3" or 4" micro long range quadcopter. Here's my full build and setup tutorial. This could be the most fun way to get into FPV. And when you build it yourself, you know how to fix it.
---
I receive a commission (at no extra cost to you) if you make a purchase after clicking one of the affiliate links below.
Purchase the QAV-S micro build kit (both 3" and 4" versions) at:
--- TABLE OF CONTENTS ---
0:00 - Intro
1:17 - Unboxing
3:17 - Assemble the frame arms and bottom plate
6:59 - Prep the FC for installation
12:14 - Install the FC in the frame
14:27 - Install motors
14:59 - Route motor wires, tin motor pads on FC
17:36 - (DJI Only) Prepare the Caddx Vista video transmitter
21:52 - (DJI Only) Install Vista in the frame
23:13 - (Analog Only) Solder up the TBS Unify video transmitter
25:55 - (Analog Only) Install the TBS Unify in the frame
28:17 - (Analog Only) Solder up the Caddx Ratel camera
29:45 - Install the receiver
31:46 - (Analog Only) Betaflight Setup
35:14 - (Analog Only) vTX setup
Here's the vtxtable for the Unify Nano Pro32. Paste this into your CLI tab.
vtxtable bands 5
vtxtable channels 8
vtxtable band 1 BOSCAM_A A FACTORY 5865 5845 5825 5805 5785 5765 5745 5725
vtxtable band 2 BOSCAM_B B FACTORY 5733 5752 5771 5790 5809 5828 5847 5866
vtxtable band 3 BOSCAM_E E FACTORY 5705 5685 5665 5645 5885 5905 5925 5945
vtxtable band 4 FATSHARK F FACTORY 5740 5760 5780 5800 5820 5840 5860 5880
vtxtable band 5 RACEBAND R FACTORY 5658 5695 5732 5769 5806 5843 5880 5917
vtxtable powerlevels 4
vtxtable powervalues 14 20 26 36
vtxtable powerlabels 25 100 400 MAX
save
36:49 - (DJI Only) Betaflight Setup
39:50 - Betaflight Setup for both DJI and analog
42:43 - (Optional) Install and setup GPS
47:50 - Final assembly
55:58 - Install props and maiden flight
 0:58:29
You can build this micro long range quadcopter | QAV-S Mini full build tutorial
 0:11:01
5 Micro SaaS Ideas You Can Start In 2023 (...and Replace Your Job)
 0:13:06
Can I build a MICRO HOME for 8 Sims?
 0:22:02
25 Micro SaaS Success Stories: Inspiring Tales of Innovation and Growth
 0:00:53
what's the cheapest PC you can build at Micro Center? #shorts
 0:14:29
We Built A Micro SKYSCRAPER! *TINY Apartments*
 0:14:27
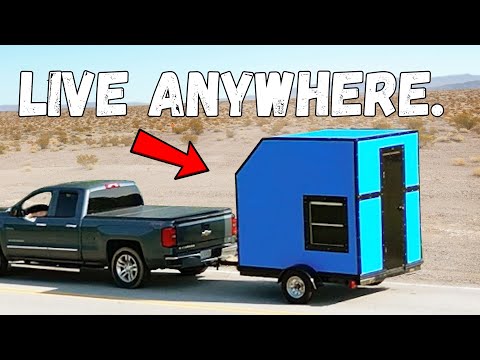
I built a LUXURY micro camper for less than $1,000
 0:24:34
Let's Build a PC for Under $1600 at Micro Center
 2:25:41
Finishing Microwin
 0:08:33
Build a Micro SaaS Using This No Code Tool (Only One Tool Needed)
 0:19:51
WE BUILT A MICRO YACHT *Overnight Challenge*
 0:03:41
Can Micro Workouts Help You Build Muscle?
 0:09:16
Can I build a micro home that's still functional in The Sims?
 0:18:34
$10 VS $10,000 MICRO APARTMENTS
 0:07:00
Micro SaaS Products - Are They Actually Profitable?
 0:08:12
Can You Start Your Own Country?
 0:06:24
Zuru Micro Boats Racing Track Playset Toy for Kids
 0:00:26
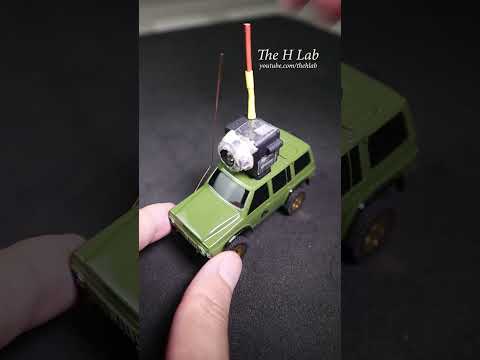
Micro 4WD FPV RC Car SNT Y60 Underwater with Camera | The H Lab #shorts
 0:23:50
OVERNIGHT CHALLENGE IN 8 MICRO FORTS! *Tiny Apartments*
 0:14:47
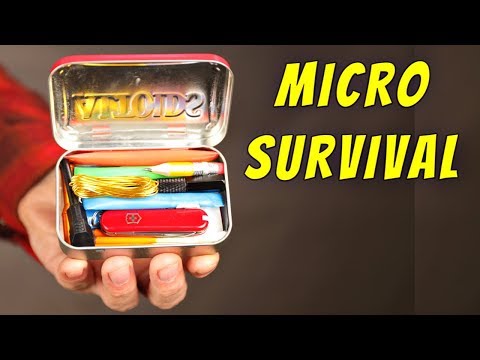
The Impossible Micro Survival Kit (Official Video)
 0:19:37
MEGA vs Micro RC Cars *BUILD CHALLENGE*
 0:03:58
10 LEGO Micro Build IDEAS!
 0:03:28
How it Works – the Micro Modular Nuclear Reactor
 0:13:25
The Dark Science of Microplastics
Комментарии