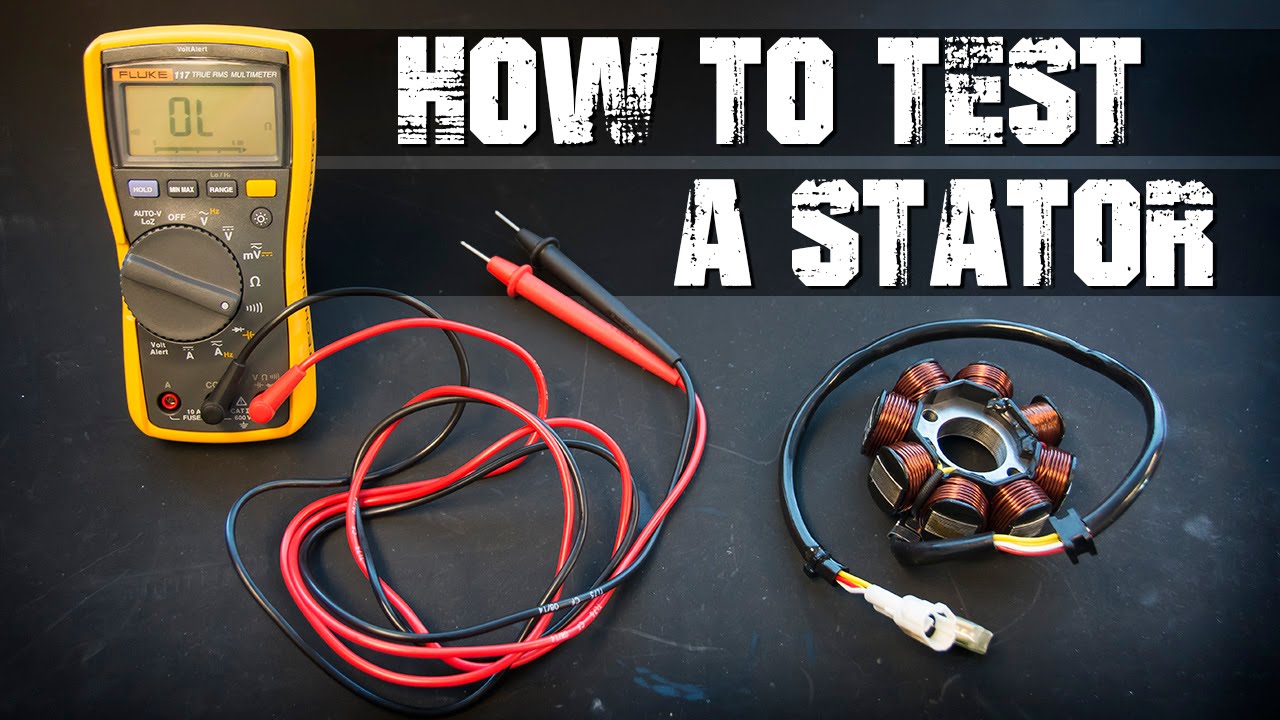
How To Test A Trail Tech Stator

preview_player
Показать описание
Using a Fluke Multimeter test your stator to make sure your resistance values are good and there are no shorts in any of the wires.

Рекомендации по теме
Комментарии
Автор

Good job! thought I might add that when checking shorts to the stator you really need to make sure to get down to bare metal, not doing so will give a false reading if there is a coil to stator short. Just tapping the meter lead to the stator isn't going to work in most cases. Stators are made of many laminated/insulated stacked steel sheets, this helps eddy currents from robbing efficiency and producing heat.

barthchris
Автор

One of the best instructional videos I've ever seen. Great Job.

TheEleveneleven
Автор

Great -  easy to understand ... I got a E-TON VIPER 50 ST  with no spark . have been checking everything, switches, wires still no spark. Repaired a switch . and a connection connector . but still got the problem . now time to check the stator and pi up unit. Its an old bike someone been doing some a lot of changes on it . It's fun working on it . ( retired old man nothing better to do ) just enjoying it.

MrMee
Автор

The absolute best tutorial ive come across. helped so much, thank you. good video

HushhY
Автор

Just FYI for any future videos.That "AUDIO SYMBOL" is called the continuity symbol. Thank you for the video though big help.

pipewelda
Автор

Perfect explaination for someone who never did such a thing! Top man! I hope I will fix my bike soon!

luragg
Автор

Thank you- beautifully clear and very useful! Can I do this with the stator on the bike- wires un plugged so available as in your bench test?

matthale
Автор

These instructional videos are great and all but you really need to have a repair manual for your specific vehicle and go by that. Your bike may have a different stator then the one in this video. You get the gist here but to get a 100% accurate assessment follow the manual.

age_of_reason
Автор

Nice vidéo that doesnt take 25 min to watch! Thanks

vincemotorider
Автор

Excellent video. Good graphics and explained

jonbromfield
Автор

I thought I heard you say the two yellow wires
were lighting, later they/it (?) was/were battery charging
wire/s, in which case I guess one yellow would go
to a rectifier (?), maybe it doesn't matter which one
connects to rectifier and which one is used for lighting?.
Is one of the yellows lighting and one for charging?
If your stator comes with just one yellow wire, then
that would likely be for lights period?

bikersoncall
Автор

Hello, everyone this video is just what i need to fix my 1964
Tomos, thanks for the video braynt ☆☆☆☆☆☆

lilman
Автор

Great video!
Hope you can help on this issue:
A few days ago, while riding my SYM VS 125, a lot of smoke started coming out of the front of the bike and the engine started to fail. I turned off the ignition and cut the battery current.
At home I took it apart to see what was going on and the rectifier was visibly burnt.
I took the bike to a workshop where they changed the rectifier and the battery, but they didn't solve the problem. The new rectifier continues to heat up a lot and too fast, as if something is short circuiting.
As they couldn't solve the problem and it still cost me a few €€, I picked up the motorcycle with the fault.

Tests i have done:
- the battery is new and has 13.1V before the starter
- with the three yellow wires from the stator connected to the rectifier, the bike works fine at low revs, fails at medium and the rectifier heats up uncontrollably; with these wires disconnected from the rectifier, the bike works well at any speed, but as we know, the battery is not charged
- at idle the 3 yellow wires measure about 40V from stator
- the resistant test on stator show equal values on three wires; no ground conductivity; no open circuit on each coil
- apparently all the masses are well connected.

Any idea what it could be causing this recurrent failure of the rectifier?

Note: traditional G6Y carburetor engine with electronic rectifier and CDI, year 2010.

Great_XicoZe
Автор

Thank you very much for a valuable lesson

jackas
Автор

Exellent video Braynt! Perfectly explain! Thanks hopefully it helps me find my problem with my bike.

belto_
Автор

Hi when u check omh and it says 20 ohms. I cant do that test i only have 3 single yellow wires. So do i do that test, all the other tests are good. My first ohm test, like urs was 0.8 so it must be good on that also

olehansen
Автор

When checking resistance (ohms) between the two output leads, is it possible to have too little resistance? If mine reads only 0.1 or 0.2, is my stator bad?

foesfly
Автор

A resistance measurement only at room temperature is not sufficient to verify a stator is good. When a stator starts to fail, they often fail only when they get to operating temperature. I have a box of motorcycle stators at home that measure in spec for resistance and do not work properly. Most provide weak spark when cold and no spark when hot. A resistance measurement is only going to tell you if the stator has totally failed, it does not tell you the stator is going to work

ansmerek
Автор

i tested my stators ignition wires like you showed in the video but instead of the continuous beep it just beeped once then went silent

Note: multimeter does the continuous beep with other wires.

what could be the problem? the ignition wire terminal or the wires itself?

larzzi
Автор

Thank you soooo much. This video explains everything perfect and quick.

juangalvan