filmov
tv
My Top 10 PCB Design Tips

Показать описание
If you have some tips, be sure to leave them in the comments section below and consider making your own video and submitting it to PCBWay to win some awesome prizes!
Get in touch with me:
----------------------------------
-----------------------------------
 0:06:53
My Top 10 PCB Design Tips
 0:02:11
Top 10 PCB Designing Software Free Download
 0:10:40
PCB Creation for Beginners - Start to finish tutorial in 10 minutes
 0:24:29
Which PCB Design Software is The Best? The Top 4 Are ...
 0:12:52
Top 5 Beginner PCB Design Mistakes (and how to fix them)
 0:00:59
Best and Worst PCB Design Software
 0:05:51
PCB Design For Beginners: Ugly Tracks Are Noisy
 0:18:49
How To Learn PCB Design (My Thoughts, Journey, and Resources) - Phil's Lab #87
 0:27:45
🇦🇺 Amstrad CPC PicoROM: Part 1 (Building & flashing) [TCE #0518]
 0:10:40
6 Horribly Common PCB Design Mistakes
 0:00:15
PCB design
 0:00:40
Running LED tower | LED circuits | Electronics projects
 0:00:28
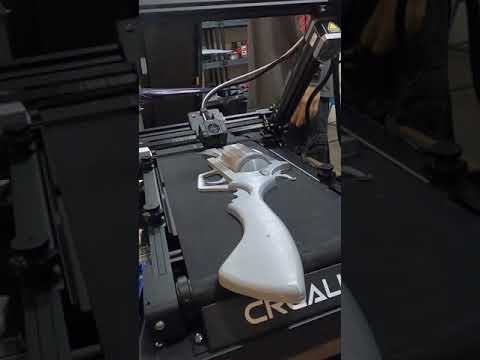
Timelapse Final Fantasy Gunblade Printed on a CR-30
 0:00:43
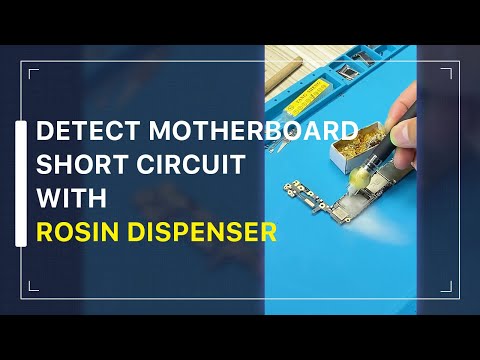
How to Quickly Detect Motherboard Short Circuit with the Rosin Dispenser #Shorts
 0:00:12
manually writing data to a HDD...kinda #shorts
 0:17:56
Aesthetic PCB Design Tips - Phil's Lab #84
 0:00:11
PCB Design, Assembly and Testing | SMPS | Youtube_Short
 0:17:13
Learn PCB Designing Just in 15 Minutes! EasyEDA + JLCPCB Complete Tutorial 2023
 0:09:28
How To Make Custom PCB's For Your Projects!
 0:12:38
My top 8 PCB projects for 2019
 0:00:37
How much does a UIUX DESIGNER make?
 0:02:24
Introduction to PCB design best practices
 0:10:44
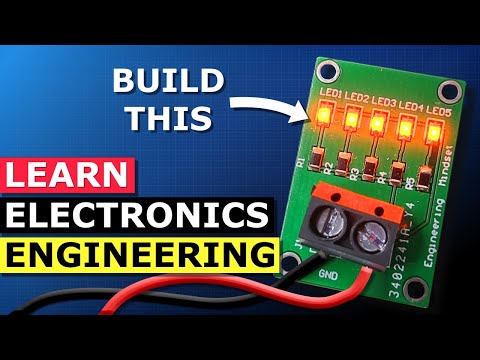
Design and Build a PCB - SMD LED Learn electronics engineering
 0:00:20
KiCAD | PCB Design & Development | 3D Model
Комментарии