filmov
tv
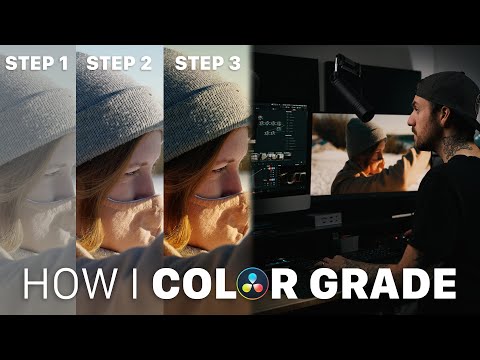
Step by step color grading example with Dehancer

Показать описание
Overview of a Suggested Dehancer Plugin Workflow
1. Log/RAW Interpretation: Start by interpreting your Log/Raw footage.
2. Vignette Adjustment: Adjust early in the workflow since it affects exposure/contrast between edges and frame center.
3. Film Profile: Apply a film profile and adjust Push/Pull settings to explore various looks.
4. Expand Tool: Adjust black and white points to fit the image into your timeline’s dynamic range; revisit as needed.
5. Print Medium: Refine print settings, emulating analog optical printing.
6. Film Development: Fine-tune film emulation parameters based on your creative goals.
7. Film Compression: Emulate the film-like compressed tonal range.
8. CMY Color Head: Make creative color adjustments using an analog-style approach.
9. Film Grain: Reconstruct the shot with film grain.
10. Halation & Bloom: Add light dispersion effects.
11. Film Damage Effects: Add Film Breath, Gate Weave, and Film Damage Effects.
12. Overscan Tool: stylize the video by showing the area outside the film gate.
Experiment and revisit tools to refine your desired look!
Download & Get FREE Trial:
Instagram:
Vimeo:
Reddit
Facebook
Telegram Channel
Wordpress
1. Log/RAW Interpretation: Start by interpreting your Log/Raw footage.
2. Vignette Adjustment: Adjust early in the workflow since it affects exposure/contrast between edges and frame center.
3. Film Profile: Apply a film profile and adjust Push/Pull settings to explore various looks.
4. Expand Tool: Adjust black and white points to fit the image into your timeline’s dynamic range; revisit as needed.
5. Print Medium: Refine print settings, emulating analog optical printing.
6. Film Development: Fine-tune film emulation parameters based on your creative goals.
7. Film Compression: Emulate the film-like compressed tonal range.
8. CMY Color Head: Make creative color adjustments using an analog-style approach.
9. Film Grain: Reconstruct the shot with film grain.
10. Halation & Bloom: Add light dispersion effects.
11. Film Damage Effects: Add Film Breath, Gate Weave, and Film Damage Effects.
12. Overscan Tool: stylize the video by showing the area outside the film gate.
Experiment and revisit tools to refine your desired look!
Download & Get FREE Trial:
Instagram:
Vimeo:
Telegram Channel
Wordpress
Комментарии
 0:17:42
 0:20:27
 0:11:47
 0:01:41
 0:10:01
 0:00:30
 0:13:08
 0:35:52
 0:05:37
 0:08:24
 0:00:32
 0:08:33
 0:00:14
 0:00:27
 0:00:55
 0:13:23
 0:00:28
 0:10:29
 0:44:02
 0:00:21
 0:00:45
 0:00:33
 0:03:03
 0:16:53