filmov
tv
🌈 Basic color grading DaVinci Resolve

Показать описание
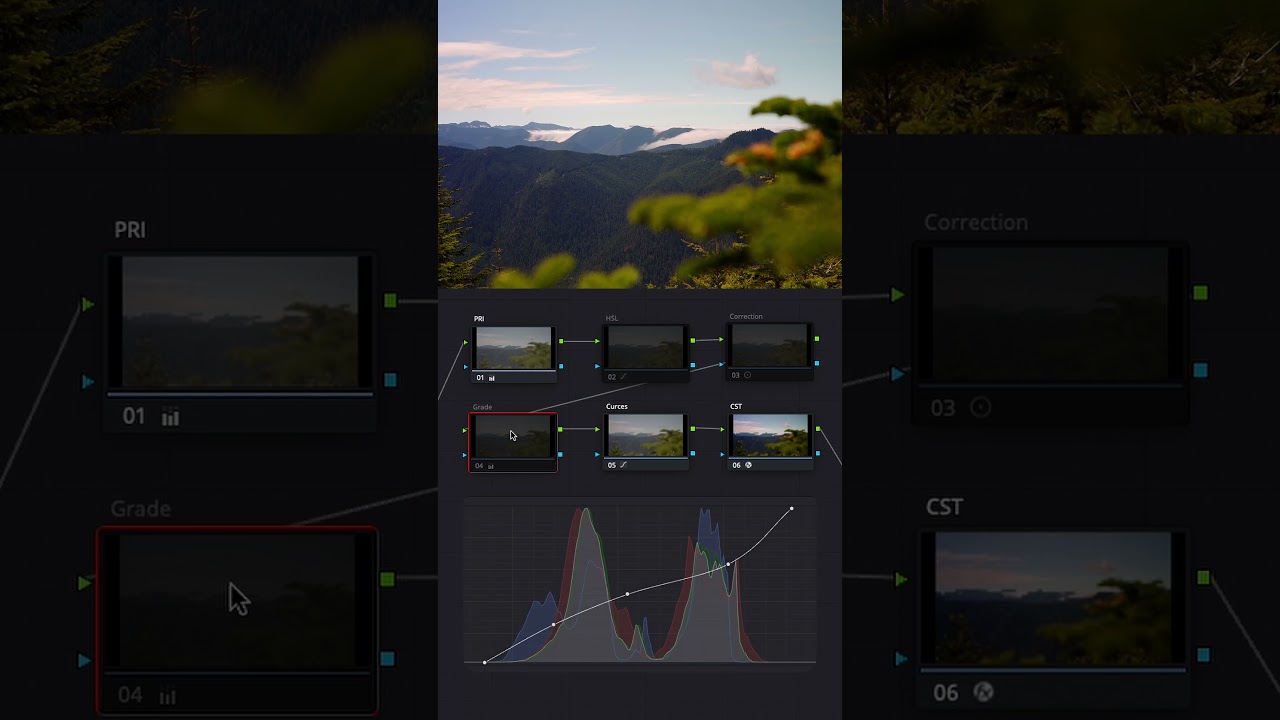
Basic color grading steps:
1 Convert Log Footage to Rec 709: Log footage is a flat, low-contrast image format that preserves a wider dynamic range. Converting it to Rec 709 involves applying a LUT (Look-Up Table) or a color transform to bring the image to a standard color space for viewing. This step establishes a starting point for further adjustments.
2 Adjust white balance with Primaries: White balance ensures that the image has a neutral color temperature by setting the correct balance between warm (orange) and cool (blue) tones. Primaries refer to the primary colors (red, green, and blue) that make up the image. Adjusting the white balance with these primaries helps achieve accurate color representation.
3 Correct exposure/contrast with Curves or color wheels: Exposure refers to the brightness or darkness of the overall image, while contrast determines the difference between the brightest and darkest areas. Using tools like Curves or color wheels, you can adjust the tonal range to achieve the desired brightness and contrast levels, enhancing the image’s depth and dynamic range.
4 Add color to shadows and highlights to achieve a desired look: This step involves manipulating the color balance in specific tonal regions of the image. By adding or reducing color in the shadows and highlights, you can create a specific mood or look. For example, you can make shadows appear cooler (bluish) or highlights warmer (yellowish) to enhance the overall aesthetic.
5 Correct colors: This step involves ensuring that the colors in the image appear accurate and natural. It includes adjusting the saturation and hue of specific colors to maintain visual balance. Additionally, it’s important to ensure that whites appear white and blacks appear black without any color casts.
6 Use HSL (Hue, Saturation, Luminance) to change specific colors: HSL controls allow you to make selective changes to the hue, saturation, and luminance of specific colors in the image. This enables you to fine-tune and adjust individual color tones to achieve the desired artistic or creative effect.
Remember that color grading is a subjective process, and the steps may vary depending on the software or tools you’re using, as well as the specific requirements of the project. These steps provide a general framework, but the actual process may involve additional adjustments and refinements based on the specific footage and the desired outcome.
-------------------------------------------------------------------------------------
Graded: DaVinci Resolve
-------------------------------------------------------------------------------------
-------------------------------------------------------------------------------------
Комментарии
 0:08:07
 0:10:01
 0:13:08
 0:13:23
 0:08:16
 0:27:36
 0:10:43
 0:18:40
 0:00:08
 0:20:27
 0:39:55
 0:09:08
 0:09:25
 0:17:42
 0:00:24
 1:03:57
 0:10:40
 0:17:00
 0:01:09
 0:08:24
 0:01:41
 0:06:09
 0:18:19
 0:44:02