filmov
tv
Best ESP32 project with Alexa Google Home Automation using ESP RainMaker - IoT Projects 2022

Показать описание
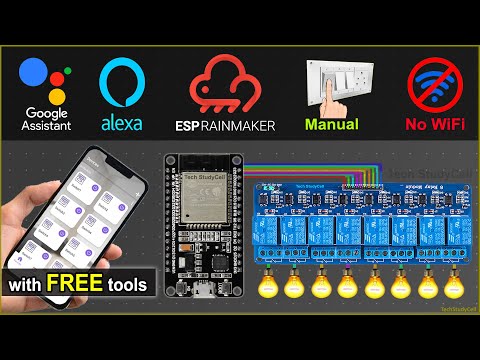
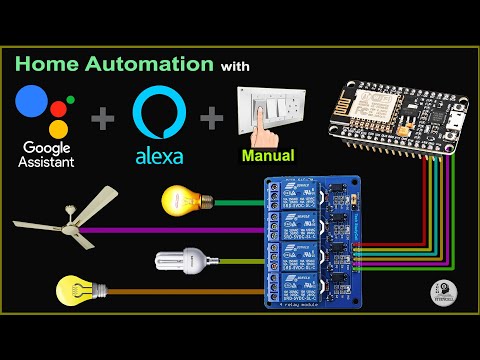
In this IoT project, I have explained how to make an ESP32 project with Alexa, and Google Home Automation using ESP RainMaker to control relays with voice commands, IR, and manual switches and store the last state in ESP32 flash memory (EEPROM). I have used all the free tools for this IoT-based smart home system.
During the ESP Rainmaker tutorial video, I covered the following topics:
00:27 Quick demo for the ESP32 IoT Project using ESP RainMaker.
02:41 How to use Preferences library to save data in ESP32 NVS memory
04:17 Example sketch to save the last GPIO state in ESP32.
06:31 Required components for ESP32 project.
06:38 Circuit diagram of ESP32 home automation project.
07:12 Source codes for the ESP32 IoT Project.
10:20 Add device in ESP RainMaker app.
Required Components for the ESP32 internet of things project.
1. ESP32 Devkit V1.
2. 8-channel 5V SPDT Relay Module.
3. TSOP1838 IR receiver (with metallic casing)
4. Switches or Push Buttons.
Amazon India Affiliate links:
Amazon United States Affiliate links:
Download the Code for the ESP32 project using ESP Rainmaker from the following article:
Download PCB Gerber File of ESP32 control 8 relays:
Important Links:
Important points:
1. You don't need any Amazon echo device for this IoT Project.
2. You need to install ESP Rainmaker, Google Home, and Amazon Alexa IoT applications on mobile.
3. You don't need to install Preferences.h separately.
4. You can control relays from any WiFi network.
5. Update the Preference URLs to install the ESP32 board version 2.0.3.
6. To reset the WiFi details, press and hold the ESP32 BOOT button for 4 seconds then scan the QR code.
7. IR receiver sensor must have a metallic casing. Otherwise, you may face issues while trying to get the Hex code.
8. Please watch the complete video, otherwise you may face some issues.
**Please take proper safety precautions while working with high voltages.
During this ESP32 IoT tutorial video, I explained all the steps to use the Preferences library to save data permanently in ESP32 NVS flash memory.
In this ESP32 project, you can control the relays without internet from the IR remote & switches. ESP32 will automatically connect with the IoT cloud when the internet comes back.
If the ESP32 is connected with Wi-Fi, then you can control the relays from anywhere in the world with Alexa and Google Assistant. And you can also monitor the real-time feedback on Amazon Alexa, and Google Home app. So with this IoT project, you can convert any appliance to IoT devices and control them through the internet.
So, now you can just ask Google Assistant, "Hey Google, turn off lights", or "Alexa, turn on light". that's it.
#esp32project #iotprojects #esp32
-----------
Thanks For Watching...
✅ SUBSCRIBE ✅LIKE ✅SHARE ✅ COMMENTS
-----------
-----------
WARNING:
This video is for demonstration and educational purposes only.
Each demonstration presents risks and hazards that must be fully understood before attempting.
And should be performed only by professionals
-----------
Other useful IoT projects:
Latest ESP32 projects playlist:
Latest NodeMCU projects playlist:
Arduino Home Automation Projects playlist:
 0:11:48
Best ESP32 project with Alexa Google Home Automation using ESP RainMaker - IoT Projects 2022
 0:10:27
Best IoT Project 🔥🔥 using ESP32 and Sensor with Fan Dimmer | Alexa Google Home Automation 2022
 0:11:59
IoT Project using ESP RainMaker with Google Assistant Alexa & Manual Switch - ESP32 Projects 202...
 0:24:01
DIY Alexa: Create Your Own Voice Assistant with ESP32 & TensorFlow Lite!
 0:08:26
ESP32 Home Automation using Amazon Alexa + Bluetooth + IR Remote with FREE IoT platform
 0:08:39
IoT based ESP32 projects using Google Assistant Alexa & Sinric 2024
 0:08:27
Coding Alexa Support for ESP32 (Arduino)
 0:12:13
Activate Alexa Routines with ESP32 | IOT Projects | ESP32 Projects
 0:12:33
IoT based projects using ESP32 Alexa Home Automation | Enter WiFi Credentials Over the Air
 0:14:29
Smart Home using ESP32 Project | Google + Alexa + Bluetooth + IR + Manual Switch - IoT Project 2022
 0:00:36
Top 3 Mind-Blowing ESP32 IoT Projects
 0:10:18
ESP32 Alexa Home Automation using Amazon Echo + Bluetooth + IR Remote with Fan Dimmer circuit
 0:09:21
ESP32 Alexa Home Automation System with Manual & Voice Control Feedback | IoT Projects 2021
 0:05:13
I put this in EVERY room! Smart room detection 😲
 0:12:35
Home Automation using ESP RainMaker with Google Assistant Alexa IR Manual Switch - IoT Projects 2022
 0:09:41
ESP32 Home automation with Google Assistant Alexa & Manual Switches - Internet of Things 2021
 0:22:33
The BEST Home Automation project 😍😍 | All in One Home Automation project with Fan Dimmer V2
 0:09:25
15 Brilliant IoT Projects for Beginners!
 0:12:26
How to Make a Complete 18 Channels Smart Automation Home System With Amazon Alexa | Hindi/Urdu
 0:00:16
THIS device will CHANGE your room! #LaserCube #shorts
 0:20:14
12 Of The Best Smart Home Automation Ideas!
 0:00:15
Alexa control smart home iot home automation Project esp32 project #esp32project
 0:08:59
Smart Home with Amazon Alexa using ESP32 control Relay (Voice + IR Remote) | IoT Projects 2021
 0:10:41
Smart Home with Google Assistant & Alexa using NodeMCU ESP8266 (Manual + Voice) | IoT Projects 2...
Комментарии