filmov
tv
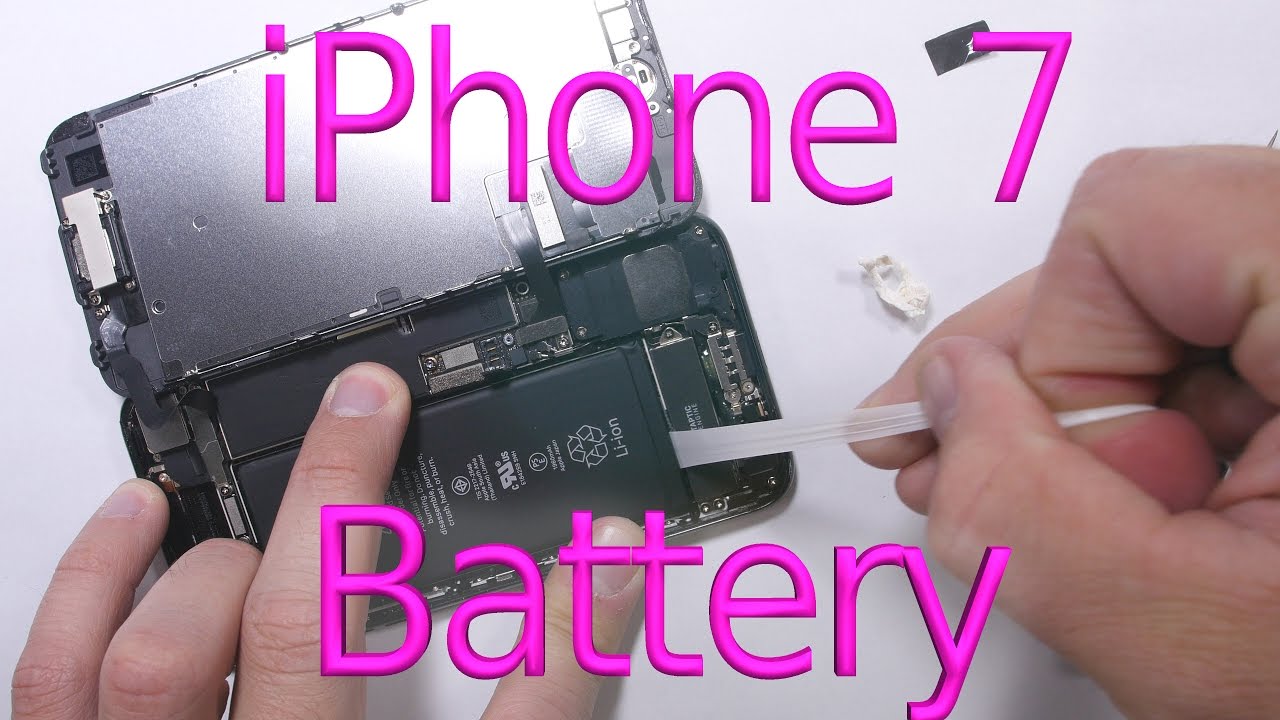
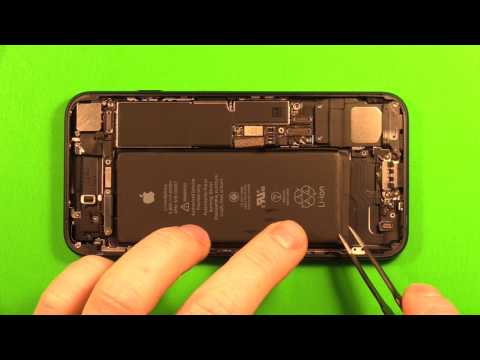
How to replace iPhone 7 Battery in 3 minutes
Показать описание
The Battery is not yet available yet. Keep checking back, or if you find one let me know in the comments!!
Let me know if any of those links stop working.
Remember all repairs are done at your own risk. The repair itself is not that difficult if you have worked with tools before. And you are careful removing that screen.
*Follow me for updates!*
JerryRigEverything assumes no liability for property damage or injury incurred as a result of any of the information contained in this video. JerryRigEverything recommends safe practices when working with power tools, automotive lifts, lifting tools, jack stands, electrical equipment, blunt instruments, chemicals, lubricants, expensive electronics, or any other tools or equipment seen or implied in this video. Due to factors beyond the control of JerryRigEverything, no information contained in this video shall create any express or implied warranty or guarantee of any particular result. Any injury, damage or loss that may result from improper use of these tools, equipment, or the information contained in this video is the sole responsibility of the user and not JerryRigEverything. Only attempt your own repairs if you can accept personal responsibility for the results, whether they are good or bad.
 0:03:23
How to replace iPhone 7 Battery in 3 minutes
 0:09:15
How to Replace the Battery in Your iPhone 7: A Step-by-Step Guide!
 0:03:43
iPhone 7 Battery Replacement-How To
 0:03:07
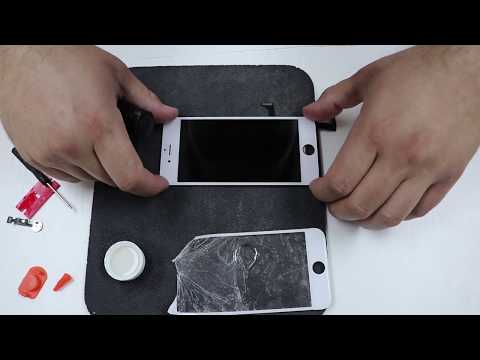
iPhone 7 Screen Replacement - How To!
 0:07:48
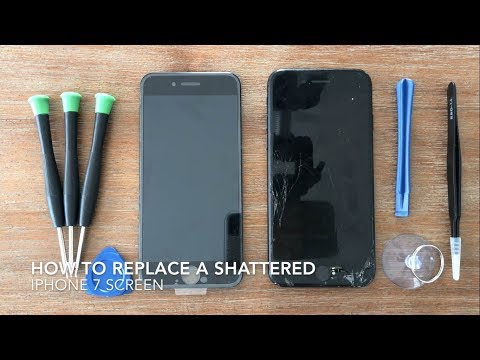
How To Replace A Shattered iPhone 7 Screen
 0:06:17
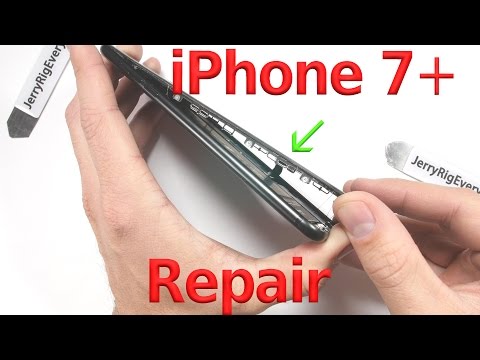
iPhone 7 Plus Screen Replacement done in 6 minutes
 0:05:54
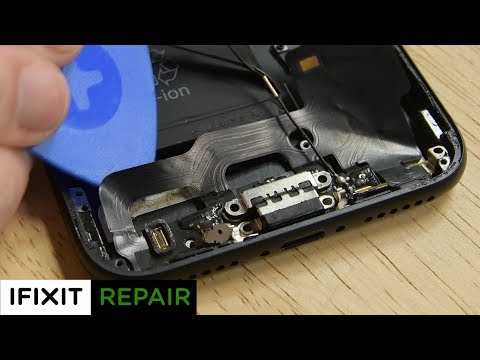
iPhone 7 Lightning Connector Replacement- How To
 0:04:26
iPhone 7 Logic Board Replacement- How To
 0:08:14
iPhone 16 Pro Max !! THE BIGGEST Move Apple
 0:16:03
iPhone 7 Battery Replacement Guide (How To) - ScandiTech
 0:03:19
iPhone 7 Taptic Engine Replacement- How To
 0:03:49
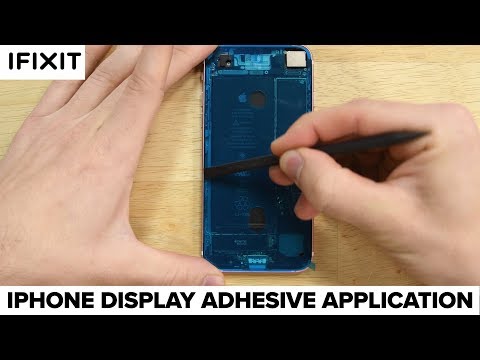
Apple iPhone 6s and Newer Display Adhesive Application- How To
 0:07:51
iphone 7 plus charge port replacement: How to replace the charge port
 0:13:17
iPhone 7 screen replaced in 13 minutes *walkthrough
 0:06:34
How to Replace an iPhone 7 Home Button Without Breaking it
 0:08:01
How to Replace the Apple iPhone 7 Back Rear Camera
 0:04:34
How To: Replace the Battery in your iPhone 7 in 5 Minutes
 0:18:45
iPhone 7 Screen Replacement
 0:39:14
Official iPhone 7 Display Assembly Replacement Guide - iCracked.com
 0:03:51
iPhone 7 Plus Battery Replacement-How To
 0:14:30
iPhone 7 Screen Replacement
 0:10:46
iPhone 7 Screen Replacement Glass Only Repair - DIY 15 min tutorial
 0:09:42
How to Replace & Fix iPhone 7 Broken Screen
 0:08:31
How to Replace the Battery on a iPhone 7
Комментарии