filmov
tv
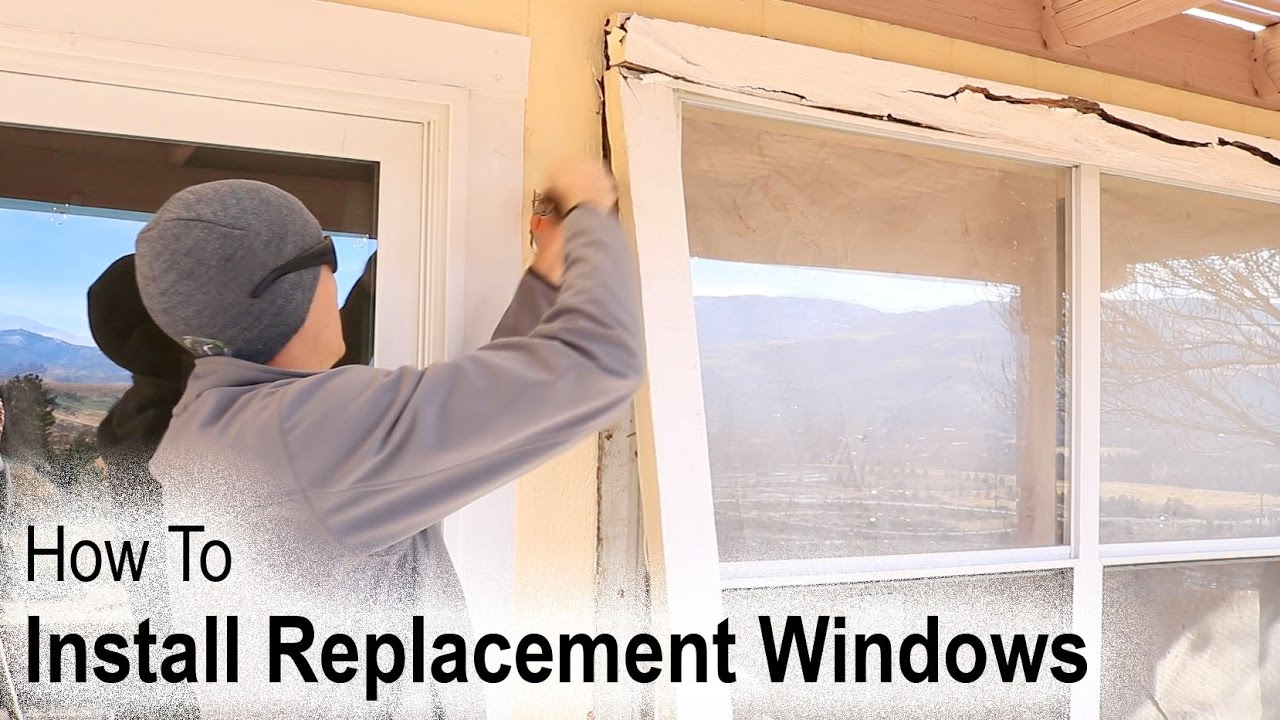
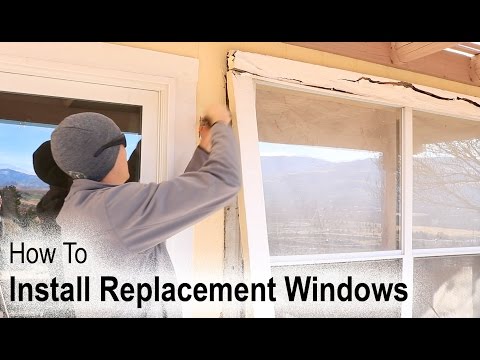
How to Install A Replacement Window On A House With Wood Siding
Показать описание
Learn how to replace an aluminum window with a brand new Milgard vinyl window with a nailing fin. This is an install that was completed on a house with wood sheet siding.
In this video, you'll learn how to replace the window without taking the siding off. You'll also learn how to using the flashing tape and z-bar flashing to create a water-tight seal and keep moisture from penetrating into the home.
First, we start out measuring the window, so me make sure to order the right size.
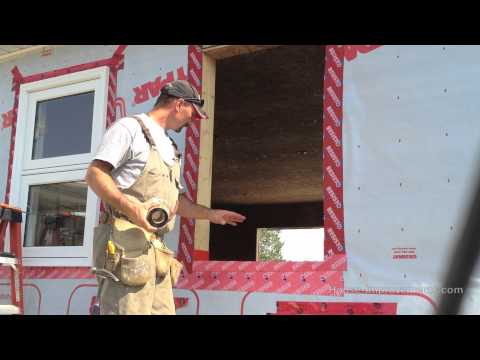
Then, we'll remove the trim and cut the siding back so we can remove the old aluminum window.
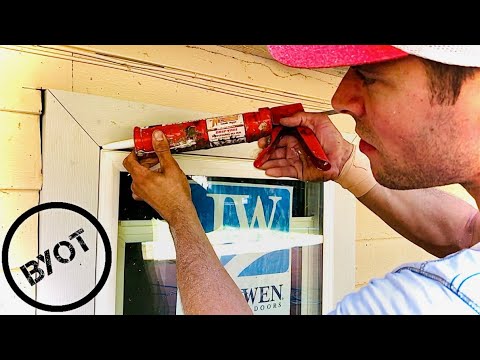
Once we've removed the window, we'll make sure the bottom of the rough opening is level, and install our first piece of flashing tape.
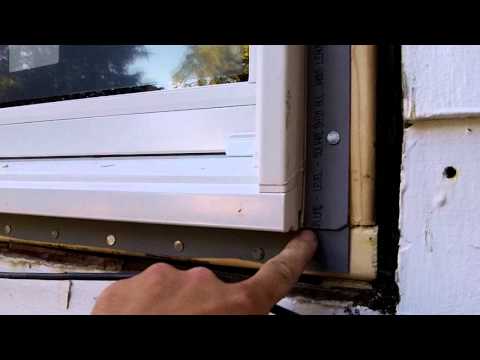
Then, we can put the window in. You'll notice the new window has a nailing fin. This is important to have in this type of installation.
This is great project to take on if you are looking to get rid of your aluminum windows and install energy efficient vinyl windows.
Enjoy!
In this video, you'll learn how to replace the window without taking the siding off. You'll also learn how to using the flashing tape and z-bar flashing to create a water-tight seal and keep moisture from penetrating into the home.
First, we start out measuring the window, so me make sure to order the right size.
Then, we'll remove the trim and cut the siding back so we can remove the old aluminum window.
Once we've removed the window, we'll make sure the bottom of the rough opening is level, and install our first piece of flashing tape.
Then, we can put the window in. You'll notice the new window has a nailing fin. This is important to have in this type of installation.
This is great project to take on if you are looking to get rid of your aluminum windows and install energy efficient vinyl windows.
Enjoy!
 0:12:01
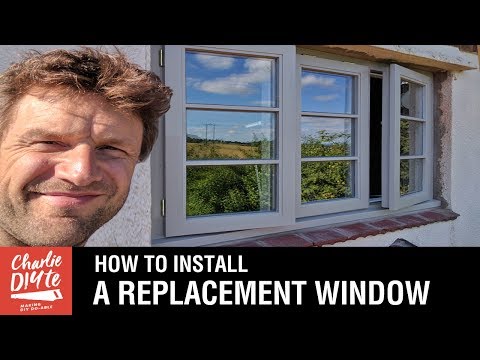
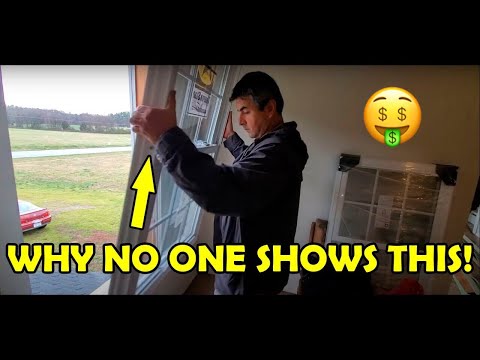
How to Install a Replacement Window in an Old House
 0:04:12
How To Replace a Window
 0:16:26
How to Install a New Window| Quick and Easy
 0:03:00
How to Install a Window | Window Removal & Installation | The Home Depot
 0:13:39
Install Replacement Windows - Remove Old Wood Windows
 0:11:44
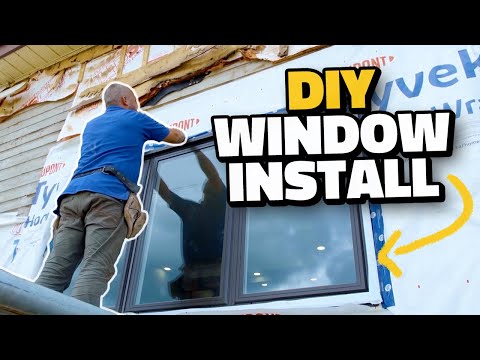
DIY: How to install new window on old house
 0:02:49
How To Use A New Construction Window For A Replacement Window-Replacement Window Installation
 0:18:30
How to Install A Replacement Window On A House With Wood Siding
 0:01:00
Home Window Replacement Service Discount #windowreplacement #windowrepair #homewindows
 0:03:43
How To Install a Window, Replacement Window, Without A Nailing Flange
 0:10:14
HOW TO INSTALL A WINDOW : Start To Finish
 0:17:17
Pella- How to install vinyl replacement window Pella 150
 0:12:44
HOW TO INSTALL vinyl replacing windows!😱👌- Entire farm house remodeling episode #4
 0:23:38
How To Install A Window (New Construction)
 0:07:55
How to Install a New Window | New Construction | DIY Guide
 0:00:53
How to Install A Toilet Wax Ring
 0:17:24
How to Remove Old Windows and Install New Windows. #Windows, #Replacement, #Wincore, #DIY, #House
 0:31:36
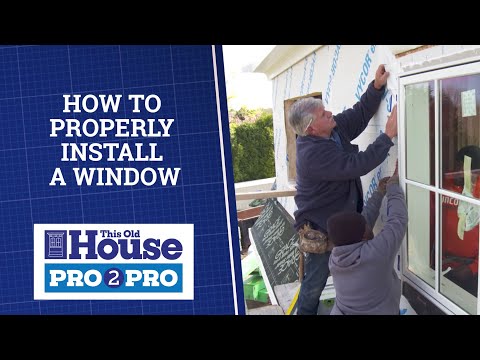
This Old House | Pro2Pro: How to Properly Install a Window
 0:12:42
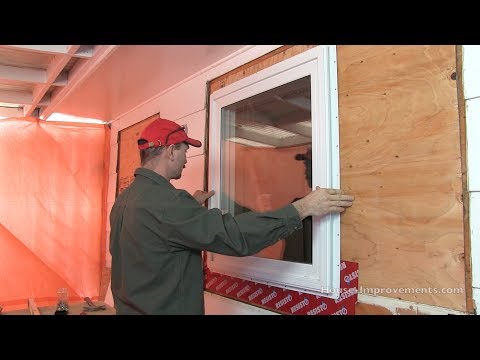
How To Install A Window - New Construction
 0:04:37
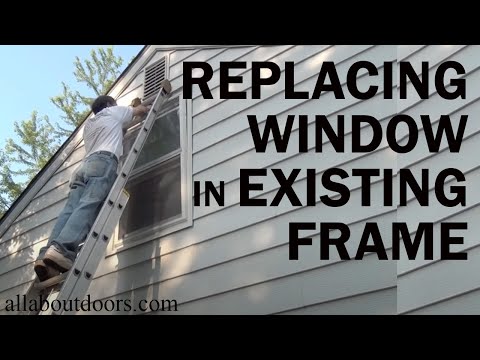
How to Install a Replacement Window in an Existing Frame (We used an Andersen Silver Line Window)
 0:04:58
How to Replace and Install a Toilet
 0:06:09
How to Install a Replacement Car Stereo
 0:20:37
How To Install A New Door In An Old Space
 0:22:07
How To Install a Window with a Nailing Flange
Комментарии