filmov
tv
How to Replace Front Wheel Hub 05-14 Subaru Outback

Показать описание
Buy Now!
1A Auto shows you how to repair, install, fix, change or replace a worn out, vibrating or groaning wheel bearing hub. This video is applicable to 05, 06, 07, 08, 09, 10, 11, 12, 13, 14 Subaru Outback
🔧 List of tools used:
• Rust Penetrant
⚠ DISCLAIMER:
While 1A Auto strives to make the information provided in this video as accurate as possible, it makes no claims, promises, or guarantees about the accuracy, completeness or applicability of the content. No information contained in this video shall create any expressed or implied warranty or guarantee of any particular result. All do-it-yourself projects entail some risk. It is the sole responsibility of the viewer to assume this risk. 1A Auto is not responsible or liable for any loss damage (including, but not limited to, actual, consequential, or punitive), liability, claim, or any other injury or cause related to or resulting from any information posted in this video.
 0:16:26
How to Replace a Front Wheel Bearing
 0:13:58
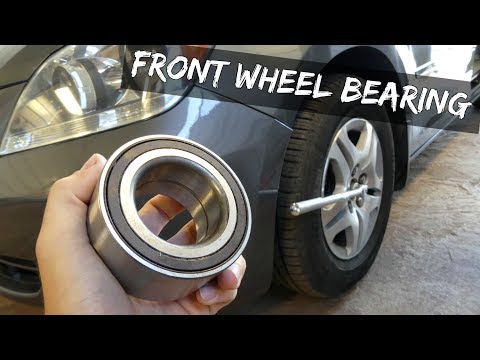
Front wheel bearing replacement - Removal and refitting step by step
 0:20:54
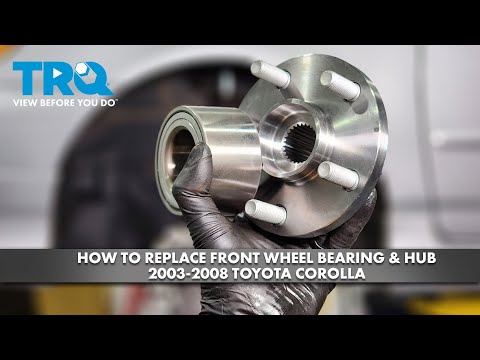
How to Replace Front Wheel Bearing & Hub 2003-2008 Toyota Corolla
 0:12:07
How to Replace Front Wheel Hub Assembly on any Car, Truck or SUV
 0:26:08
How to Replace Front Wheel Bearing 2012-2020 Ford Focus
 0:31:09
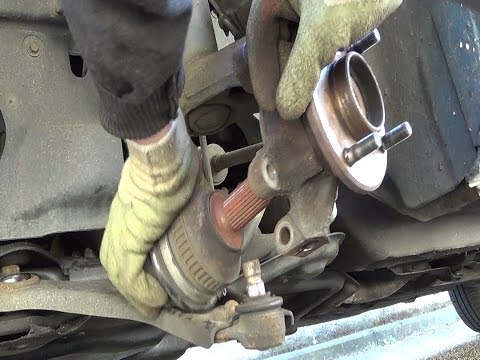
HOW TO REPLACE FRONT WHEEL BEARINGS without PRESS
 0:29:53
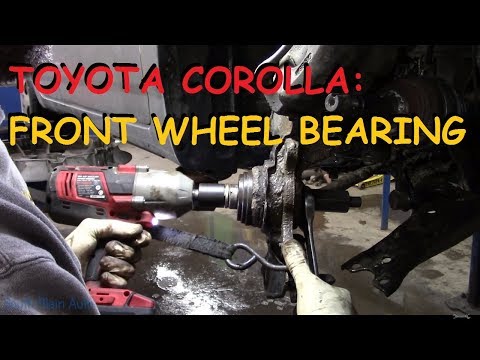
Toyota Corolla: Front Wheel Bearing Replacement
 0:08:02
How To Replace Front Wheel Bearing 2007-Present Toyota Tundra
 0:14:25
How to replace front wheel bearing on a Ford Bronco 2021 +
 0:12:47
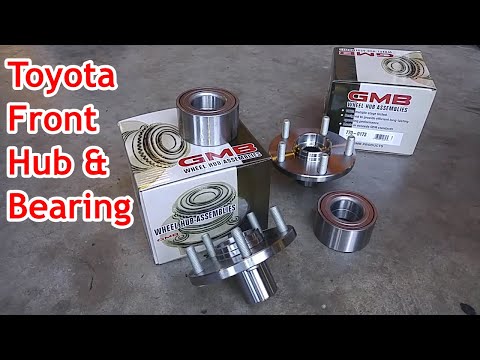
Toyota Front Wheel Hub & Bearing Replacement - 92' - 04' Camry, Avalon & Solara
 0:18:35
How to Replace Front Wheel Hub and Bearing 09-12 Toyota RAV4
 0:15:29
How To Replace The Front Wheel Bearing And Hub On A 2004-2011 Ford Focus
 0:40:56
How to Replace Front Wheel Bearing and Hub 2003-08 Mazda 6
 0:10:41
How To Remove & Install Front Wheel - Harley Davidson Softail
 0:10:27
How To Replace Front Wheel Bearings On 97-2003 2WD Ford F-150 - Expedition - Lightning - Ranger
 0:14:23
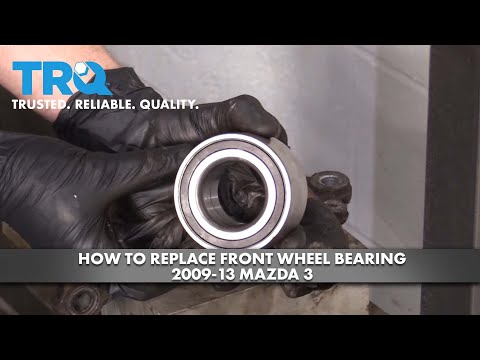
How to Replace Front Wheel Bearing 2009-13 Mazda 3
 0:17:30
How To Replace Front Wheel Hub and Bearing 2007-11 Honda CRV
 0:09:00
How To Replace Front Wheel Bearing Honda Civic 1992-2000
 0:11:47
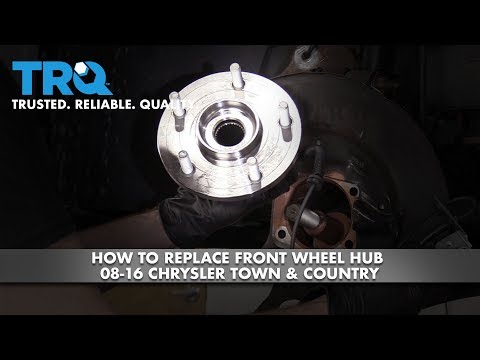
How to Replace Front Wheel Hub 08-18 Chrysler Town & Country
 0:10:05
How to Replace Front Wheel Bearing 05-15 Toyota Tacoma
 0:07:27
How to replace a front wheel bearing - press in (Hyundai Elantra)
 0:12:02
How to Replace Front Wheel Bearings on a 2006-2014 Ford Edge/Lincoln MKX
 0:28:09
How to Replace Front Wheel Hub 12-17 Ram 1500
 0:11:56
How to Replace Front Wheel Hub and Bearing Assembly 2009-2015 Honda Pilot
Комментарии