filmov
tv
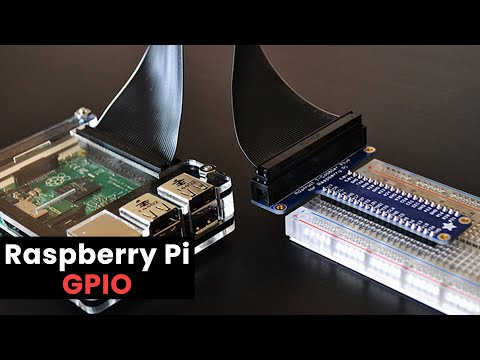
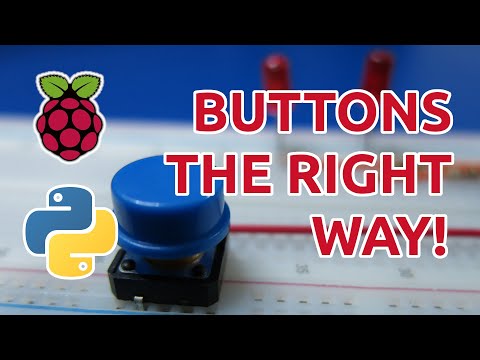
Python GPIO - Input Pin Push Button Example & Compatibility With Raspberry Pi 5

Показать описание
This is a continuation of my guide on using the Raspberry Pi GPIO pins in Python. In a previous video I demonstrated how to use the output pins with a transistor circuit to power LEDs. Today's example shows how to use the input pins with a simple push button example. I also go over the Raspberry Pi 5 and its compatibility with existing libraries. Stay tuned for my next video where I'll show how to interface with sensors including an ultrasonic distance sensor and an IMU.
Purchase a Raspberry Pi on Amazon
Purchase at MicroCenter (Best Deal)
These are affiliate links where I earn a small commission for purchases at no extra cost to you.
This is the easiest way to help the channel, thank you!
Donations
Chapters
00:00 Intro
02:09 Raspberry Pi 5 compatibility
04:35 Voltage divider circuit for the push button
07:08 Explaining the code
09:46 Running the code and other potential uses
12:57 Outro
 0:13:42
Python GPIO - Input Pin Push Button Example & Compatibility With Raspberry Pi 5
 0:08:57
Raspberry Pi GPIO Tutorial: The Basics Explained
 0:13:40
Raspberry Pi LESSON 29: Using GPIO pins as Inputs and Reading them in Python
 0:02:49
How to access GPIO pins of Raspberry Pi and Blink an LED using python
 0:18:41
Raspberry Pi: Using GPIO Inputs
 0:04:51
HOW TO control the GPIO Pins
 0:10:18
How to Use Push Buttons With Raspberry Pi GPIO (with Python gpiozero)
 0:48:40
Raspberry Pi GPIO - Getting Started with gpiozero
 0:24:00
Raspberry Pi 4/3 GPIO pins control using Python
 0:11:09
Raspberry Pi GPIO Elektronik Einstieg: Komponenten, Kits, Breadboard Erklärung, GPIO Grundlagen
 0:10:26
Raspberry Pi GPIO Programming with Python - Part 1: Introduction & Controlling LEDs
 0:06:58
Python Program to Control Raspberry Pi GPIO Pins
 0:00:43
Raspberry PI GPIO input button control LED python codes
 0:07:46
03 GPIO Button Input with Raspberry pi and Python
 0:13:44
Basic usage of the Raspberry Pi GPIO pins
 0:39:36
Raspberry Pi Linux LESSON 27: PWM Output on GPIO Pins from Python
 0:45:45
Raspberry Pi LESSON 4 : Understanding and Using GPIO Pins
![[Tutorial] RaspberryPI GPIO-input](https://i.ytimg.com/vi/Za3w23ONxS8/hqdefault.jpg) 0:10:52
0:10:52
[Tutorial] RaspberryPI GPIO-input Deutsch
 0:19:15
Raspberry Pi - Control GPIO Pins with GPIOzero Library
 0:15:19
Complete Raspberry Pi Pins Overview GPIO Header
 0:18:45
Python Kivy Schreibe ein Programm um die GPIO Pins auf dem Raspberry PI 4 zu programmieren Teil 1
 0:00:40
GPIO Input experiment
 0:00:14
LED Circuit Using GPIO Pins and Python Code
 0:45:56
GPIO, I2C, SPI and Serial with Raspberry Pi 4
Комментарии