filmov
tv
Raspberry Pi LESSON 4 : Understanding and Using GPIO Pins

Показать описание
Guys the pinout I show in this video has an error on Tx/Rx. You can download your own correct Pinout from my WEB site HERE:
Announcing the Most Awesome Raspberry Pi Lessons of All Times! This time we RUMBLE!
In this class series, we will be using the most excellent Sunfounder Ultimate Raspberry Pi kit, available here: (Affiliate Link)
In this lesson I will take you through use of the GPIO pins on the Raspberry Pi. We will learn the pinout, and which pins are used for what.
You guys get your hardware ordered so you can follow along at home!
You will also need a Raspberry Pi. I suggest the Raspberry Pi 4. If you do not already have one, this is the most suitable gear I could find:
The Raspberry Pi's are sort of pricy right now, so you can look on ebay or elsewhere to see if there are any deals. You will need a SD card. If you do not already have one, this is a good one:
I like using a wireless keyboard and mouse to have fewer wires. You can certainly use your USB keyboard and mouse, but if you want a nice wireless one, this one works on the pi.
You guys can help me out over at Patreon, and that will help me keep my gear updated, and help me keep this quality content coming:
#GPIO
#RESISTTHEMETAVERSE
#RASPBERRYPI
 0:45:45
Raspberry Pi LESSON 4 : Understanding and Using GPIO Pins
 0:17:56
Raspberry Pi LESSON 4 HOMEWORK SOLUTION: Understanding and Using GPIO Pins
 0:22:48
Raspberry Pi 4 The Absolute Beginner!
 0:22:15
Raspberry Pi Linux Lesson 4: Creating and Editing Files with Nano Command
 0:13:14
Course Lesson 4 of 10: Raspberry Pi Pico Expansion board for 4WD Smart Car Kit
 0:48:40
Raspberry Pi GPIO - Getting Started with gpiozero
 0:02:08
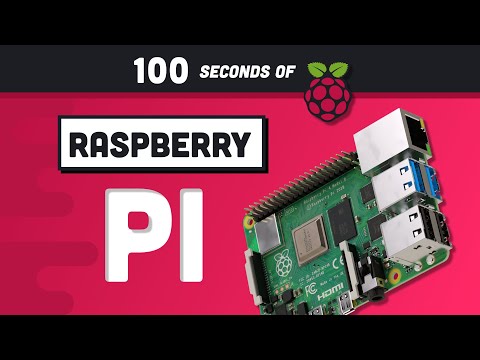
Raspberry Pi Explained in 100 Seconds
 0:10:12
Lesson 4 Configuring Raspberry Pi at First Boot
 0:19:25
Lesson 4: Obstacle Avoidance with Ultrasonic on PICAR-X Raspberry Pi Smart Robot car by SunFounder
 0:12:32
Blinking LED Raspberry Pi Tutorial
 0:09:37
OSOYOO Servo Steer Smart Car for Raspberry Pi Lesson 4: Obstacle Avoidance
 0:15:03
Raspberry Pi Pico - MicroPython - Simple Tutorials - Lesson 4: Basic Programming!
 0:16:14
Raspberry Pi Workshop - Chapter 4 - Your First GUI with TkInter and Python
 0:22:58
Raspberry Pi Pico W LESSON 4: Create a Binary Counter Using the Pico W
 0:03:14
OSOYOO Robot car for Raspberry Pi lesson4: robot car controlled by phone
 0:01:00
Google’s New TPU Turns Raspberry Pi into a Supercomputer!
 0:00:23
Servo robot car for Raspberry Pi
 0:06:55
Raspberry Pi A+ Tutorial #4 – Sense HAT via apache web server
 0:13:41
Program Raspberry Pi Lesson 4: Display the temperatures in different cities taken from a web service
 0:15:19
Complete Raspberry Pi Pins Overview GPIO Header
 0:29:16
Raspberry Pi - How to Begin Coding Python on Raspberry Pi
 0:24:52
Raspberry Pi LESSON 7: GPIO Inputs from Button Switch
 0:09:50
Raspberry pi Lesson 4 Ok04 implementation
 0:22:05
SETUP TO PROJECT in 20 mins | Raspberry Pi Tutorials for Beginners
Комментарии