filmov
tv
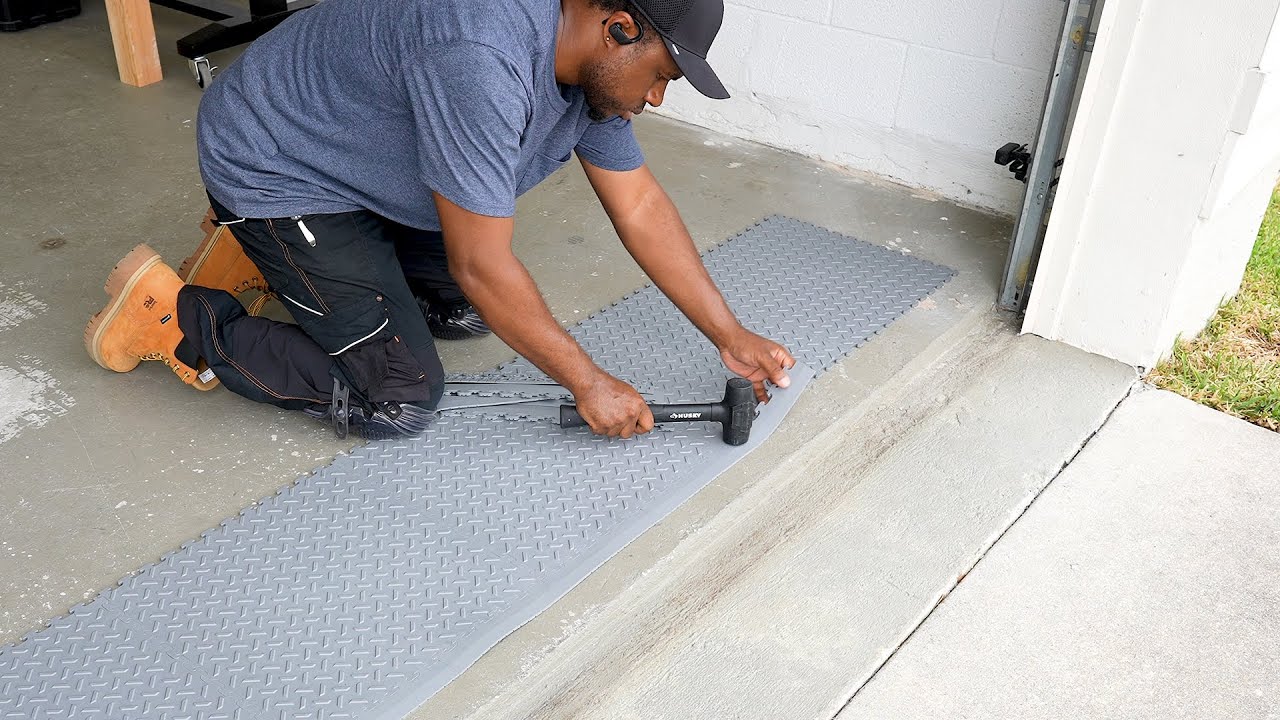
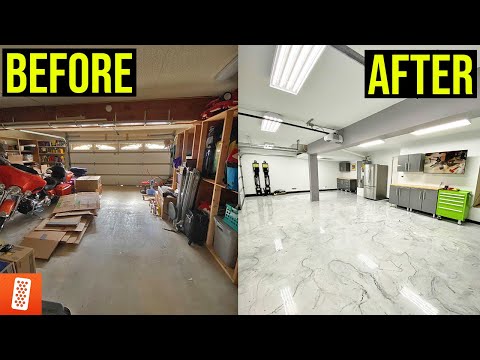
How I upgraded my garage floor (HUGE Difference)
Показать описание
*How much did this install cost to install the tiles? *
• (31) boxes of tiles and (1) Trim kit = $1555 + Tax
Materials used (Affiliate Links)
Tools used (Affiliate Links)
Quick and simple Installation for the Husky floor tiles
Step 1. Clean and prep the floor surface
Step 2. Layout the first row of the tiles starts at the entry. Find the center.
Step 3. Connect the tiles in the first row using a mallet.
Step 4. Install the trim along the front, shift the row into position.
Step 5. Start the second row in the middle and work to the end.
Step 6. Install the rest of the tiles by working from left to right.
Step 7. Cut the tiles to fit at the perimeter.
Step 8. Install baseboard to cover the gap between the wall and the tile.
#Garageflooring #diy #diycreators
 0:15:46
How I upgraded my garage floor (HUGE Difference)
 0:10:30
Transforming My TRASHED Garage Into A SHOWROOM Style DREAM Garage in 10 mins!
 0:11:25
5 Tips to Take your Garage to the Next Level
 0:23:11
Total Garage Renovation | HUGE Transformation!
 0:12:30
Garage Makeover MUST DO’s!!!
 0:10:50
24 Coolest Inventions to Upgrade Your Garage
 0:13:51
Turning A Trashed Garage into My First Dream Garage!! *DIY Garage Makeover*
 0:16:10
DIY Garage Makeover Under $500 Dollars!! (COMPLETE TRANSFORMATION)
 0:12:44
C4 Corvette Garage Queen Turned Daily Driver: How Caring for a Classic Mirrors Caring for Your Body!
 0:03:48
The Biggest Complaint About Epoxy Garage Floors
 0:03:56
Watch This before you Waste THOUSANDS trying to Renew your Garage Floor | Stone Coat Epoxy
 0:31:22
Secret Garage Update #11 Looking SO Good!!
 0:11:34
How to Organize a Garage (w/ Monica from The Weekender)
 0:05:52
Amazon LED Light Upgrade for my Garage! | Budget LED Lights
![[UPDATE] SURVIVAL MODE](https://i.ytimg.com/vi/gzXUj3L8-PE/hqdefault.jpg) 0:19:50
0:19:50
[UPDATE] SURVIVAL MODE - My Garage #14 | Radex
 0:10:14
LEVELING UP my workshop! - Building a second story in my garage workshop
 0:20:24
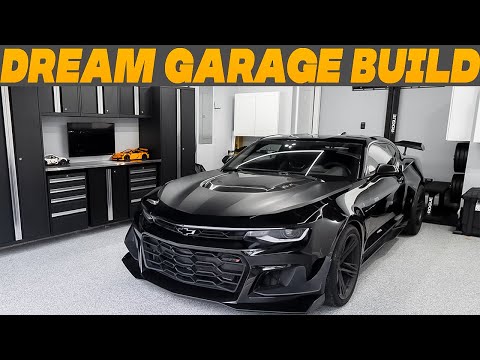
Building a Showroom Style Garage [COMPLETE TRANSFORMATION]
 0:08:51
Ultimate Dream Garage Makeover DIY | Part 2 | Home Gym and Workshop
 0:11:17
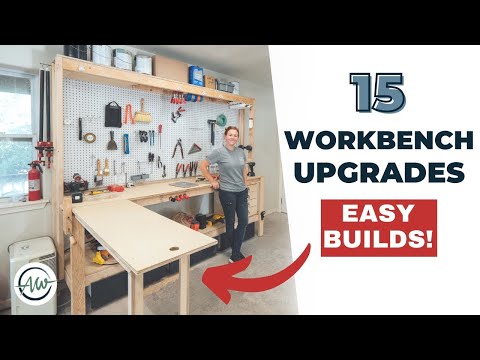
15 Easy Workbench Improvements | Upgrading The Garage Workbench | Adding Storage
 0:09:06
Building the Ultimate Budget Dream Garage in 10 Minutes
 0:00:20
Speedy version of my garage makeover 🏠🛠️ #garage #remodel #renovation #diyproject #garagemakeover...
 0:01:00
Epic DIY Garage Floor Transformation!
 0:00:45
DIY Epoxy Garage Floor | True Value #Shorts
 0:04:50
How to finish your garage
Комментарии