filmov
tv
DIY Shower Remodel : START To FINISH (Part 2 of 2)

Показать описание
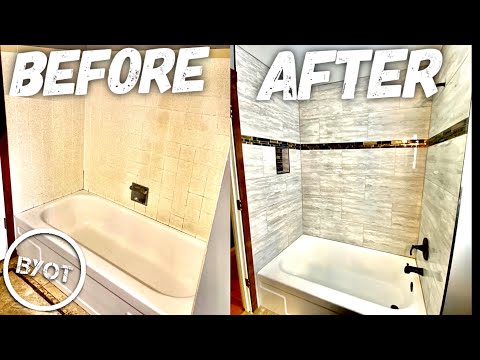
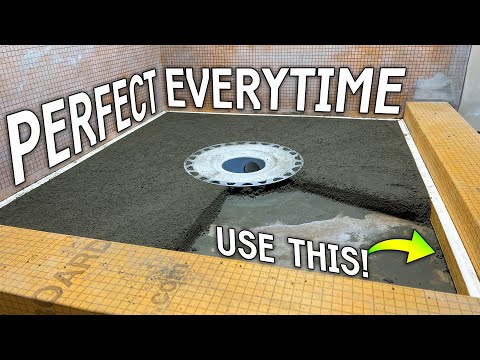
This BYOT DIY shower remodel project goes into detail on how to tile a shower wall from start to finish. This home improvement project is full of bathroom renovation tips for tiling an entire tub and shower from the beginning of demo, to plumbing, to cement board and then waterproofing with Red Guard. This video will show all the steps in between and plenty of details that you ma find useful if you are taking on this project yourself. You can completely transform any bathroom and make it an incredible statement piece. Bring Your Own Tools (BYOTools #57).
Tool List:
Material List
-Cement Board
MUSIC:
Min0:00 - Venice Beach: Topher Mohr & Alex Elena
#byot #diy #howto
Tool List:
Material List
-Cement Board
MUSIC:
Min0:00 - Venice Beach: Topher Mohr & Alex Elena
#byot #diy #howto
 0:12:21
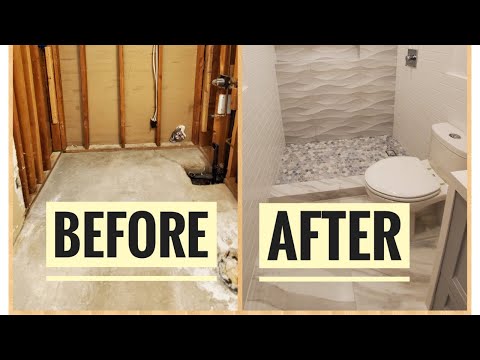
DIY Shower Remodel : START To FINISH (Part 1 of 2)
 0:20:12
DIY Shower Remodel : START To FINISH (Part 2 of 2)
 0:07:01
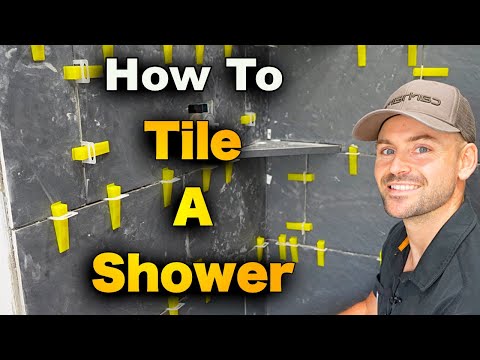
How to Tile a Shower | Tile Prep and Installation
 0:47:20
DIY How to Remodel a Shower - Start to Finish
 0:25:06
How Much Does it Cost to Remodel Your Own Shower? | DIY Shower Remodel
 0:10:31
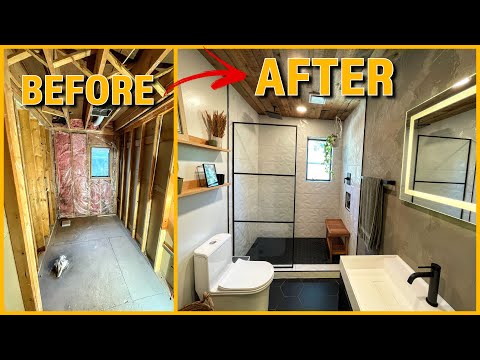
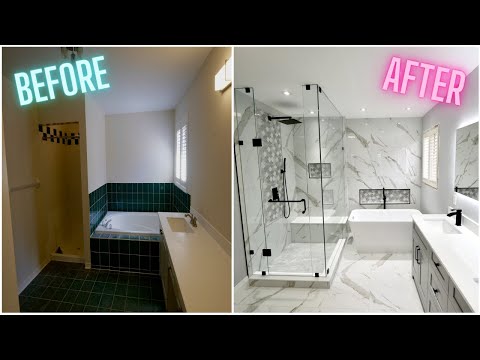
Complete Guest Bathroom Remodel DIY | Start to Finish Tub to Shower Conversion
 0:17:05
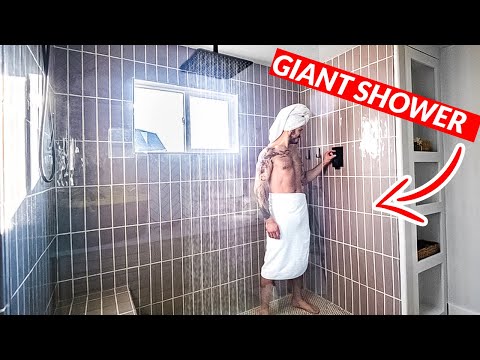
Building a GIANT Shower (Home Remodel)
 0:11:14
Complete DIY Shower Remodel Start To Finish (Part 1 of 2)
 0:00:21
Guest Bathroom Remodel #diy #bathroomremodel #bathroomdesign
 0:11:04
Bathroom Remodel Start to Finish | DIY Renovation Time-Lapse
 0:40:37
How To Tile A Shower - Start To Finish Walls
 0:09:56
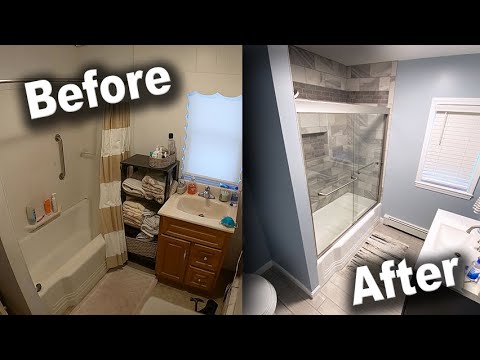
2 DAY BATHROOM REMODEL - Bath tub into a shower
 0:19:31
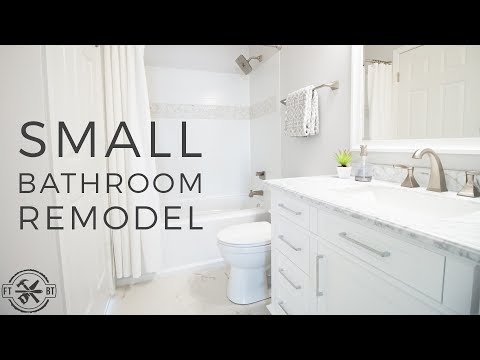
DIY Small Bathroom Remodel - Start to Finish Renovation and Design
 0:26:42
How to Remodel a Bathroom | 99 steps | PLAN LEARN BUILD
 0:41:57
DIY Bathroom Remodel - Start to Finish Renovation and Design
 0:23:34
Master Bathroom Remodel - How to Renovation
 0:01:00
Full DIY bathroom remodel. Everything we’ve done so far! #diy
 0:22:15
DIY Bathroom Makeover on a $500 Budget / Small Bathroom Remodel
 0:31:45
Waterproofing Tub Shower Walls | Easiest Method for Beginners
 0:09:57
DIY Small Bathroom Remodel | Bath Renovation Project
 0:36:30
Bathroom Remodel Time-Lapse - DIY Renovation Start to Finish
 0:19:23
HOW TO BUILD a PERFECT Shower Pan PRE-SLOPE (Great for DIYers)
 0:13:03
DIY Bathroom Remodel (Tub to Shower) // Beginner solo Bathtub Removal pt1
 0:39:00
GIANT Shower Renovation - Master Bathroom Remodel
Комментарии