filmov
tv
Fusion 360 for Beginners - Parametric Box with Threaded Inserts - Lesson 11 Part 1/2 (2023)

Показать описание
In this tutorial, you will make a parametric box for additive 3D printing or subtractive manufacturing. You will learn how to apply several skills from previous tutorials to make a functional box with lid along with threaded inserts and screws. This tutorial has a bunch of tips and tricks along the way that can help you apply the fundamentals of CAD and design to create something practical. With the box being parametric, you will be able to adjust the size, and wall thickness to accommodate any design requirements.
Here’s some of the gear I use and can recommend: (Please note these are amazon affiliate links and I may receive a small commission, which is not added to the cost of any item, when you purchase products through my links)
Specials for Canadian residents:
00:00 - Start
00:54 - Save our part - SAVE OFTEN
01:10 - Create our parameters
02:05 - Create all the components in your design
02:58 - Create your box already!
07:16 - Check our parameters
08:30 - Research our threaded inserts
11:04 - Create the holes
14:15 - Mating the threaded inserts
#learnit #fusion360 #tutorial #drawings #manufacturing #thread #threads #screws
 0:13:07
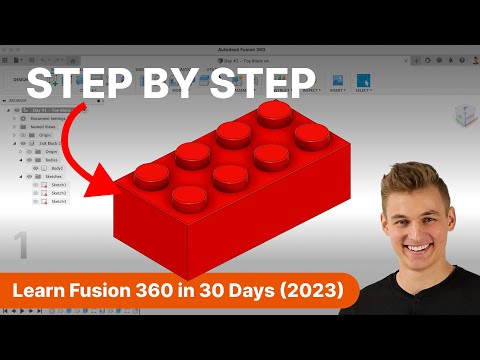
Day 1 of Learn Fusion 360 in 30 Days for Complete Beginners! - 2023 EDITION
 0:21:32
Getting Started with Fusion 360 Part 1 - BEGINNERS START HERE!
 0:19:55
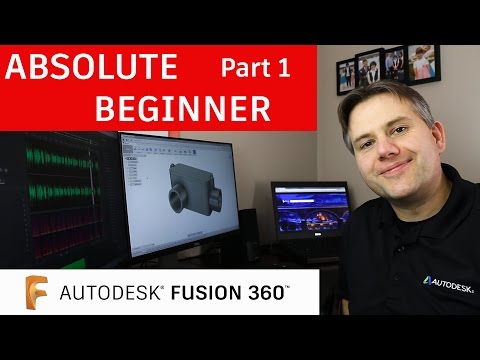
Fusion 360 Tutorial for Absolute Beginners— Part 1
 0:25:23
Fusion 360: Fast & Easy Start Guide + Pro Tips
 0:09:32
Fusion 360 Tutorial For Beginners (QUICK & EASY) + Exporting for 3D Printing
 0:11:55
Day 2 of Learn Fusion 360 in 30 Days for Complete Beginners! - 2023 EDITION
 0:08:53
Fusion 360 Modeling for Beginners | Fusion 360 Practice Exercises for Beginners - 4
 0:34:32
Fusion 360 Tutorial for Absolute Beginners (2020)
 0:10:29
3D Printed Box with Lid Fusion 360
 0:20:31
Fusion 360 Complete Guide - MADE EASY 2024
 0:02:54
Autodesk Fusion 360 Course for Beginners - Lesson 1 (2023)
 1:30:54
LEARN FUSION 360 FAST! A Beginner Tutorial [step by step instructions, no prior knowledge required]
 0:12:32
10 tips for Fusion 360 that I wish someone told me sooner.
 0:08:11
Day 3 of Learn Fusion 360 in 30 Days for Complete Beginners! - 2023 EDITION
 0:00:14
Fusion 360 Tutorial for beginners | AutoDesk Fusion 360
 1:39:00
Fusion 360 complete beginner tutorial - step by step
 0:45:47
So geht Fusion - Einsteigertutorial für Autodesk Fusion 360
 0:19:10
Fusion 360 Tutorial for Absolute Beginners— Part 2
 0:16:05
Fusion 360 Tutorial for Absolute Beginners (2021)
 0:47:08
Fusion 360 TUTORIAL DEUTSCH [ANFÄNGER - Gehäuse]
 0:11:51
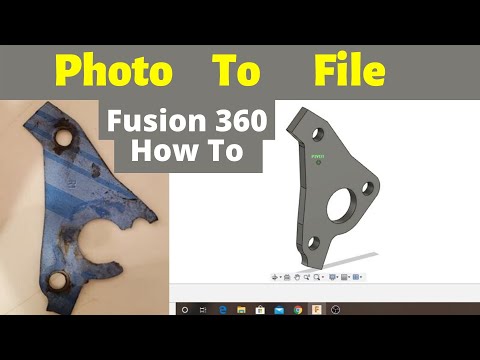
( Fusion 360 ) How to Convert A Photo to a Cnc File using Fusions Canvas Tool. (Langmuir Systems)
 0:08:09
I Found A Much Better CAD Software than Fusion 360 (Never going back)
 0:15:45
Fusion 360 - 23 Tips Beginners Must Learn
 0:33:56
Fusion 360 for Beginners - Model a Box & Lid with Screws - In-Context Design - Lesson 9
Комментарии