filmov
tv
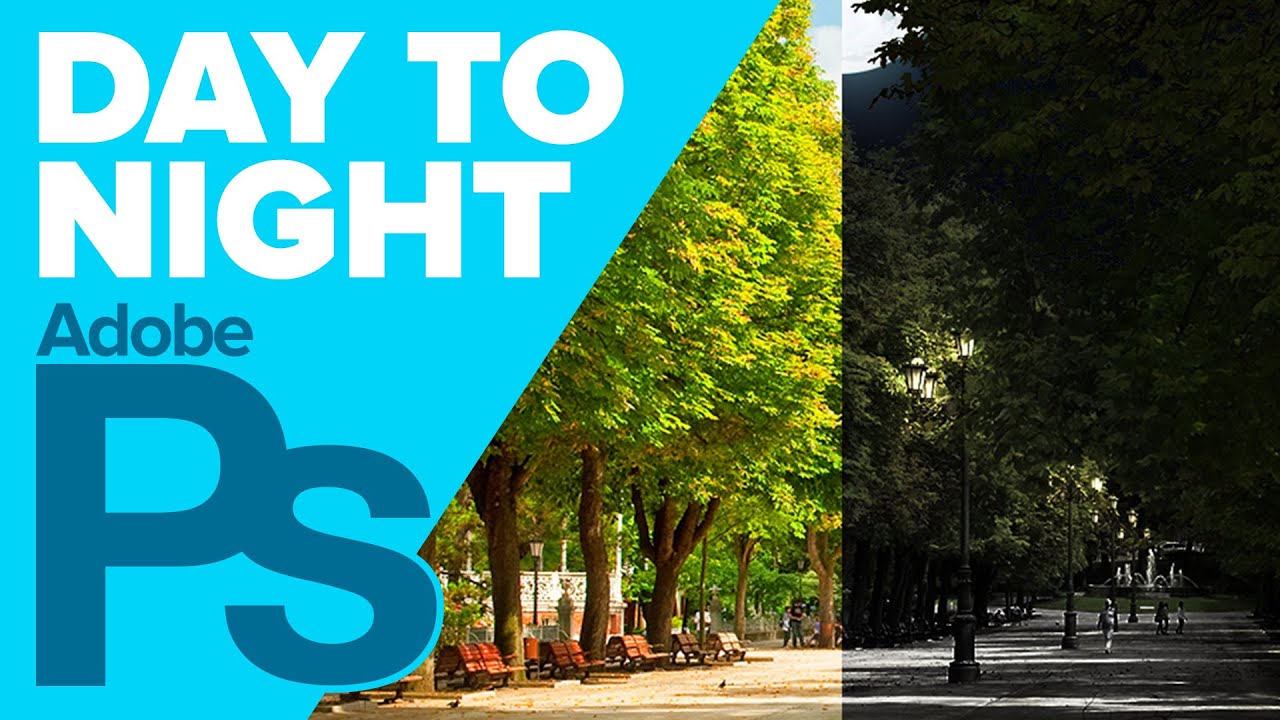
How to Turn Day into Night in Adobe Photoshop
Показать описание
Use the power of Adjustment Layers and Blending Options to turn a bright daytime image, into a semi-realistic nighttime image. While these settings may not give you 100% perfect results, you can use the same techniques on your images with a bit of tweaking.
This tutorial should work on all current versions of Photoshop, including Photoshop CS4, CS5 and CS6.
Tools used in this tutorial:
Adjustment Layers (Hue/Saturation, Brightness/Contrast): By using an Adjustment Layers, you're able to change targeted areas of your photo without damaging the original layer. These can either be applied to the full image, or specific areas using selections or Layer Masks. At any point in the future, you can either make changes to the adjustment, hide it, or delete it completely.
Layer Masks: If there's an area of your layer that you wish to hide (or bring back), Layer Masks will help you do that. Painting using a black brush will hide portions of the layer, and painting with a white brush will reveal them. Black and white gradients can also be used.
Layer Styles: If you're looking to add effects to your layers, you'll likely want to use Layer Styles. Whether it's an outer glow, a few shadows, or a bevel to give it depth, the possibilities are endless!
Make sure to check out my other Photoshop tutorials. Links below!
MORE FROM ICEFLOWSTUDIOS:
Subscribe!
Website!
Facebook!
Twitter!
Howard Pinsky provides free #graphicdesign tutorials covering #CreativeCloud, Adobe #Photoshop, Lightroom, and Adobe XD to the graphic design and photography community. To date, the videos uploaded to this channel channel have been viewed over 80 million times.
No matter what you're looking to learn in Photoshop, you're bound to find it in our library of over 350 tutorials. Topics include: Text Effects in Photoshop, Photo Composition, Photo Retouching, The Basics of Photoshop, Designing in Photoshop, Special Effects, and more! While new videos will be taught using the latest version of Photoshop, you'll find videos covering Photoshop CC, Photoshop CS6, CS5, CS4, and CS3.
 0:01:20
Turn Day into Night in Photoshop | 1 Minute Tutorial
 0:03:57
Unbelievably Easy Way To Turn DAY Into NIGHT In Photoshop
 0:11:39
How to Turn Day into Night with White Balance - Lighting with Colour Part 2
 0:16:42
How to turn DAY into NIGHT in Photoshop in 3 easy steps
 0:03:07
How to turn Day Into Night in Premiere Pro Tutorial
 0:05:49
How To Turn Day into Night Using Lightroom
 0:02:59
Turn Day time into Night time Using Photoshop CC #2MinuteTutorial
 0:01:01
1-Minute Photoshop | How To Turn Day into Night in Photoshop
 0:00:54
Know your weaknesses, Turn them into strengths
 0:05:31
Photoshop Tutorial | Turn DAY into NIGHT in Photoshop with Lighting Effect
 0:00:56
Turn DAY into NIGHT in Photoshop. Realistic.
 0:06:39
Turn any Day into Night in Unreal Engine 5 (2 METHODS)!!
 0:11:40
How to Turn Day into Night in Adobe Photoshop
 0:04:48
How to Turn Day into Night in Photoshop (Free LUT Included!)
 0:13:22
Turn Day Into Night with Adobe Premiere Pro
 0:00:16
HOW TO TURN INTO A VAMPIRE
 0:07:39
How to Turn Day into Night in Photoshop
 0:19:09
Turn day into night | Advanced Day for Night Filmmaking Tutorial
 0:28:22
Luminar NEO: How to turn DAY into NIGHT (Full Edit 🛠)
 0:20:15
Turn DAY Into NIGHT With Photoshop
 0:03:55
Photoshop Tutorial: How to Turn Day into Night
 0:09:50
How to turn day into night | HitFilm Pro
 0:13:04
Turn Day Into Night With Realistic Light | Affinity Photo
 0:05:47
Turn Day into Night in Lightroom & Photoshop | QE #117
Комментарии