filmov
tv
The BEST Way To Learn Electronics Repair

Показать описание
LER #417 So what is the best way to learn how to repair electronics? Is it by watching videos on YouTube? Hmmm...
I work in collaboration with:
The Electronics Channel (live streams with Carlos and Detlef)
Gran Canaria Uncovered
For All Your PCB needs: free $5 discount coupon
Equipment used in my videos. These are affiliate links, you pay the normal price and I make a small commission.
TEST METERS
ANENG AN8009 MULITIMETER
KAIWEETS HT118E MULTIMETER
VC480C+ MILLIOHM METER
MESR-100 ESR METER
XC6013L CAPACITOR METER
TM-902C TEMPERATURE METER
LCR-T4 COMPONENT ANALYZER
FNB58 USB ANALYZER
PCI POST ANALYZER
TL460S PLUS PCI_E ANALYZER
TOOLTOP ET120MC2 SCOPE
FNIRSI 1014D SCOPE
NPS3010W 30V 10A PSU
T12 STATION WITH M8 9501 HANDLE
M8 9501 HANDLE
YIHUA 982 Soldering Station C210/C245
FNIRSI HS-02 PORTABLE SOLDERING C210/C245
QUICK 861DW
PROS'KIT SS-331H
INFIRAY P2 PRO IR CAMERA + MACRO LENS
TOOLTOP ET13S THERMAL CAMERA METER
ET13S MACRO LENS
OPTICAL MICROSCOPE
TOMLOV TM4K AF FLEX
TL866 II+ PROGRAMMER
CH341 PROGRAMMER
NC-559-ASM FLUX
DESOLDER BRAID (I use size 8045)
HX-T100 SOLDER (0.6MM)
ESD-11 TWEEZERS
Learn Electronics Repair is now on Discord! Come and join the fun, it's free.
If you would like to support this channel
You can send donations
You can subscribe to Patreon
You can click Join to become a channel member
Thank you
Richard
 0:38:28
The BEST way to learn anything: my Learning System for students!
 0:09:34
the ASIAN SECRET to STUDYING EFFECTIVELY
 0:11:14
How to Learn: Pretty Much Anything
 0:06:50
How to STUDY EFFECTIVELY | Andrew Huberman
 0:05:09
3 tips on how to study effectively
 0:13:48
A Simple Way to Learn New Skill (using science)
 0:08:11
Elon Musk - How To Learn Anything
 0:11:59
The BEST Way to Learn ANYTHING (Especially Anatomy)!!! | Institute of Human Anatomy
 0:01:14
the best way to learn everything | the best way to learn everything and be successful memefi code
 0:18:19
Brain Hack: 6 secrets to learning faster, backed by neuroscience | Lila Landowski | TEDxHobart
 0:14:43
How to Learn Anything FASTER
 0:01:07
The BEST Way To Learn Everything and Be Successful | MemeFi Video code
 0:12:54
The Best Way To Learn English (In my humble opinion.)
 0:03:42
The Best Way To Learn Programming BUILD SOMETHING
 0:05:48
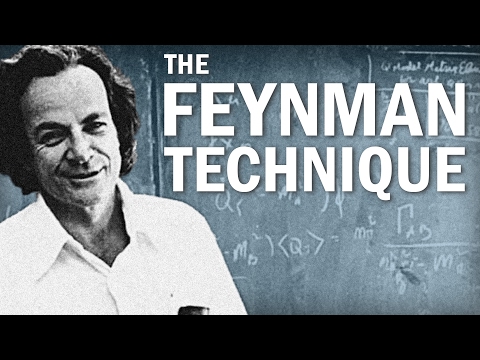
How to Learn Faster with the Feynman Technique (Example Included)
 1:18:57
834. The best way to learn a language according to research (Article)
 0:01:02
The Best Way To Learn Everything And Be Successful | Memegirls Code |Youtube Video Code Memefi Today
 0:03:22
Grant Sanderson (3Blue1Brown): Best Way to Learn Math | AI Podcast Clips
 0:04:02
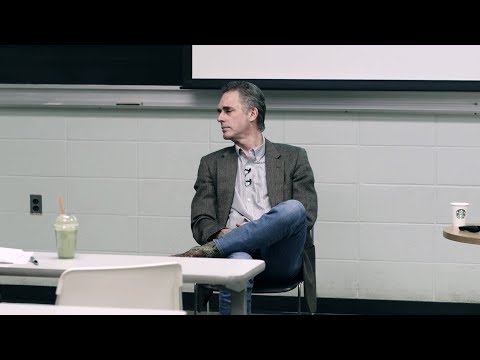
Jordan Peterson - The Best Way To Learn Critical Thinking
 0:15:32
How To Learn Things FAST
 0:11:34
10 Mind Tricks to Learn Anything Fast!
 0:00:46
The Fastest Way To Learn a New Language! #shorts
 0:14:35
The Absolute Best Way to Learn a Language
 0:09:51
The Best Learning Method in History: 2,400 Years Ahead of Its Time
Комментарии