filmov
tv
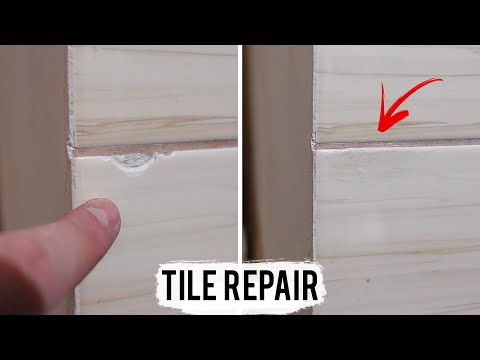
Tile Repair Kit - How to repair a chipped tile?

Показать описание
Damaged a tile or drilled the wrong hole? Picobello Australia Blog | DIY Repair Kits for Tiles & Timber Surfaces. What you might be searching for: floor tile repair, chipped tiles, drill holes in tiles, ceramic tile repair, fix cracked tile, repair kitchen floor tiles, patching grout tile floor, how to fix tiles, tile repair kit bunnings, tile filler and fix a tile chip.
One very common cause of or damages in homes is how to fix tiles, how to repair tiles and do it all in your own home with no help. More or less no help, as in professionals coming to you where you pay thousands of dollars getting quotes to lay new flooring down.
Picobello have some tips and tricks allowing you guys to benefit more from using our Picobello products in terms of applying the right way so the material (wax’s) hold better into the damage or hole, taking excess product off the damage and touching up the finished surface for perfect colour corrections.
Follow these Steps to ensure the best quality repair capable for our products:
Step 1. Preparation
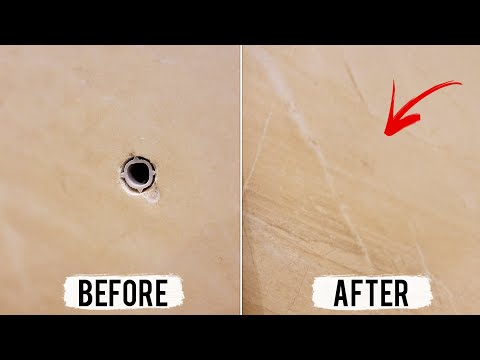
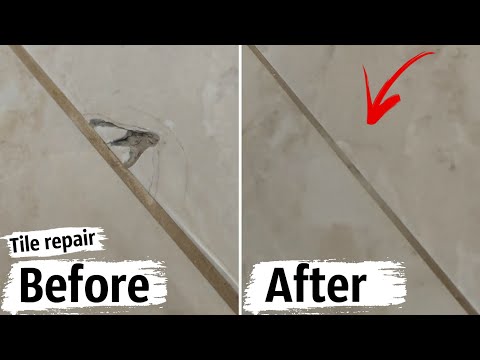
The area to be repaired must be cleaned, dried and free of grease. Remove any loose or sticking out parts of tile prior to the repair. If the damage is less than 2 mm, we recommend drilling the hole deeper. By having more surface area you'll provide the wax the area it needs to adhere to the tile.
Step 2. Melting
Activate the melter for 30 seconds and touch the melter tip into the Ceramic Filler stick matching your colour of tile. Best tip: use two 3 colours for the base colour and add small dot on top in blending.
Step 3. Filling
Apply this moltern filler mixture over and onto the damage area using the tip as a shovel, as the hard wax can become very liquid like. Over fill the area slightly. The wax is completely dry with in seconds and warm to touch. After 1 minute it is completely hardened.
Step 4. Levelling
Remove the excess filler and use the serated teeth on the Applicator. You can also use the front flat edge of the applicator in a fast motion to take wax away.
Step 5. Adjust Colour
Add small dots on top of the damge to replicate the different colours in the tile and use the curved edge to blend in.
Step 6. Degreasing
Use the grey pad to degrease the damage and the surrounding area with light pressure.
Step. 7 Apply the Sealing Pen
Use a the cloth and pre squeeze some sealer onto the cloth to allow the tip to become wet. Adjust amount on tip and apply to the damage. Use the Green and white pad to adjust for High gloss or Matt finish.
In Conclusion, If you have purchased a Picobello kit and use these methods, we ensure the best finish possible from a DIY perspective. When looking at our range of DIY kits, we have recommendations that you should follow making the process of repairs on tiles, not a replace, but repair it!
Take a further look at our extensive tip guide for all sorts of damages around your home.
One very common cause of or damages in homes is how to fix tiles, how to repair tiles and do it all in your own home with no help. More or less no help, as in professionals coming to you where you pay thousands of dollars getting quotes to lay new flooring down.
Picobello have some tips and tricks allowing you guys to benefit more from using our Picobello products in terms of applying the right way so the material (wax’s) hold better into the damage or hole, taking excess product off the damage and touching up the finished surface for perfect colour corrections.
Follow these Steps to ensure the best quality repair capable for our products:
Step 1. Preparation
The area to be repaired must be cleaned, dried and free of grease. Remove any loose or sticking out parts of tile prior to the repair. If the damage is less than 2 mm, we recommend drilling the hole deeper. By having more surface area you'll provide the wax the area it needs to adhere to the tile.
Step 2. Melting
Activate the melter for 30 seconds and touch the melter tip into the Ceramic Filler stick matching your colour of tile. Best tip: use two 3 colours for the base colour and add small dot on top in blending.
Step 3. Filling
Apply this moltern filler mixture over and onto the damage area using the tip as a shovel, as the hard wax can become very liquid like. Over fill the area slightly. The wax is completely dry with in seconds and warm to touch. After 1 minute it is completely hardened.
Step 4. Levelling
Remove the excess filler and use the serated teeth on the Applicator. You can also use the front flat edge of the applicator in a fast motion to take wax away.
Step 5. Adjust Colour
Add small dots on top of the damge to replicate the different colours in the tile and use the curved edge to blend in.
Step 6. Degreasing
Use the grey pad to degrease the damage and the surrounding area with light pressure.
Step. 7 Apply the Sealing Pen
Use a the cloth and pre squeeze some sealer onto the cloth to allow the tip to become wet. Adjust amount on tip and apply to the damage. Use the Green and white pad to adjust for High gloss or Matt finish.
In Conclusion, If you have purchased a Picobello kit and use these methods, we ensure the best finish possible from a DIY perspective. When looking at our range of DIY kits, we have recommendations that you should follow making the process of repairs on tiles, not a replace, but repair it!
Take a further look at our extensive tip guide for all sorts of damages around your home.
 0:06:41
Tips for repairing damage to tiles and ceramics DIY. Tile repair kit
 0:01:09
Tile Repair Kit - How to repair a chipped tile?
 0:00:15
How To Repair Chipped Tiles
 0:03:21
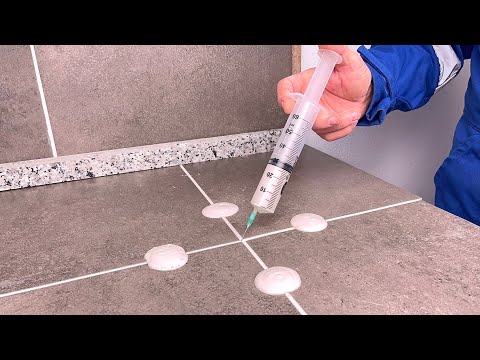
How to restore drilled holes in the tile? DIY Tile Repair
 0:04:57
How to Fix Cracked and Chipped Porcelain Tile | Ask This Old House
 0:04:44
Tile repair. Restoration of cracks on a ceramic tile.
 0:02:46
How to Fix Cracked Tile | The Home Depot
 0:01:14
Mechanic Tile Repair Kit
 0:00:28
How to #Repair CERAMIC TILE FLOOR Damage | ceramic damage | damaged tile floor | damaged tile repair
 0:04:16
How to Repair a Chipped Bathroom Tile
 0:01:28
MagicEzy Tile Fix - Brukertips
 0:01:05
Bath Repair Kit White Endhokn 100g
 0:08:10
Сhipped Tiles are Not a Problem | Ceramic Tile Fix
 0:03:11
Method Surprised 50 Year Old Tiler! Fix Tiles Without Removing
 0:09:10
Tile repair DIY. How to fix damage to the tile with a restoration kit?
 0:01:20
DIY Tile Repair: Fix Damaged Tiles with a Tile and Stone Repair Kit
 0:00:21
How to Repair your Tiles using a Tile and Stone Repair Kit | DIY Tile Repair and Restoration
 0:00:50
XUDOAI 2 Component Bathtub and Tile Repair Kit 25ml White Epoxy Glue
 0:13:22
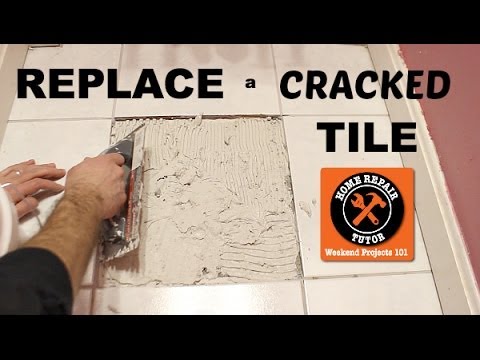
How to Replace a Cracked Tile
 0:01:05
How to Repair Your Bathtub and Tiles Using Tub and Tile Repair Kit
 0:02:30
repairing CRACKED “tile floor”
 0:01:02
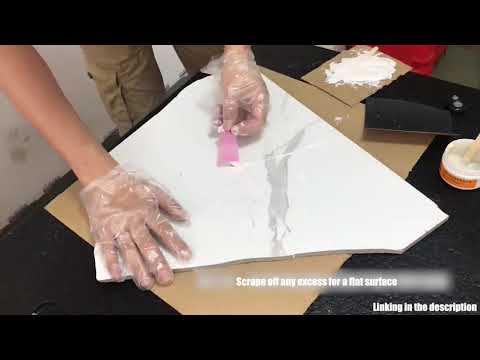
How to Use Ceramic Repair Paste
 0:04:13
Tile crack instant repair with glue and nail polish
 0:06:01
Fixing cracks in tile without replacing them.
Комментарии