filmov
tv
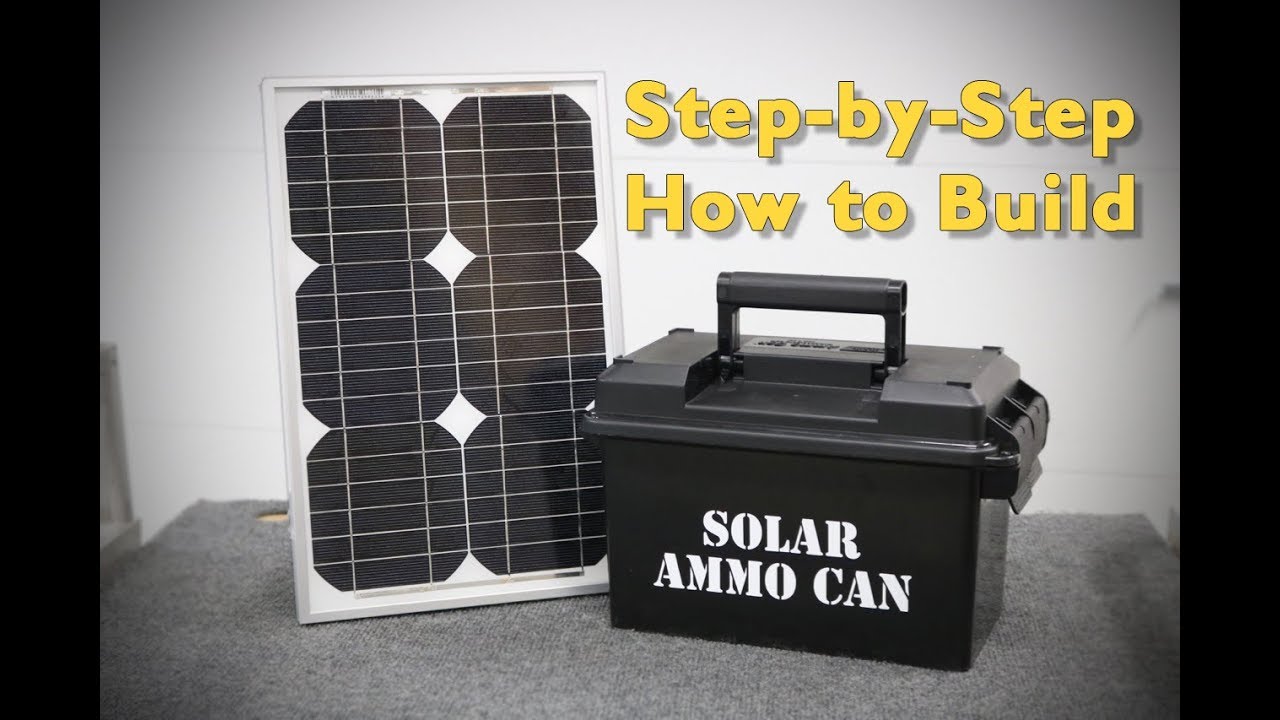
Build A Solar Ammo Can Full-Length Instructional Video
Показать описание
This is the step-by-step instructional video on how to build a portable solar power supply in an ammo can. CLICK SHOW MORE for parts list and other details!
This project is essentially a battery inside a sturdy box with a handle. I choose an 50 caliber plastic ammo can, as I've found them to be very handy as tool boxes and storage containers. Ammo cans stack nicely, carry easily, and have a weathertight gasket seal.
In the past, many of my projects made use of "Unique Parts" (such as bulletproof glass pulled out of a dumpster!) In this case, I wanted to made use of as many "off-the-shelf" parts as possible. For one thing, it makes it very easy for OTHER people to also make their version of the same project.
In this case, I happened to purchase most of the components from a major online retailer. If you'd like to do the same, I've provided links to the items I used.
For this project, we will need:
Ammo Can, 50 cal.
I really like the MTM brand. Nice boxes, made in the U.S.A. Available in multiple colors. Black and green are both classic, but you might want high visibility orange if you intend to use this as emergency equipment.
Sealed Lead Acid Battery, 15AH capacity.
I specifically chose a particular physical size, as it fits perfectly inside the MTM Ammo can. It's also a relatively small battery, which keeps the project weight to right around only ten pounds. I used a "Mighty Max" brand battery.
UPDATE! LITHIUM BATTERY!
20A Solar Charge Controller
Four In One Socket Panel
This is a device typically sold for trucks to add a 12V cigarette lighter outlet, USB ports, a voltmeter, and a switch to turn it all on and off. They are available in several shapes sizes and colors.
Banana Jacks
These are used as universal electrical inputs and outputs on the project. This project uses two pairs, but since I knew I'm be using more in the future, I bought a box of 10.
12 AWG stranded wire in both black and red
(From local hardware store)
Crimp on electrical terminals, spade and 1/4" ring terminal
Silicone adhesive or hot glue
Industrial type hook and loop fastener (Velcro)
Wire Nuts or Wago (Brand) Lever Lock Nuts.
Fuse Holder and Fuse.
6-32 and 8-32 nuts, bolts, and washers
The project also features "accessory items" that simply plug in to the Solar Ammo Can to make it as useful as possible. To start with, we will want to be able to charge the battery.
Solar Panel - a 15 watt PV Solar panel. Any 12V nominal solar panel of about 10 to 20 watts is perfect for this project.
Here's one which looks affordable, and it about the right size and style for the project.
DC Power Adapter (Wall Charger)
Any DC wall power adapter of higher than 12V (13.2, 14.4, 18) and one amp will work fine.
I already had a 18V 1.3A power adapter handy.
Here's a similar adapter.
The other items I packed into the ammo can were for lighting and AC power.
USB Gooseneck Light
These small USB lights work great. They are very simple and durable. Fantastic for camping.
100 Watt AC Power Inverter.
This device converts DC power to AC power so that you can run typical household devices from a battery. A 100 watt version is very compact and inexpensive. I already had one, which I used for this project. Here is a similar version.
If you are not going to be using the Solar Ammo Can for a while, fully charge it up, then simply pull the positive connection at the battery, or pull the main fuse. This will prevent any energy drain while in storage.
Background music for this video was provided by:
Music by:
Licensed under Creative Commons: By Attribution 3.0 License
 0:52:23
Build A Solar Ammo Can Full-Length Instructional Video
 0:14:46
How to add the solar upgrade to power box version 2
 0:17:03
How to BUILD A LITHIUM POWER BOX For ONLY $36!
 0:29:51
Solar Ammo Box Generator Overview - DIY
 0:25:29
How to build 1.5 kWh LiFePo4 battery using ammo can for enclosure.
 0:23:58
DIY Solar PowerStation ( CHEAPER than buying one )
 0:18:12
$65 SMALL SOLAR GENERATOR DIY BUILD
 0:11:50
Emergency DIY Solar Powerpack Build
 0:02:00
Solar Ammo Can Power Supply - Overview
 0:22:20
DIY Lithium Power Box Build | 18ah Portable Charging Station | NPLife
 0:02:13
made a SOLAR GENERATOR out of an ammo box
 0:20:20
Emcomm DIY OFF GRID Ham Radio Go Box / Solar Generator Build
 0:05:18
Ammo Can Battery Box
 0:04:01
300w solar AC/DC ammo can emergency portable power box -- mods and tweaks
 0:14:53
Ammo Box Bluetooth Speaker | Its SOLAR!
 0:07:23
Solar Ammo Can Alternative Wiring and Disconnect Switch
 0:04:15
Ammo Can Battery Box Re-Charging Main Battery
 0:16:18
DIY Solar Power Pack. With Dual Charging.
 0:04:16
Check out the next generation power box
 0:09:09
DIY Solar Generator Portable Power Station
 0:08:41
DIY Solar Generator - Portable Lithium Battery Box Build - Part 1
 0:08:46
Solar Ammo Box 1.0 Generator Final Update
 0:10:37
Ammo Can DIY Portable Power Box 12V DC and 120V AC Power
 0:09:47
Solar powered Ammo box thing
Комментарии