filmov
tv
MacBook Pro 13 A1502 (Late-2013 - Mid-2015) Keyboard Replacement Guide

Показать описание
Full guide to replacing the keyboard in the Apple MacBook Pro 13 A1502 (Late-2013/Mid-2014/Early-2015/Mid-2015) models.
This is a difficult job and should only be undertaken by a confident repairer or professional.
Amazon Affiliates Links:
0:00 Introduction and base removal
2:24 Battery Disconnection and Screen Removal
8:16 Cable Disconnections
11:35 Logic Board Removal
12:21 IO Board and Speaker Removal
14:05 Battery Removal
18:09 Backlight and Keyboard Removal
23:00 Unibody Cleaning
24:03 Keyboard Fitting
29:16 IO Board Refitting
30:16 Logic Board Refitting
33:05 Cable Reconnections and Speaker Refitting
36:00 Battery Refitting and More Cables
39:42 Screen Refitting
44:04 Base Refitting
 0:13:28
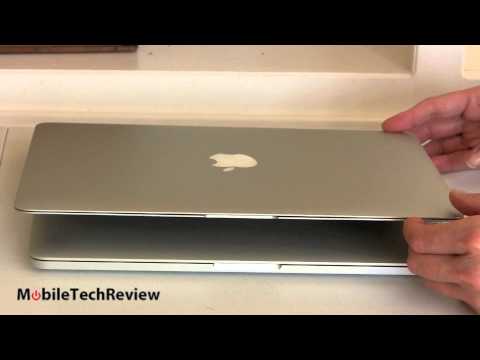
Apple MacBook Pro 13-inch with Retina Display (Late 2013): Unboxing, Demo, & Benchmarks
 0:08:51
2013 Retina MacBook Pro In 2023! (Still Worth Buying?) (Review)
 0:08:32
2013 Retina MacBook Pro In 2024! (Still Worth Buying?) (Review)
 0:04:30
13' MacBook Pro Battery Replacement - late 2013, mid 2014 - 4 1/2 MINUTE DIY VIDEO
 0:08:45
13' Apple MacBook Pro Late 2013 Full Disassembly Teardown A1502
 0:13:38
This $60 Retina MacBook Pro is INSANE
 0:08:55
Is the 13' Macbook Pro Retina STILL Decent? (Review)
 0:12:02
MacBook Pro 13' (Late 2013) - Overview
 0:04:51
MacBook Pro 2013 in 2024 - 11 years old, and is the 13' still useable?!
 0:19:52
13' Apple MacBook Pro Late 2013 Retina Haswell Review
 0:06:26
Is the 2013 13' Macbook Pro Worth it? | Updated Review
 0:11:33
If you have a Retina MacBook Pro, you need this $6 Upgrade!
 0:09:28
MacBook Pro 13 Retina 2013 - A 2021 Review
 0:16:31
2013 MacBook Pro Retina 13' VS 2012 MacBook Pro 13' Full In-Depth Comparison
 0:11:20
I Bought a 2013 MacBook Pro in 2022
 0:05:17
How To Replace a MacBook Pro 13' Retina Display (Late 2013)
 0:28:53
13' inch Retina MacBook Pro A1502 Late 2013 Mid 2014 Disassembly Battery Replacement Repair
 0:02:41
How To Upgrade or Replace SSD Memory in a MacBook Pro 13' Retina Display (Late 2013)
 0:04:43
The MacBook Pro 13' with Retina Display Teardown Review (Late 2013)
 0:03:12
MacBook Pro 13' Retina A1502 (2013-2015) SSD Replacement | DIY Upgrade Tutorial
 0:05:48
Battery Replacement for Late 2013 Macbook Pro - Tutorial
 0:02:39
MacBook Pro with Retina Display Review (Late 2013)
 0:11:54
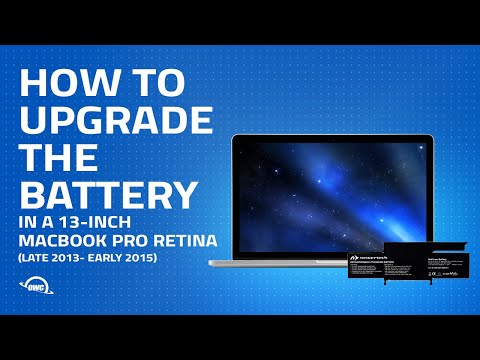
How to Replace the Battery in a MacBook Pro Retina 13-inch (late 2013 to early 2015)
 0:12:03
MacBook Pro 13 A1502 A1582 Battery Replacement
Комментарии