filmov
tv
Make $$$ in Minutes from Engraving LED Signs - Unbelievable Trick Revealed!

Показать описание
Make Money Laser Engraver Acrylic LED Edge Lit Signs with this easy to follow tutorial. This is the best way to make money from home, and it's easy to do. You don't need any special skills, just a computer and an internet connection.
This is the best way to make money from home, and it's easy to do. You don't need any special skills, just a computer and an internet connection. If you're looking for a way to make extra money, then you should check out this tutorial on how to make money laser engraver acrylic LED edge lit signs. This is a great way to make money and it's easy to do!
Stuff We Used:
Coupon Code: KANDGMAKEIT5OFF
Follow us on social:
We love to Do It Ourselves. You love to Do It Yourself. Let's Do It Together. New DIY Videos Every Week!
Visit our website:
FYI: We are not professionals, and we don't claim to be. This is what we found worked for our project. Yours may need a little different approach. We have just enough woodworking skill to make some basic furniture. Safety first!
FTC Disclaimer: This is not a sponsored video. All opinions are genuinely our own. This post may contain affiliate links and we earn a small commission if you make a purchase after clicking on my links. It doesn't cost you any extra. Thank you for your continued support to keep Making It!
 0:07:12
Don't buy super glue, make it yourself in 2 minutes from vinegar!
 0:12:28
Get Paid +$28.18 EVERY 10 Minutes FROM Google Translate! $845.40/Day (Make Money Online 2025)
 0:03:37
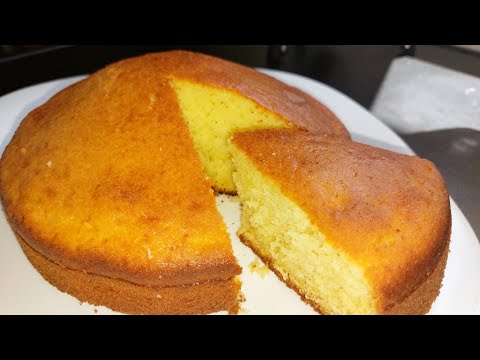
cake in 2 minutes! you will make this cake every day! easy and quick to prepare
 0:00:20
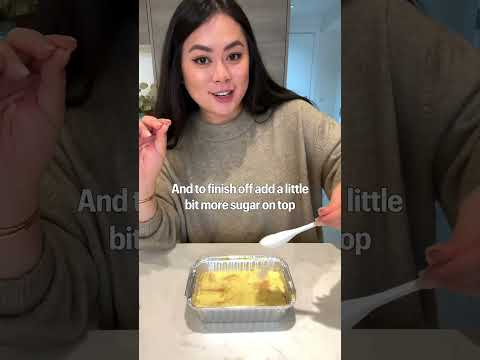
The EASIEST dessert in 20 minutes (even my husband can make it)
 0:06:50
Earn ($10.00 + $1.71) EVERY 15 Minutes From GOOGLE TRANSLATE! | Make Money Online 2023
 0:18:53
27 AWESOME CRAFTING HACKS YOU CAN MAKE UNDER 5 MINUTES
 0:03:13
5 Snacks You Can Make In Under 5 Minutes • Tasty
 0:03:25
How to Make a Short Film - In 3 Minutes
 0:00:36
how to make a egg burger within five minutes
 0:00:35
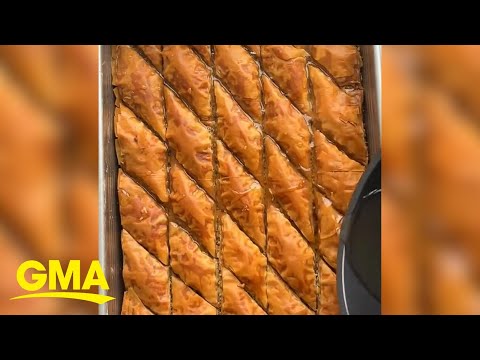
Make baklava in only 10 minutes with this brilliant hack l GMA
 0:00:32
If you only have 10 MINUTES, you have to make this for lunch!
 0:08:08
Earn $450.24 Every 30 Minutes for FREE (Make Money Online)
 0:00:29
How to make dinner in 15 minutes | FeelGoodFoodie
 0:00:19
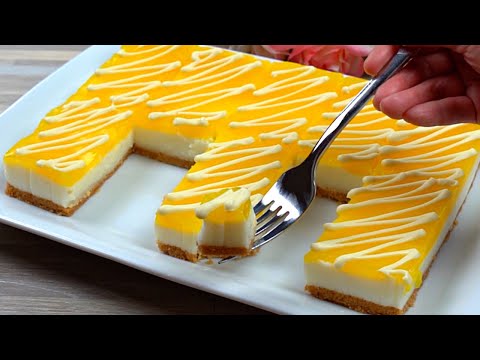
Can I make a cake in 15 minutes? #shorts #cake
 0:00:25
This only takes 5 minutes to make!
 0:02:43
Make Bread in 10 Minutes in a Fry pan | No eggs, No yeast
 0:00:30
How to make the best chocolate cake in UNDER 5 MINUTES!!
 0:04:35
If you have Lemon, Make this Dessert in 10 Minutes! No-Bake, No Gelatin, Easy and Delicious!
 0:06:32
You will make this cake in 5 minutes every day! Simple and tasty.
 0:16:34
27 SATISFYING CRAFTS TO MAKE IN 5 MINUTES
 0:13:20
I Made an iOS App in MINUTES with This AI Tool!
 0:17:25
20 COOL DIYs YOU CAN CREATE IN 5 MINUTES
 0:10:36
Make Butter in 10 Minutes or Less! | Chef Jean-Pierre
 0:07:35
Using ChatGPT-3 to Make YouTube Videos in Minutes (FULL GUIDE)
Комментарии