filmov
tv
Everything You Need to Know about Breadboards
Показать описание
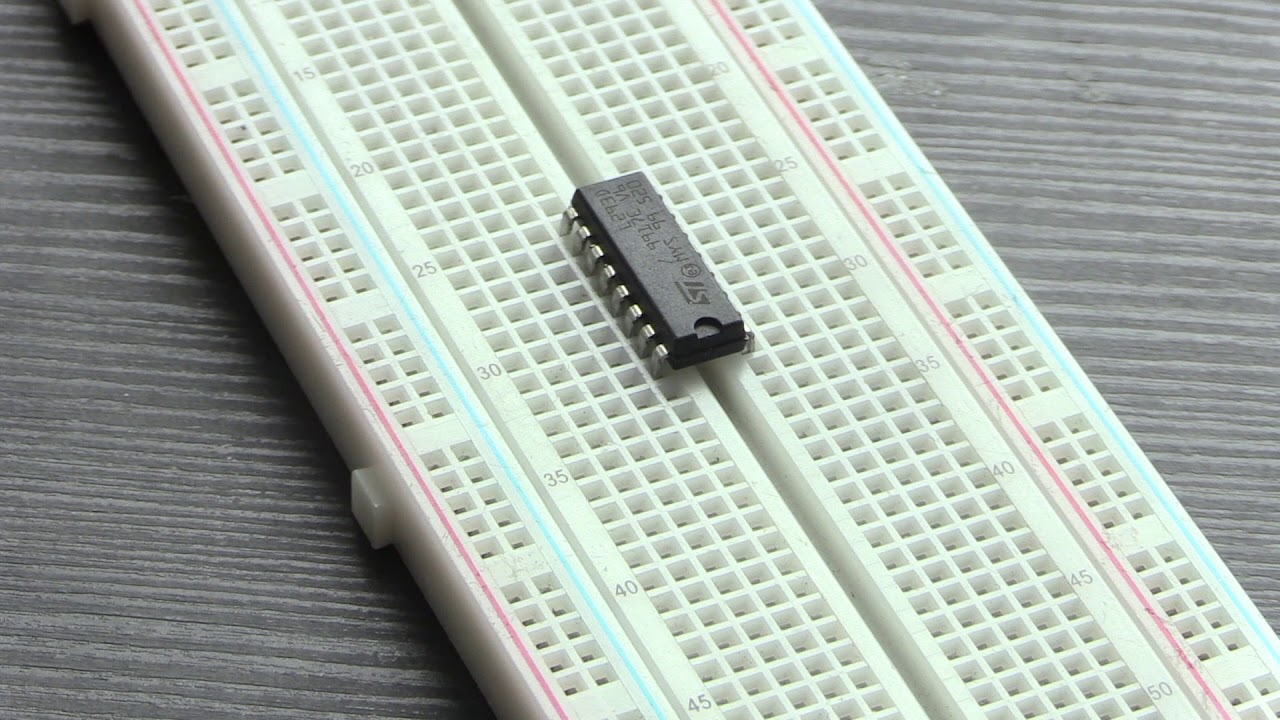
The breadboard is the bread-and-butter of DIY electronics. Breadboards allow beginners to get acquainted with circuits without the need for soldering, and even seasoned tinkerers use breadboards as starting points for large-scale projects.
If you are taking your first steps in the world of DIY or microcontrollers, you might have received a breadboard in your Arduino starter kit or Raspberry Pi starter kit. Let’s look at what a breadboard actually is, where they came from, and how you can make use of them.
 0:11:57
This is EVERYTHING YOU NEED to Know About Cars
 3:01:58
Here is Everything We Don't Know (Extended)
 0:28:55
Microeconomics- Everything You Need to Know
 0:07:22
Everything You Need to Know About Planet Earth
 0:07:38
20 Things Most People Learn Too Late In Life
 0:26:58
Everything You Need to Know Before Watching Thunderbolts: The New Avengers- Marvel RECAP
 0:29:56
How is Money Created? – Everything You Need to Know
 0:26:07
Top 100 Facts That Might Save Your Life One Day
 0:00:52
Here's everything you need to know about the new Skoda Kodiaq's cost of ownership!
 0:08:35
(RECAP) Diddy On Trial: Everything You Need To Know In Less Than 10 Minutes
 0:07:33
becoming smart is easy, actually
 0:04:57
Everything you need to know to read Homer's 'Odyssey' - Jill Dash
 0:05:02
Everything you need to know to read 'Frankenstein' - Iseult Gillespie
 2:49:16
Everything You NEED To KNOW To TRAIN Your DOG!
 0:22:50
Hazbin Hotel: Everything You Need To Know
 0:45:17
Pope Leo XIV Elected: Everything You Need to Know
 0:29:58
Macroeconomics- Everything You Need to Know
 0:08:00
Film Making Basics: Everything you need to know in 8 minutes!
 0:33:04
Everything You Need to Know About Fasting // How to Fast Step by Step
 0:11:04
Everything you need to know before training calisthenics (at home no weights)
 0:19:49
2025 AP Calc AB Exam Review (EVERYTHING YOU NEED TO KNOW!!)
 0:07:56
Everything You Need To Know For WRC Vodafone Rally de Portugal 2025 🇵🇹
 0:27:26
FNAF: Everything You Need To Know (ft. MatPat)
 0:27:25
2025 AP Calc BC Exam Review (EVERYTHING YOU NEED TO KNOW!!)
Комментарии