filmov
tv
Modeling a Spiral Staircase in SketchUp - Quick Tutorial

Показать описание
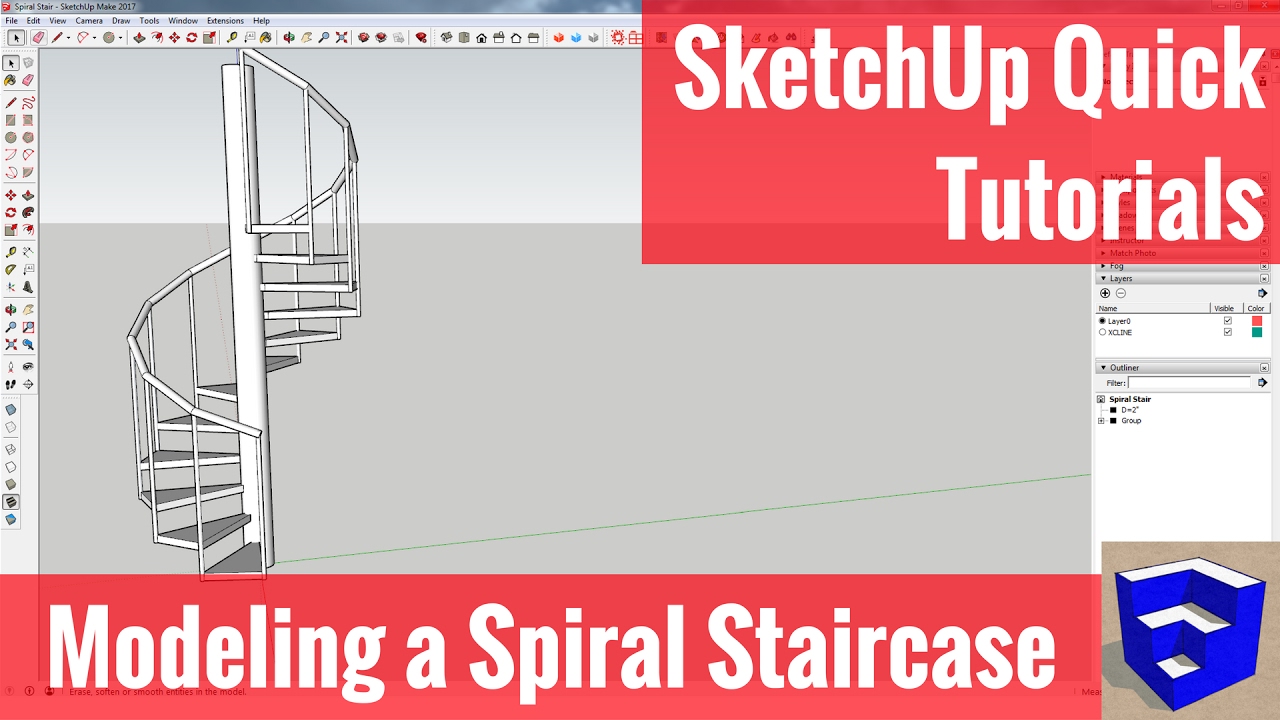
This tutorial will teach you how to model a spiral staircase in SketchUp using components.
----------------------------------------------------------------------------------------------
On Friday I talked about using flowify to create a curving stair rail along a spiral stair.
Today, I just want to focus a bit more on creating the staircase itself.
In order to do this, we’re going to start by using the circle tool. We’re going to draw a circle and your radius is going to be the width of one of your stair risers. In this case, I’m going to select 3’0”.
To start though, we’re going to select the number of segments in our circle. This will be the number of risers in your spiral. In this case, I’m going to select 12 and hit enter.
Now go ahead and draw in one of your risers. Now erase the rest of your circle.
Select your riser piece, right click, and select “Make Component.”
Now that we have a component, use the rotate tool to create 11 copies of this component so you have a complete circle.
Depending on what you want your stair to look like, you can also come in and square off the end of your riser.
Now, push pull a copy of this component to the thickness you want. For now, make your thickness the distance you have to step up, not the thickness of the riser piece. We’ll come back in and detail this later.
Now all of your components should have the proper thickness. Now, create 12 copies of your riser pieces up.
Once you’ve done that, go around this object in a circle and select the stair pieces that make up your spiral and put them in a group. Delete the other left over riser pieces, and now you have your steps.
Now we’re going to work on the rail.
Start by going inside one of your components and drawing a height guide. This will just be a line to the height of your railing.
Once you’ve done this, go back outside your component and draw a path along these height guides. You may have to draw an extra guide on the first and last sections.
There’s 2 ways to move forward from here. You can use the follow me tool to extrude along this path, or you can select an extension like Pipe Along Path to create a centered top rail.
Now go in and model your pickets. Remember, you can mostly model these inside your components, except for the very top and very bottom pickets.
Move them so that they merge with your top rail.
Now, go in and model your center post with the circle tool.
Finally, go back and adjust the thickness of your risers to the actually thickness you want using the push pull tool.
Now you’ve got a spiral stair with handrail.
------------------------------------------------------------------------------
PLEASE LIKE AND SUBSCRIBE
Check Us Out On -
Комментарии
 0:11:21
 0:08:44
 0:01:19
 0:00:15
 0:11:17
 0:33:17
 0:04:11
 0:13:13
 0:09:24
 0:04:55
 0:04:39
 0:03:13
 0:10:42
 0:01:21
 0:03:37
 0:00:10
 0:14:02
 0:00:16
 0:00:33
 0:03:00
 0:08:06
 0:04:23
 0:12:37
 0:00:40