filmov
tv
Arduino Tutorial: A Better Delay Function

Показать описание
In this video i show how to write a bettery delay function for your arduino sketches.
Arduino Code:
Video Script:
"Welcome to the arduino programming series. In this video i will teach you how to write a better delay function for your sketches.
The default delay function works fine in most cases, but it freezes the micro controller, and doesn't allow the coder to run code while waiting. QUite often it is necessary to run code during the delay process.
Another way to make it better is by adding Options, in this case i add an option to read pins after delaying.
I Assign the name DELAY to the function, and then add 2 variables for it to be passed. delayTIME for amount of time to delay, and readPINS for the option to read pins when finished.
The equation for the delay time is simple. Time started - Time now = Time delayed. I used the variable tmpTIME to store the start time, then used the following loop to repeat until the delayed time is achieved. Other code can go in the loop to execute while waiting, but remember. Don't call the delay function in the delay function.
At the end of the function, an if statement is placed to check the option readPINS. If the value is true then it runs the function to read the pins.
This is a simple function where the code to read the pins will be placed.
It is not necessary but if we want to replace the original delay function, we need to redefine it as our new function. To call the new function we use the following. This will delay for 1 second and then call the readPINS function before continuing.
I add in the serial print to test if the new functions are working.
The code works just as it should.
I add in a counter to further test the code.
The functions work and I plan to use them in my future sketches.
Leave down in the comments what features you would add and why? I hope you've learned somethin from this video, have a great day!"
 0:13:00
Arduino delay() and millis() Functions: Tight Loops and Blocking Code
 0:14:27
Arduino Sketch with millis() instead of delay()
 0:09:39
Arduino - Stop using delay() everywhere! Here's HOW
 0:10:23
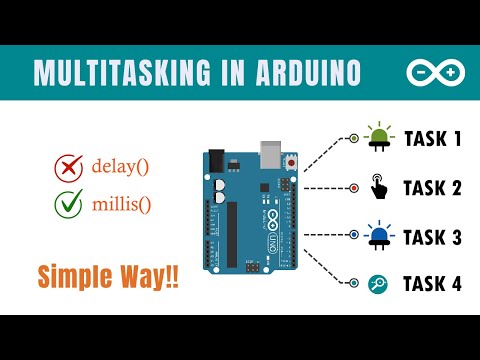
How to do multiple tasks in Arduino | Beginners | millis() function
 0:02:20
Arduino Blink without Delay
 0:09:27
Optimizing Arduino Code: no setup(), no loop() ⛔
 0:07:38
Arduino Basics 102: Control Structures, Variables, Interrupts
 0:48:17
Understanding Arduino Interrupts | Hardware, Pin Change & Timer Interrupts
 0:00:00
Arduino Uno R4 WiFi LESSON 33: Using a Photoresistor in a Project
 0:10:46
Arduino Workshop - Chapter 5 - Interrupts
 0:06:09
Arduino Tutorial - 13. Multitasking
 0:10:34
How to use millis() function to multitask in arduino code.
 0:02:22
Arduino in 100 Seconds
 0:21:05
Arduino Tutorial 17: Understanding Arduino While Loops
 0:13:04
Lauflicht ohne DELAY! LED Lauflicht mit millis() [Arduino für Anfänger] C++ programmieren lernen
 0:04:22
Arduino Button Debounce Tutorial
 0:06:51
2 Parallel Loops on ESP32 No Delay using Arduino IDE
 0:10:26
Arduino tutorial (Beginner To Advanced) : LED - Blink with out delay
 0:05:09
Optimize Your Arduino Code with Registers
 0:05:59
Arduino Tutorial 23: Changing Tone of an Active Buzzer
 0:03:53
Arduino Tutorial: LED Sequential Control- Beginner Project
 0:01:25
Arduino Turn OFF the relay with delay
 0:11:04
Don't Use DigitalRead | Arduino Interrupt Programming Guide
 0:02:50
Arduino Blinking LED Tutorial
Комментарии