filmov
tv
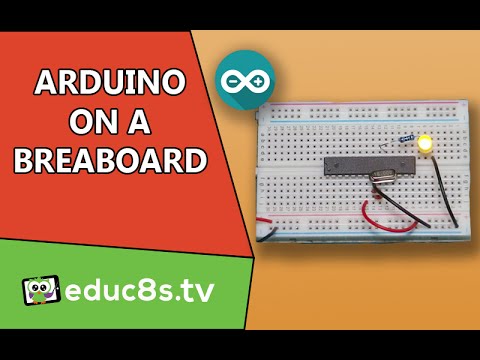
Arduino Uno (ATMEGA328P) on a breadboard Tutorial DIY project. Easy guide.

Показать описание
Arduino Uno (ATMEGA328P) on a breadboard Tutorial DIY project. Easy guide.
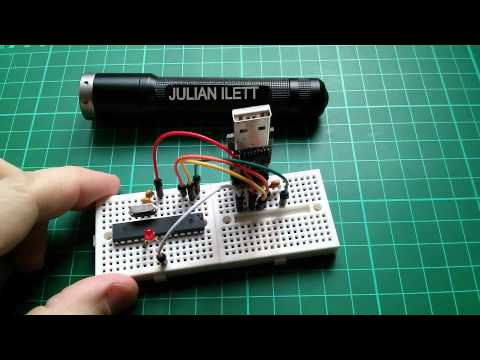
In this video, we are going to build an Arduino Uno clone in a breadboard using only 5 parts.
Want to learn to code?
In this video, we are going to build an Arduino Uno clone in a breadboard using only 5 parts.
Want to learn to code?
 0:05:35
$2 Arduino The ATMEGA328 as a stand alone Easy, cheap and very small A complete guide
 0:05:03
Real Arduino UNO vs. Clone UNO R3 - Is the Genuine a Genu-Win??
 0:11:38
UNO+WiFi R3 ATmega328P + ESP8266 Module 32Mb Memory USB TTL CH340G ❤❤ Easy Tutorial Step By Step ❤❤...
 0:14:23
1-Day Project: Build Your Own Arduino Uno for $5
 0:29:28
#163 Flash your ATMega328P using THIS for the cost of a cup of coffee
 0:04:07
Fake Arduino vs original vs SMD and DIP Chip arduino which is the real arduino?
 0:08:39
Arduino Uno (ATMEGA328P) on a breadboard Tutorial DIY project. Easy guide.
 0:02:55
Programming ATmega328p Using Arduino UNO
 0:37:17
Arduino Uno to ATmega328 - Shrinking your Arduino Projects
 0:10:11
HOW TO BURN BOOTLOADER IN ATMEGA328P MICROCONTROLLER . HELP OF USING ARDUINO UNO
 0:03:09
Arduino UNO R3 CH340G ATmega328 модули | VORON.UA
 0:03:21
arduino Uno R3 clone Unboxing and checking
 0:04:21
Electronic Basics #6: Standalone Arduino Circuit
 0:01:16
How to check the Arduino is working fine or not
 0:02:52
Checking Arduino Uno's Atmega328P-PU chip is OK or NOT!
 0:09:54
Bit-Manipulation am ATmega328p (Arduino Uno + Nano) - Arduino Tutorial #19 (deutsch)
 0:01:28
Use Arduino Uno as ISP to burn Bootloader on ATmega328
 0:02:38
Install MiniCore Arduino IDE Additional Boards for ATmega328, ATmega168, ATmega88, ATmega48 ATmega8
 0:03:50
How to upload bootloader to Arduino Uno | Arduino Bootloader | Atmega328 IC
 0:37:33
How to run an Arduino ATmega328P on a Breadboard and How to Program it using a USB to Serial Adapter
 0:04:15
UNO+WiFi R3 ATmega328P+ESP8266, 8Mb flash, USB-TTL CH340G, Micro-USB
 0:03:49
Atmega328 Arduino Bootloader | Expected signature for ATMEGA328P is 1E 95 0F
 0:05:42
✅EL ATmega328P | Grabar y Programar | 2021
 0:06:01
How to Burn the Bootloader on ATMega328p-pu Using Arduino UNO As ISP(Creative Electronics)
Комментарии