filmov
tv
How to tether with Capture One and still have images write to the card in your Canon EOS R5 Camera
Показать описание
Tethering Tools Cables
TetherPro USB-C to USB Female Adapter (Extender), 15' (4.6m) (High-Visibility Orange)
Canon EOS R5 Mirrorless Digital Camera (Body Only)
Canon BG-R10 Battery Grip
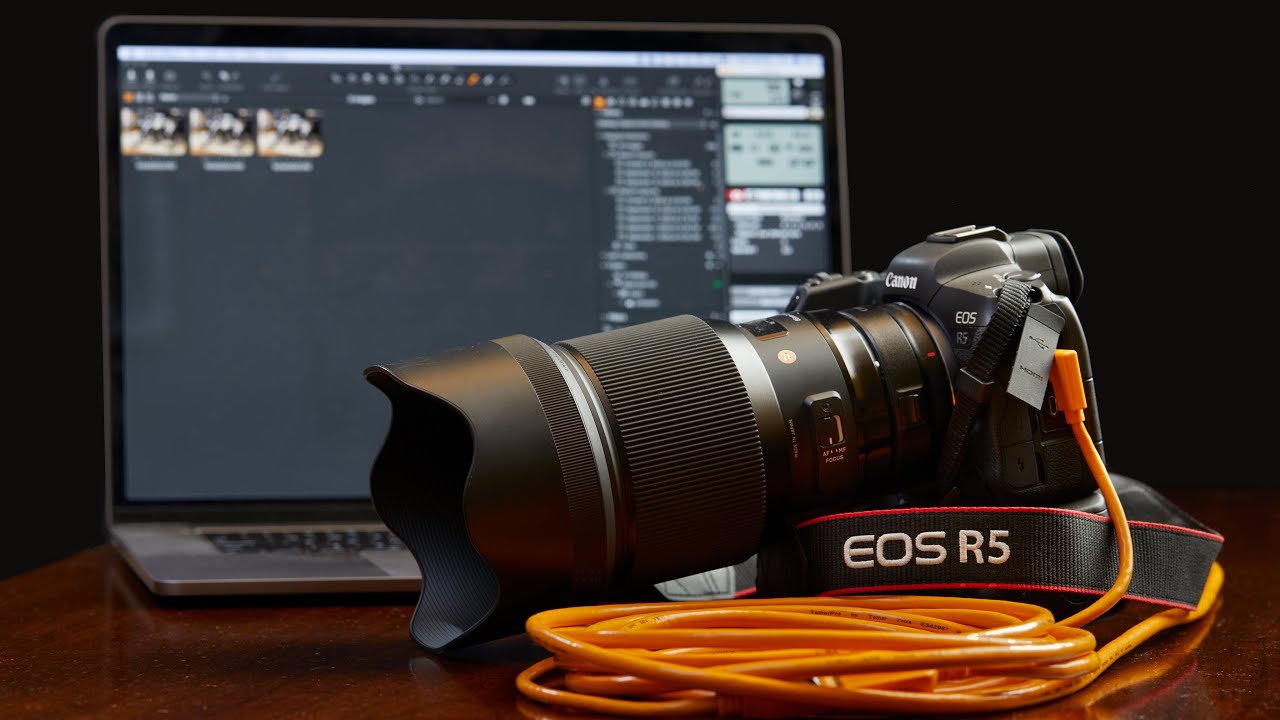
People ask me about tethering all of the time. In Lightroom it was a struggle, even with Tether Tools cables, but when I started using Capture One, I wasn’t thrilled that the images were only written to my computer’s hard drive. So I set up this workaround so that photos would write to both my Canon camera and computer, creating an instant backup of my data and allowing me to review images in the EVF and on the LCD.
By default, in Capture One Pro, tethering with result in your images only being written to your computer. I personally think this could be risky if you have a hard drive failure and it also makes it so you can’t review images in your EVF or on the back of your camera. But there is a work-around.
The first thing you want to do is go to Capture One 20 - Preferences - capture and then make sure that canon is unchecked and then restart the application.
Make sure other applications that might try to access your camera are closed, like photos.
Now open EOS Utility 3 and click on remote shooting. It might automatically launch when you connect your camera.
Then click on the folder icon on the top right under AF/MF.
Under Destination folder browse to where you would like to write the images. For me that’s always the date and subject and then a new folder called raw. Now press open or hit enter. Make sure create a subfolder is unticked and then press ok.
Now you want to click on the computer icon right below ISO. In the popup window select computer and camera memory card. This is the key to having your images write to both the camera and the computer. Hit Ok.
Next in Capture One go to the Library tab and press plus icon next to folders and navigate to the raw folder you just created and the Eos utility destination and select add. And then open it in the library.
Now go up to camera - select hot folder - then navigate to our raw folder and click open. Then back under camera make sure “hot folder enabled” is checked. Next, Just pop off a few frames and make sure its working. And we’re done!
TetherPro USB-C to USB Female Adapter (Extender), 15' (4.6m) (High-Visibility Orange)
Canon EOS R5 Mirrorless Digital Camera (Body Only)
Canon BG-R10 Battery Grip
People ask me about tethering all of the time. In Lightroom it was a struggle, even with Tether Tools cables, but when I started using Capture One, I wasn’t thrilled that the images were only written to my computer’s hard drive. So I set up this workaround so that photos would write to both my Canon camera and computer, creating an instant backup of my data and allowing me to review images in the EVF and on the LCD.
By default, in Capture One Pro, tethering with result in your images only being written to your computer. I personally think this could be risky if you have a hard drive failure and it also makes it so you can’t review images in your EVF or on the back of your camera. But there is a work-around.
The first thing you want to do is go to Capture One 20 - Preferences - capture and then make sure that canon is unchecked and then restart the application.
Make sure other applications that might try to access your camera are closed, like photos.
Now open EOS Utility 3 and click on remote shooting. It might automatically launch when you connect your camera.
Then click on the folder icon on the top right under AF/MF.
Under Destination folder browse to where you would like to write the images. For me that’s always the date and subject and then a new folder called raw. Now press open or hit enter. Make sure create a subfolder is unticked and then press ok.
Now you want to click on the computer icon right below ISO. In the popup window select computer and camera memory card. This is the key to having your images write to both the camera and the computer. Hit Ok.
Next in Capture One go to the Library tab and press plus icon next to folders and navigate to the raw folder you just created and the Eos utility destination and select add. And then open it in the library.
Now go up to camera - select hot folder - then navigate to our raw folder and click open. Then back under camera make sure “hot folder enabled” is checked. Next, Just pop off a few frames and make sure its working. And we’re done!
 0:03:44
Capture One Pro Tutorials | Tethered Capture | Introduction
 0:00:31
How to Tether Sony A7IV to Capture One in 30 SECONDS!
 0:07:23
How to Tether your Canon to Lightroom | This made me a BETTER and more PROFESSIONAL Photographer
 0:02:56
How to tether with Capture One and still have images write to the card in your Canon EOS R5 Camera
 0:11:33
How to Tether Your Camera
 0:06:39
How to Tether Your Sony Camera Wirelessly To A Computer | Capture One 22
 0:04:18
Capture One Pro Tutorials | Wireless Tethering for Canon
 0:09:39
How to Tether Your Camera To A Computer (2022)
 0:08:39
How to Tether a Camera to a Computer (2021)
 1:04:58
How To Tether Your Camera with Capture One Pro
 0:19:18
Basics of Tethering in Capture One | How to Tether Your Camera
 0:02:17
How to Tether Sony Camera to Capture One | A7III A7RIII
 0:11:25
5 Tethering Essentials | Inside Fashion and Beauty Photography with Lindsay Adler
 0:02:52
How To Tether Capture One Pro 12
 0:06:07
How To Tether with Adobe Lightroom Classic
 0:13:06
Tethered photography - tether camera lightroom classic tutorial video
 0:10:29
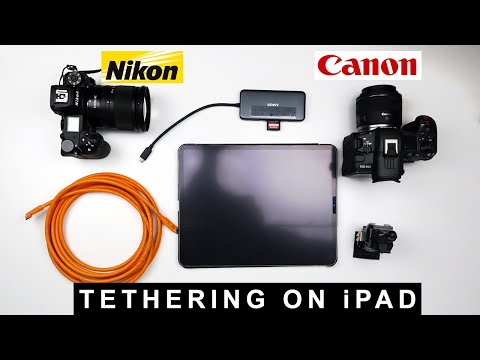
How to Tether Your Mirrorless Camera to an iPad | Cascable | Nikon Z6II | Canon R5c |Not Capture One
 0:08:53
📷 DOING THIS made me a BETTER PHOTOGRAPHER: Tethering into Lightroom (including Sony) Why? How?
 0:01:54
First Look at the New NX Tether | Software for Stills & Video Tethered Shooting
 0:03:41
How to Set up Tether Capture in Lightroom Classic
 0:07:03
How to Tether with Fujifilm to Capture One
 0:05:05
How to Set Up Tethered Capture - Using the Nikon D850 and Adobe Lightroom
 0:05:29
How To Use Tethered Capture In Lightroom | Lightroom Crash Course
 0:02:56
FUJIFILM cameras Tethering tether photoshoot shooting with laptop capture one jose jeuland
Комментарии