filmov
tv
10 EPOXY Mistakes Beginners Make

Показать описание
After years of experience, I have compiled 10 EPOXY Mistakes Beginners make when they're working with epoxy resin on builds and projects.
I get lots of emails and DM's from people trying out epoxy, so In this video I list out the top 10 problems I have found over my years in working with epoxy. Even as someone with experience, I still make these mistakes now, as you can see based on the $500 of epoxy on my shop floor.
RIVER TABLE EPOXY - SAVE 10% !! CODE: JMBUILDER10
If you Like this video check out my other Epoxy Tips video!
Proudly Supported By:
My Top Tools and Product Affiliates
#BeginnerEpoxy #Epoxy #EpoxyResinTips
 0:17:29
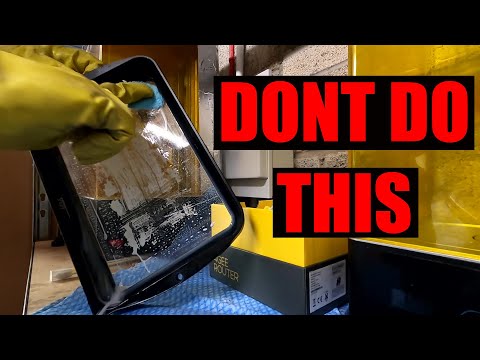
10 EPOXY Mistakes Beginners Make
 0:14:48
First time using resin! 10 Rookie Mistakes to Avoid
 0:04:28
10 Epoxy Mistakes Made By Noobs
 0:20:32
5 EPOXY Tips I Wish I Knew As A Beginner!
 0:09:40
Don't make these resin mixing mistakes!
 0:05:15
5 Big Mistakes Beginners Make with Resin 3D Printing
 0:11:40
AVOID THESE 9 EPOXY POUR MISTAKES
 0:07:54
Top 5 Epoxy Mistakes 2021
 0:10:43
MISTAKES I made when I started resin 3d printing
 0:05:25
TOP 10 RESIN MISTAKES (and how to fix them!) in 2022
 0:11:05
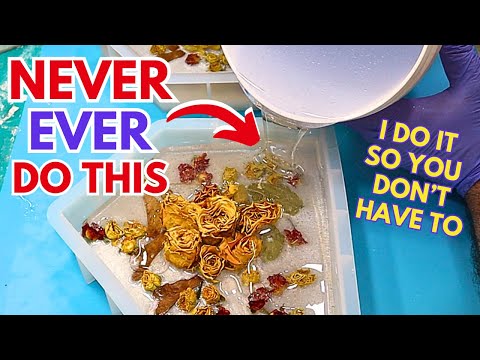
Never EVER Do This With Resin It's DANGEROUS!
 0:11:00
10 Resin Tips I Wish I Knew | Resin Hacks | Save Time & Money | Bay Witch Blooming
 0:06:51
5 Epoxy Resin Mistakes no one is talking about
 0:07:35
Top 6 Resin Epoxy Mistakes for Beginners
 0:08:37
5 Ways to Get Bubbles Out of Resin | Resin ART
 0:10:31
Epoxy Tips For Beginners - Things I Screwed Up So You Don't Have To!
 0:06:27
Epoxy How To | 5 Tips & Tricks For Beginners
 0:07:52
Epoxy Mistakes -- And How to Avoid Them!
 0:09:12
Metallic Epoxy Flooring FAIL | Complete Breakdown | Don’t Make This Mistake!
 0:21:59
Epoxy and Wood Project Fails & How to Fix Them
 0:08:17
Top 5 Biggest Epoxy Mistakes!!!
 0:17:23
10 Resin And Epoxy Tips I Wish I Knew As a Beginner!
 0:06:02
Don't Do This! - 7 Epoxy Mistakes
 0:01:00
10 Epoxy Resin Coasters DEMOLDING in 1 MINUTE #shorts
Комментарии