filmov
tv
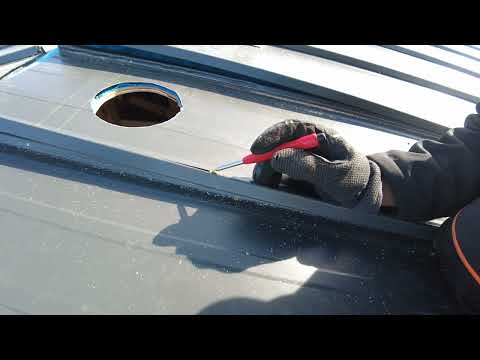
How to Install Rubber Vent Pipe Boot on Metal Roof Super Easy

Показать описание
In this quick tutorial, I show you our method of installing a rubber vent pipe boot on a metal roof. It is a super easy method and if done properly should guarantee a leak free roof penetration. Do you best, caulk the rest. In this instance, do not go cheap on your sealant! Vent pipe flashing is usually the last thing done on a metal roof, so I am not sure of a better way, but this has been rock solid so far.
If you know a better way, let me know with a comment and a link. I am always up for learning better ways.
Top Tool List
Metabo HPT Triple Hammer
Purchase Building Plans Here
Looking for good hearing protection on site or at home that also doubles as your radio, allows you to take phone calls, and has noise reduction? Check out ISOtunes! I've been wearing them for over a year and they've greatly helped reduce the ringing in my ears at night!
Use my Code to save!! RRB10
If you'd like to support RRBuildings, below are various ways to help!
 0:07:18
How to Install Rubber Vent Pipe Boot on Metal Roof Super Easy
 0:03:29
How to Fit a Vent Pipe Detail on a Flat Roof - Rubber Roofing Made Easy
 0:07:48
DIY Pipe Boot (Roof Vent) Replacement with 'The Roofing Chick' of Feller Roofing
 0:06:26
Box vent, 750, slant back, lamanco. How to install so that they will not leak.
 0:08:11
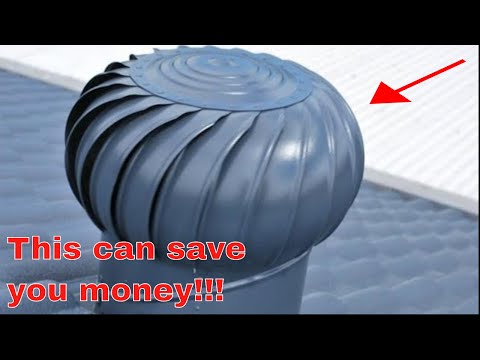
How to install a whirlybird roof vent - DIY
 0:02:39
How to Repair a Damaged Roof Vent Boot - 1 Minute Permanent Fix
 0:07:48
METAL ROOF Rubber Vent Boot Install | DIY Mountain House Build | The ShabinLife
 0:05:47
HOW TO INSTALL PIPE BOOT VENT ON A SHINGLE ROOF
 0:15:01
How to install a overflow vent kit from Aero Panda #rclife #rcpilot #rcjet #howtomake
 0:02:44
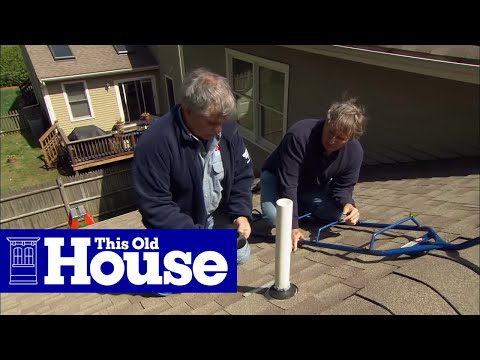
How to Fix a Leaking Rooftop Vent Pipe | This Old House
 0:10:16
How to install a new roof vent or whirly bird to a colourbond corrugated zincalum roof
 0:03:24
Flat Roof Vent Install | Guide for Ventilation Maximum 102-MB & 201-MB
 0:06:28
How To Fit A Vent Tile In A Roof | Extractor Fan Vent Tile Installation | Vent Duct Installation
 0:07:54
How to install a Whirlybird roof vent on a METAL roof | DIY
 0:08:15
Vent Plumbing Through Roof - Pipe Boot Install - DIY Plumbing
 0:02:46
How to Repair Roof Flashing Around Vent Pipes – Quick – 10 Minutes – No Mess – Anyone can Do It!...
 0:11:21
How-To: Shingle around a vent pipe Flashing
 0:09:59
How to: Install Vent Window Seal | F100
 0:18:52
How to instal a vent on a sheet metal roof
 0:03:56
How to install roof vent pipe without going on your roof
 0:01:39
Leaking plumbing vent boot repair - easy peasy!
 0:11:32
How to Change a Vent Boot on Your Roof Any Size Pipe
 0:01:16
How-To: Install a Rubber Plug into a Vent Hole on a Floor Jack
 0:13:19
HOW TO Correctly Install/Replace RV Vent Fan
Комментарии