filmov
tv
Ender 5 S1 Enclosure - Installation & Testing Using ABS

Показать описание
Let's see if this enclosure from Creality for the new Ender 5 S1 lives up to the hype and isn't just a lot of hot air. The Ender 5 S1 is ready to print at 300c right out of the box, but with the right enclosure it'll be able to tackle even the toughest 3D printing challenges!
Enclosure Options:
3D Printer:
US store: Coupon Code:12ES5, get 5S1+Sonic pad Combo $120 off, only $479
Nozzles:
Helpful Printer Upgrades:
3D Files:
3d Printer Filament That I Use:
Amazon 3D Printing Filament:
________________________________________________
Note : Most of the links that I use that go to products are affiliate link. This means I make a small commission on anything that you happen buy using them. This is at no extra charge to you and this helps support the work I do on this channel. 😁👍
________________________________________________
#creality #ender5 #ender5s1 #3dPrinting #3dScanning #DIY #3DPrinterEnclosure #Ender5S1 #Creality #CrealityEnder5 #Ender5Enclosure #Ender5Installation #Ender5Setup
 0:06:17
Ender 5 S1 Enclosure - Installation & Testing Using ABS
 0:02:42
Ender 5 S1 Acrylic Cover Installation Tutorial
 0:00:21
Ender 5 S1 Print Speed: How Fast Can it Go?
 0:08:17
Making The Ender 5 S1 is MUCH FASTER with a Sonic Pad
 0:11:45
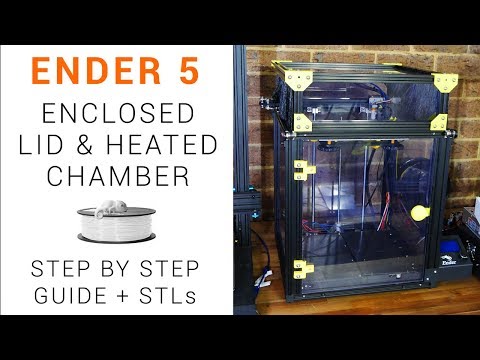
Ender 5 enclosed lid and heated chamber guide
 0:13:01
Creality Ender 5 S1 Review
 0:19:35
How to make money with a 3d printer $$$ We print on CREALITY ENDER 5 S1
 0:00:41
Ender 5 S1 3D enclosure functionally
 0:09:42
Why Does this Exist? - Ender 5 S1 Review
 0:11:20
Enclosed Ender 5 for high temp filaments - Part 1
 0:00:19
Ender 5 Pro assembly & upgrades built partial surround enclosure DIY How To build 3D printer cov...
 0:01:00
Creality Ender 5 S1 vs K1 #3dprinting #creality #crealityk1 #k1 #ender5s1 #kobramax #abs #pla #petg
 0:08:09
3D Printer Enclosure made from 3 Lack Tables
 0:07:05
Quick & High Temp 3D Printer But Is It Worth The Price Tag? - Creality Ender-5 S1
 0:30:03
FAST Core-XY Ender 5 Plus! Mercury One.1 Build
 0:02:06
Ender 5 plus enclosure overview
 0:12:36
Ender-5S1 Mods and Klipper Install With Creality Sonic Pad
 0:21:08
15 Unnecessary (But Fun) Ender 5 Mods
 0:05:48
✅ Top 5 Best Ender 5 Pro Upgrades and Mods | Ender 5 Pro Upgrades and Mods
 0:00:52
My Ender 5 Plus enclosure (still in progress)
 0:25:05
The ULTIMATE 3D Printer Enclosure
 0:10:01
Creating the Ultimate 3D Printer Enclosure: DIY Edition
 0:01:55
Introducing the Ender 3 S1 Enclosure (with a sneak peak of the dual channel temperature logger).
 0:06:51
Ender 5 Plus with the Creality soft encloser
Комментарии