filmov
tv
Step By Step Air Bag Module Reset Procedure and Other SRS Related Tasks to Finish Acura Interior

Показать описание
In this video I'm going to finish the interior, including getting the roof and seat airbags replaced after which the seat will get restitched. But the main focus of the video will be the step by step turorial on what is takes to get the SRS module (AKA airbag computer) reprogrammed in order to reactivate the restraint system.
Tolls used in the Video:
Music Credits:
Song: Atch - Places
Music provided by Vlog No Copyright Music.
Creative Commons - Attribution 3.0 Unported
Song: Patrick Patrickios - Alaska Sky
Music provided by Vlog No Copyright Music.
Creative Commons - Attribution 3.0 Unported
Song: DREK'S - Clouds
Music provided by Vlog No Copyright Music.
Creative Commons - Attribution 3.0 Unported
 0:24:23
Step By Step Air Bag Module Reset Procedure and Other SRS Related Tasks to Finish Acura Interior
 0:00:51
How to Inflate your Airbags by Airbag Man Suspension
 0:01:54
HOW TO: Access your Airbag Man Step By Step Instructions in 2022
 0:04:49
Honda Airbag removal: Driver airbag replacement 2013 - 2017 Accord / Replace airbag AFTER Accident
 0:01:37
How To Remove 2017 Honda Crv Driver Air Bag Step By Step
 0:12:39
Airbag Light On - Hyundai / Kia - Step By Step DIY Fix
 0:17:32
How To Replace An Air Bag On A Trailer / Removing seized bolt on trailer airbag
 0:22:12
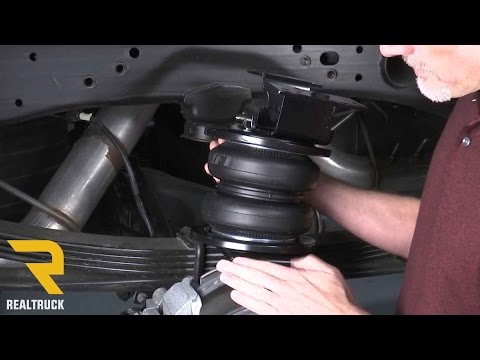
How to Install Air Lift LoadLifter Air Bag Kits on a 2017 Silverado 2500 HD
 0:13:04
NILIGHT 29” LED STROBE EMERGENCY LIGHT BAR STEP BUMPER & TOW SHACKLE HITCH TRUCK GEAR ACCESSORIE...
 0:15:15
How to Replace Suspension Air Bags on Semi Truck - Step by Step | Owner Operator Truck Repair DIY
 0:04:50
Hyundai Terracan - Steering wheel & Air bag removal - Step By Step
 0:33:17
1963-72 Chevy & GMC Truck Air Ride / C10 Suspension / Air Bags Install
 0:01:15
How to bypass srs air bag light using just a resistor
 0:08:54
Airbag bag problem and step by step diagnosis/how to solve airbag problem?
 0:36:53
Installing Air Bags to Haul a Camper!
 0:28:39
Montero Coil Spring Air Bag Install
 0:43:11
Airbag and Secondary Restraint System Diagnostic Tips and Tricks for Technicians
 0:10:23
How To Replace an Airbag on Truck
 0:07:02
How to Install a Firestone Air Bag Kit
 0:27:44
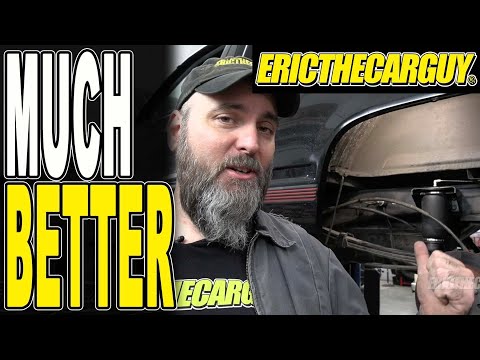
How To Install “Helper” Air Bags On Your Vehicle
 0:20:12
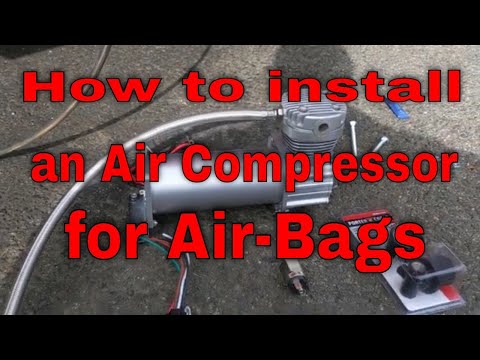
How To Air Bag Compressor installation custom made airbag system
 0:04:13
2005-2009 Nissan Pathfinder-Armada-Driver Air Bag Removal Step By Step
 0:07:03
How To Remove & Replace Side Curtain Airbag
 0:07:07
How To Install: Isuzu DMAX Air Suspension - RR4727 Airbag Man Leaf Helper Kit
Комментарии