filmov
tv
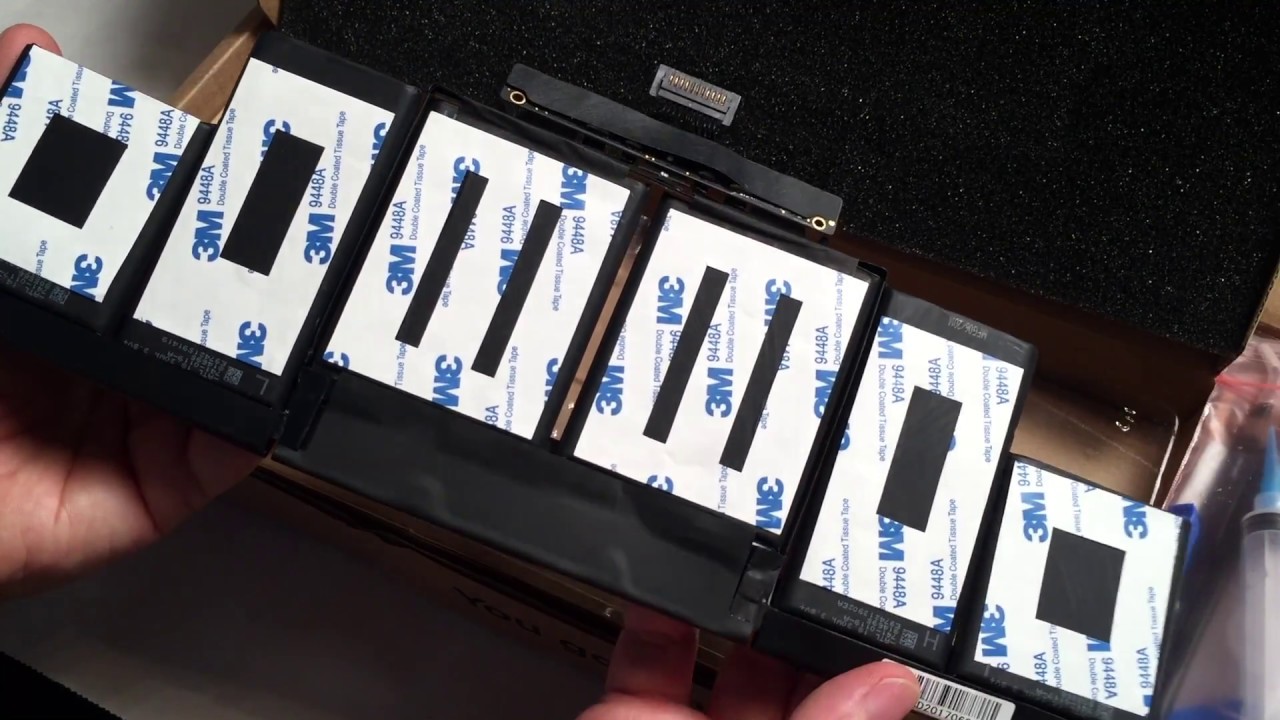
Repair: MacBook Pro 15, Late 2013 Battery Replacement [ENGLISH]
Показать описание
Fed from Puromac walks us through replacing the battery on his 15" MacBook Pro, Late 2013, using a kit from iFixIt. He also shows an alternate technique for safely removing the battery pack without completely disassembling your MacBook, by using a nylon string and adhesive remover. [English Version]
 0:16:27
Repair: MacBook Pro 15, Late 2013 Battery Replacement [ENGLISH]
 0:08:58
Why is your Late 2013-2015 A1398 MacBook Pro randomly crashing? CAUSE AND SOLUTION
 0:02:25
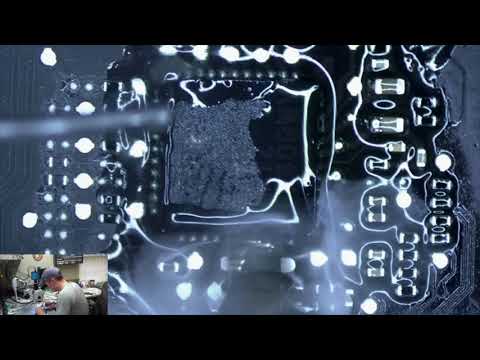
MacBook Pro Retina GPU Fix (Faster, No-Bake)
 0:09:45
13' 15' inch MacBook Pro A1502 A1398 Early Late Mid 2012 2013 2014 2015 Black Screen No Di...
 0:05:03
MacBook Pro A1398 Black Screen Fix
 0:05:02
Apple Parts | MacBook Pro Retina 15-inch (A1398) 2012 - 2013 GPU Repair
 0:08:16
MacBook Pro 15 A1398 (Late 2013, 2014, Mid 2015) Cooling Fan Replacement Guide
 0:08:59
Macbook Pro A1398 2012 Retina GPU Vcore Failure Repair on board 820-3332
 0:06:29
How to Replace Macbook Pro A1398 Battery|Retina,15'inch|Mid 2015 Pro
 0:29:14
13' 15' inch MacBook Pro A1502 A1398 Early Late Mid 2012 2013 2014 2015 Black Screen No Di...
 0:17:02
Repairing the Macbook Pro late 2013 15 inch - is it worth it?
 0:14:07
$24 Destroyed Macbook Pro... Can I Fix It?
 0:20:48
Macbook Pro Retina No Backlight, Easy Fix (2012 to 2015, 15' or 13' inch) #apple #macbook ...
 0:19:07
Mid-2012/Early-2013 A1398 820-3332 MacBook Pro 15' dGPU GPU bypass.
 0:05:48
Battery Replacement for Late 2013 Macbook Pro - Tutorial
 0:06:02
MacBook Pro 2012-2015 15-inch Retina Thermal Paste Replacement
 0:00:42
How to Reset SMC on Macbook Pro - Fix loud fans, slow loading, keyboard backlight
 0:13:23
Disassembly Teardown Guide | 15' Apple A1398 MacBook Pro 2015
 0:12:36
How to fix 2011 15'' Macbook pro GPU problem
 0:04:23
MacBook Pro 2013-2015 Speaker Replacement (Left and Right) - A1398
 0:29:17
15' inch Retina MacBook Pro A1398 Late 2013 Battery Replacement Repair
 0:02:41
Replacing a Swollen Battery on a Macbook Pro 2015 15-inch
 0:08:50
15' Retina MacBook Pro (Late 2013) Maintenance/Repair
 0:06:51
MacBook WON’T TURN ON Fix in 3 Minutes
Комментарии